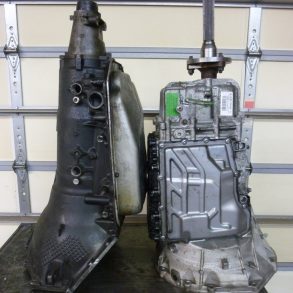
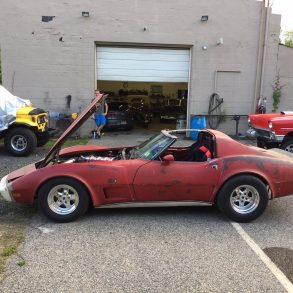
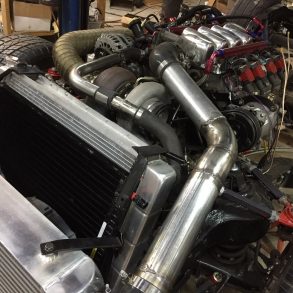
When we left off, Carl completely redesigned the DIY 4L80E controller and body module for his 1977 Stingray build, which resulted in a final version based on the Arduino Mega board. But first, if you missed any previous episodes for Carl’s 10-second turbo build, (or need a review), here are the links: part one, part two, part three, part four, part five, part six, part seven, and part eight. Each episode is a quick read, with lots of pictures, with episodes two and three featuring some cool videos.
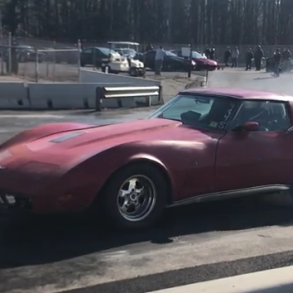
Viewer Advisory: This build has some serious meat on the bones, as Carl has some crazy technical skills (especially with electronics), and he is going to tap into all of them to turn his 1977 Stingray into a 10-second quarter-mile monster!
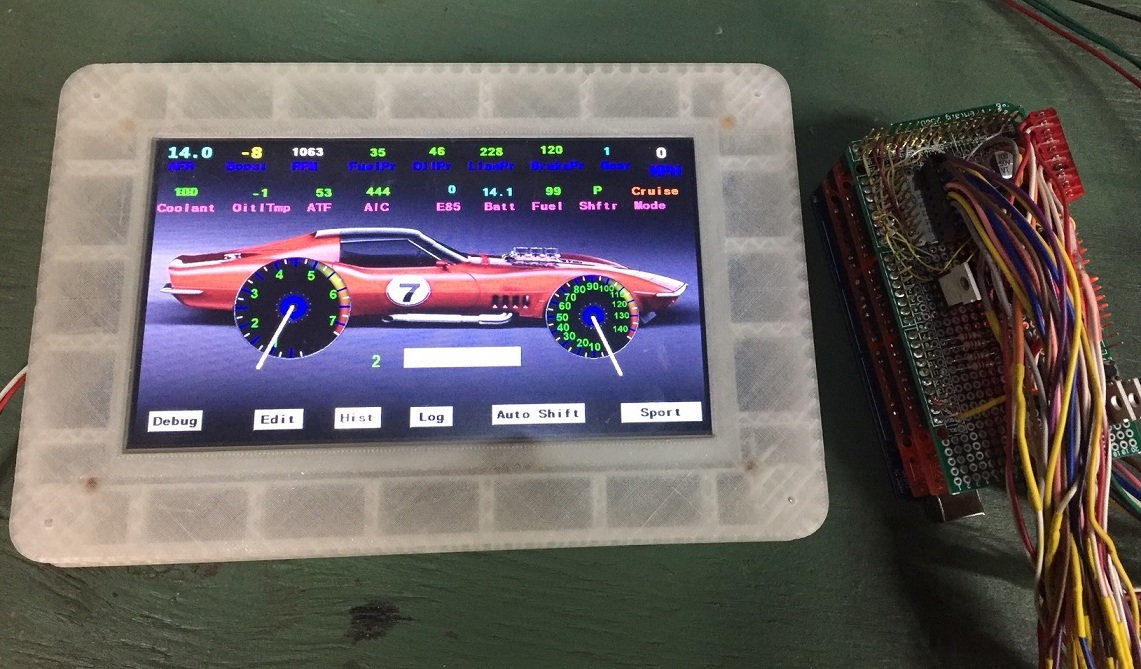
As Carl mentioned last week, he doesn’t plan on having any gauges in his Stingray and says the touch screen he designed has more than he needs for his cruiser strip car. At first, you may think, how can that touch screen give him all the data he needs? Well, take a look at all the updated modes and his vision will make complete sense. Even better, each mode has its own shift logic, shift points, boost for each gear, and display screens.
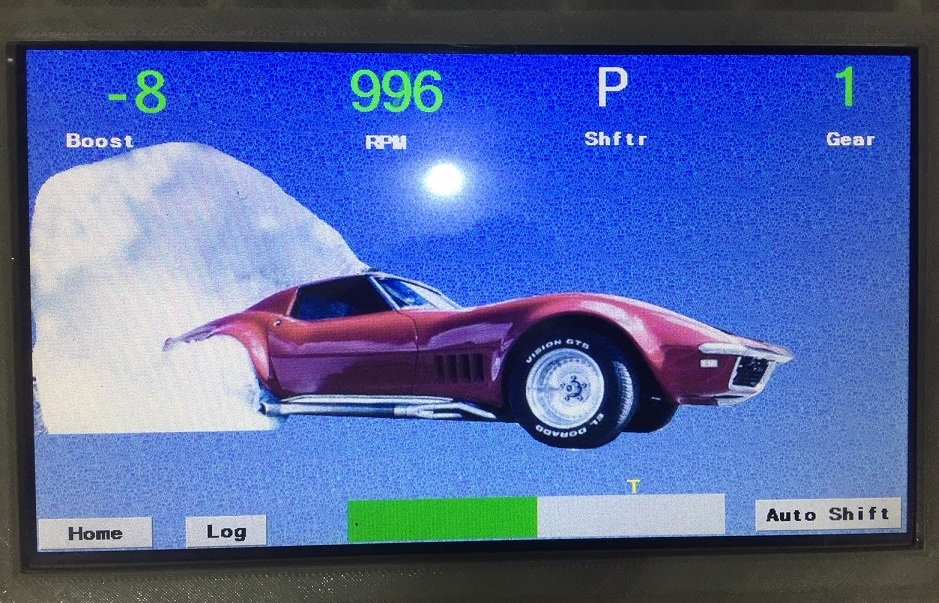
Carl notes that each mode has many nuances and rules, and as an example says, “Burnout mode can be locked out if the shifter is not in 3. Shifting is triggered by RPM only. It only shifts from first to second and has its own set of boost levels for each gear. When the MPH comes back down at the end of the burnout, it automatically changes to drag mode.”
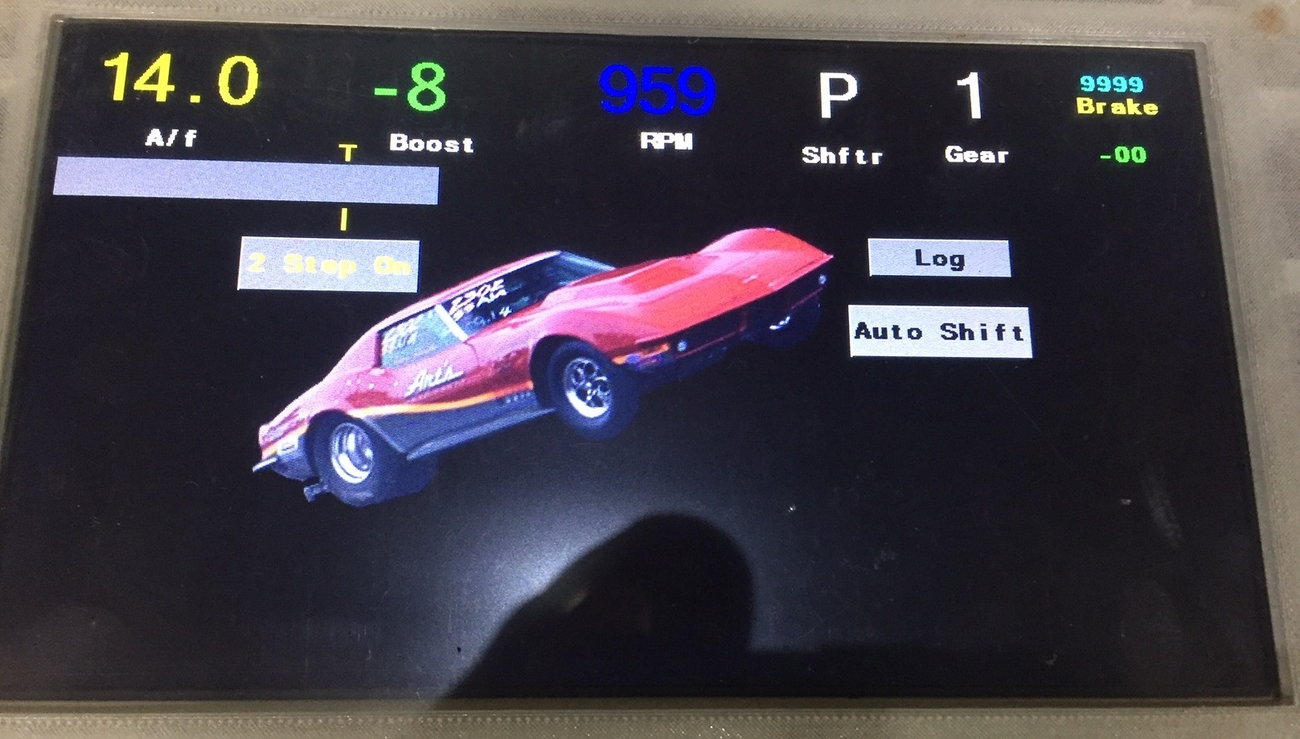
The drag mode in the Arduino Mega board gets updated as well, with Carl remarking, “Upshifts are by RPM and only go to 3rd gear. No lockup. Downshifts are normal. Two-step is automatically turned on at launch time and automatically turned off when the brake pressure is reduced past a set point. I might implement a “Sloppy Brake” when the two step is on. Drag mode is locked out unless the shifter is in 3rd. Boost targets are different for each gear and two step.”
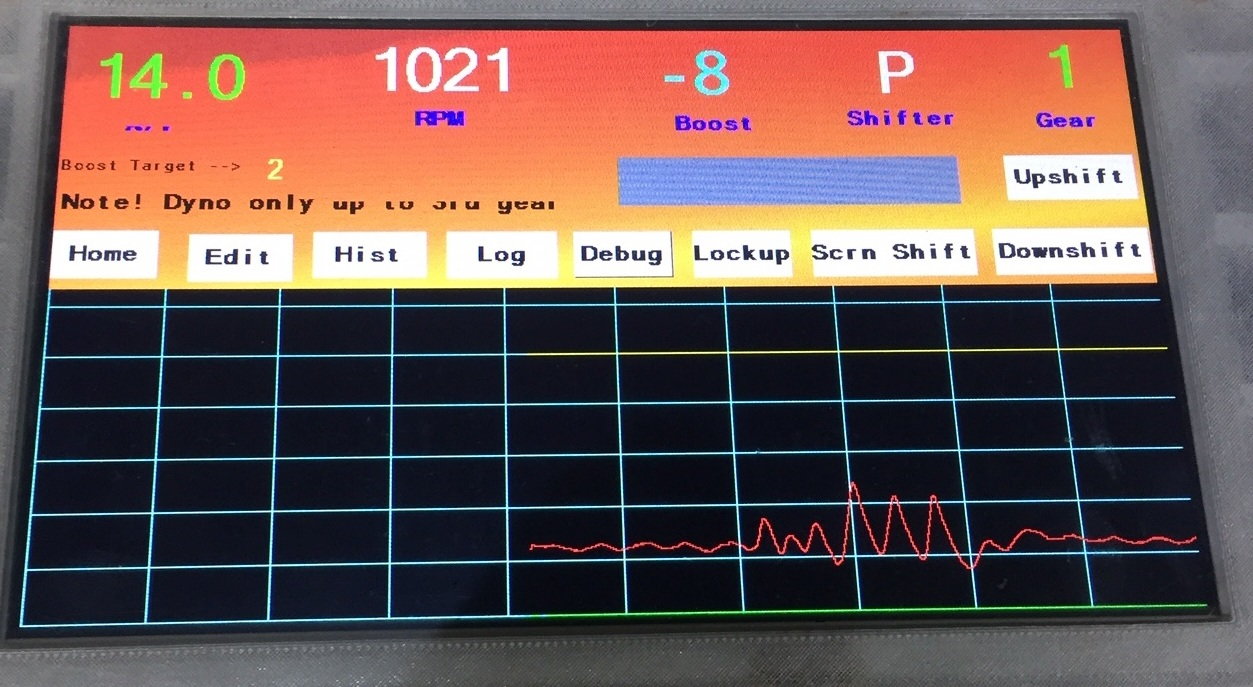
Next up is dyno mode, where Carl explains, “Dyno mode shifts by touchscreen or paddles. The shifter must be in 3rd. It graphs AFR, RPM and Boost. 3rd gear can have lockup engaged before a pull.”
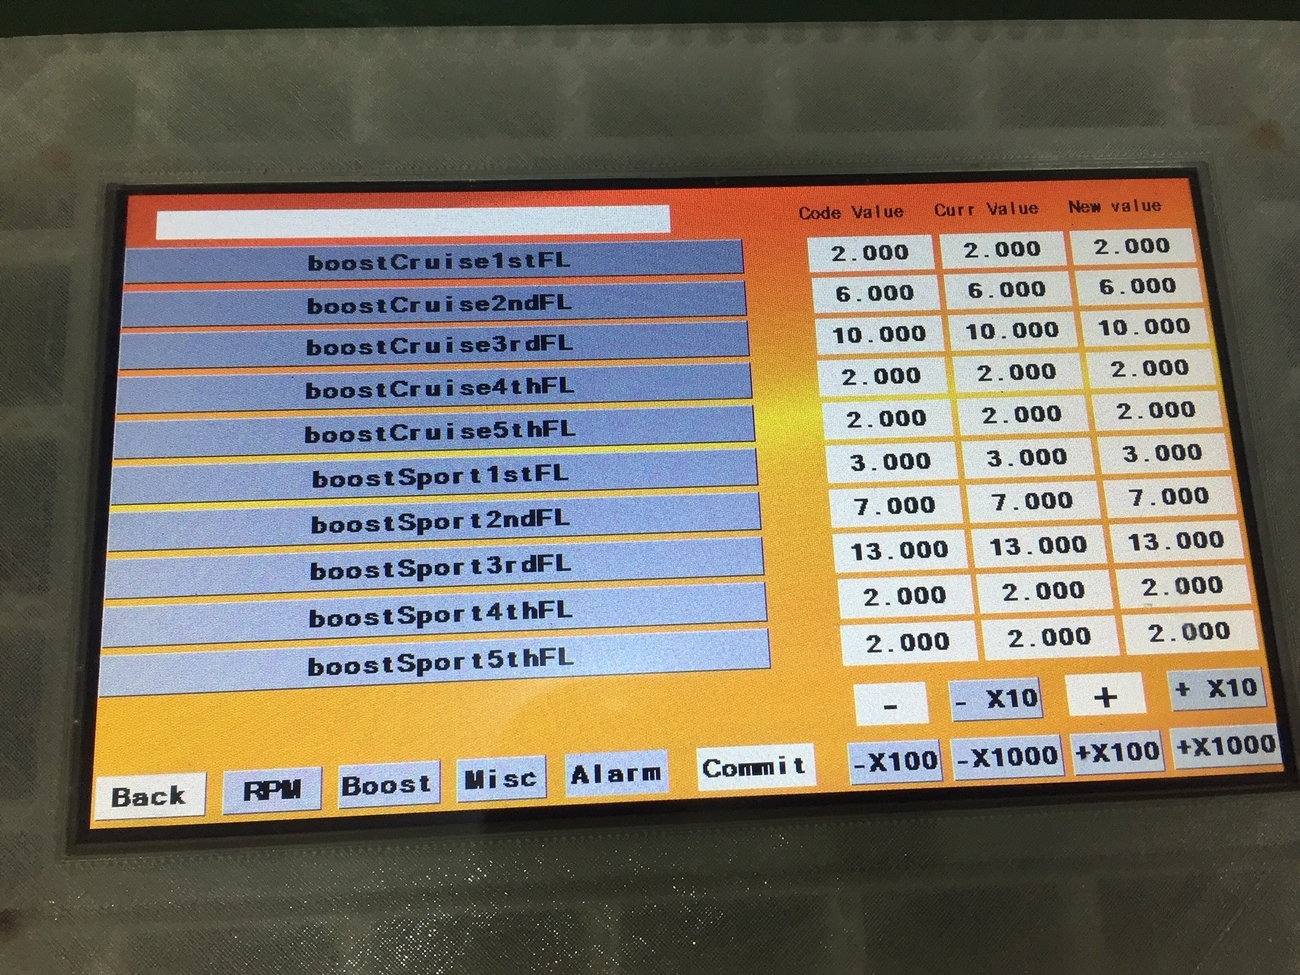
Lastly, Carl indicates all of the operating parameters can be changed without having to reprogram the Arduino, and says, “Just pick one of the 150+ parameters, change the value and commit. Here is the boost target per gear in cruise and sport mode, for example.”
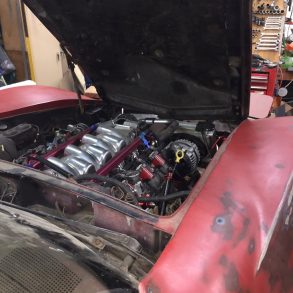
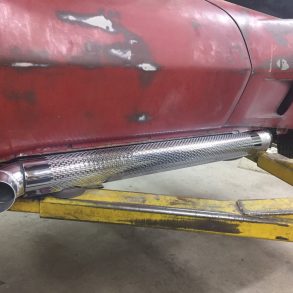
Below is the next challenge for Carl, as he comments, “I like soldering… but now that I dropped the body to the frame for hopefully the last time, all my soldering will be under the dashboard which I don’t look forward to. Gotta tie all my stuff the the original Vette wiring and install the heat/AC.”
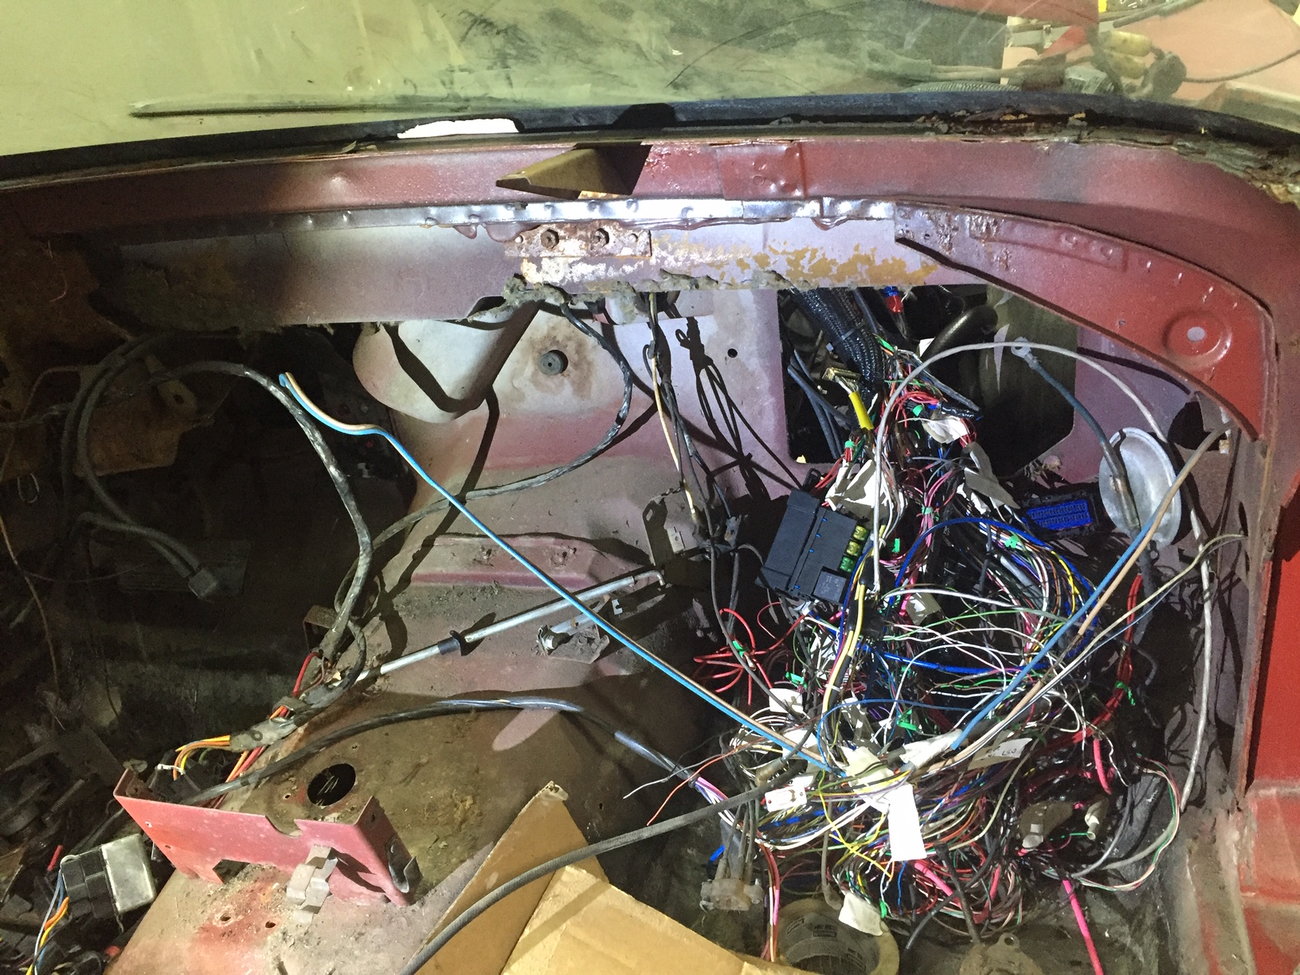
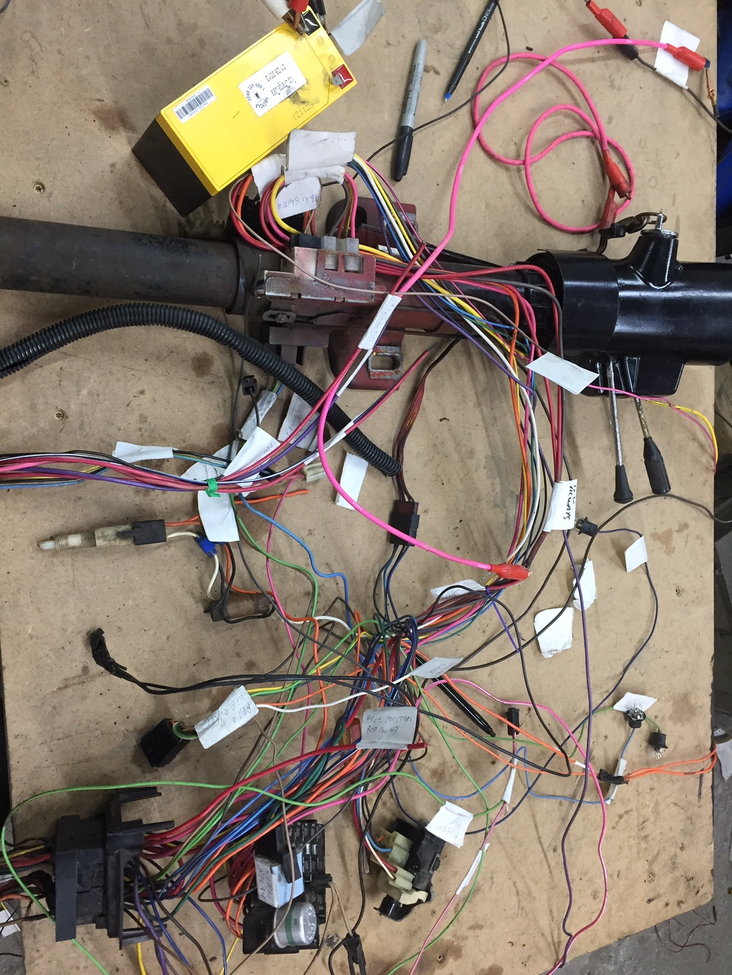
I have to admit, I would have tapped out just seeing all these wires, but Carl presses on and comments, “I pulled out all the wiring in the passenger area and the steering column so I could eliminate any unnecessary parts and figure out exactly what wire did what so I can merge the original wiring with the new engine and controller wiring. I dragged the whole thing onto a workbench and started testing, tagging and cutting.”
As Carl finishes up this phase of the build, he gives us a complete wrap on the wiring plan:
“The 1977 schematics helped somewhat, but nothing lets you know how stuff works better than testing it. I used a battery and some lights to let me know exactly what’s connected to what and what happens when I turn the ignition key, etc.
I’m going to re-purpose some of the thru firewall wires for whatever I need. Most won’t get re-used. I’ll reuse some for line lock, and underhood courtesy light… I got rid of all the instrument lighting, key warning, seat belt warning and a bunch of other stuff I don’t need.
I’ll tap the key start wire to supply power to the 4l80e neutral safety switch.
I’ll tap the ignition on wire to let the AEM know the ignition is on.
I’ll tie my chassis ground wire to the few black ground wires that are left.
I’ll tie my 12 battery wire to the cluster of red battery power wires.
I’ll tie the backup light wire and the brake light wire to something, I have a few choices.
I’ll tap the accessory wire for the new radio.
I’m planning on adding remote door locks.
The rest of the lighting circuits will be unchanged.
I’m adding a 400 watt A/C inverter with USB ports so I can run a laptop in the car and power the phone chargers. I think I’ll power that from the accessory wire. The ashtray and cigarette lighter are gone.”
Whew, I’m flustered and worn out just reading all that! The skills, patience, and tenacity required just to accomplish the electronics portion of this build are inspiring. We have the fastest-growing Corvette community on our Facebook page, with over 155,000 followers (36,000 since January!). Come join other hardcore enthusiasts and let me know what you think so far of Carl’s 10-second turbo build, Douglas B.