


1973 Corvette – The Ultimate Guide
Almost from its start, 1973 was a year full of both great accomplishments and even greater controversies. Technological feats, including the launch of Skylab and the Mariner Programs, the opening of the Sydney Opera House, and the start of the Alaska Pipeline all announced to the world that we were capable of reaching farther – of doing more.
At the same time, it saw the start of the Watergate scandal, an event that would gain international notoriety given advances in technology that allowed television media to beam its signals around the globe – an event that was ushered in, ironically, by Elvis Presley, whose second concert from Hawaii became the first worldwide telecast – and an event watched by more people than the Apollo moon landings.
Perhaps most significant of all, it saw the end of the United States involvement in the Vietnam War with the signing of the Paris Peace Accords.
It is perhaps ironic then that the 1973 Corvette, which would celebrate the 20th anniversary of Corvette’s introduction by Harley Earl in 1953, would also be the first re-design of the C3 since its introduction in 1968. It was also a testimony to the staying power of Corvette that the car continued into 1973 despite the extensive engineering and tooling cost that GM would incur in bringing the car in-line with the latest safety standards.
The world was once more growing up, and with it, the new Corvette was maturing and becoming more civilized. Its subtle revisions and new design elements would serve to enhance its image while catering to a more discriminating group of consumers and enthusiasts alike.
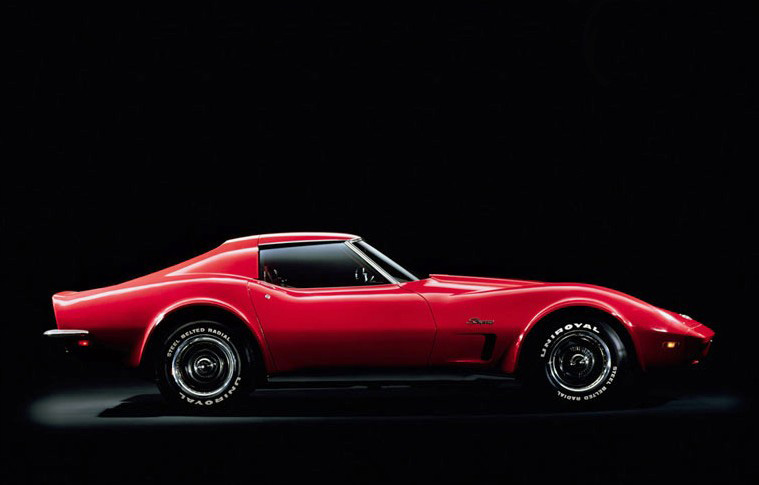
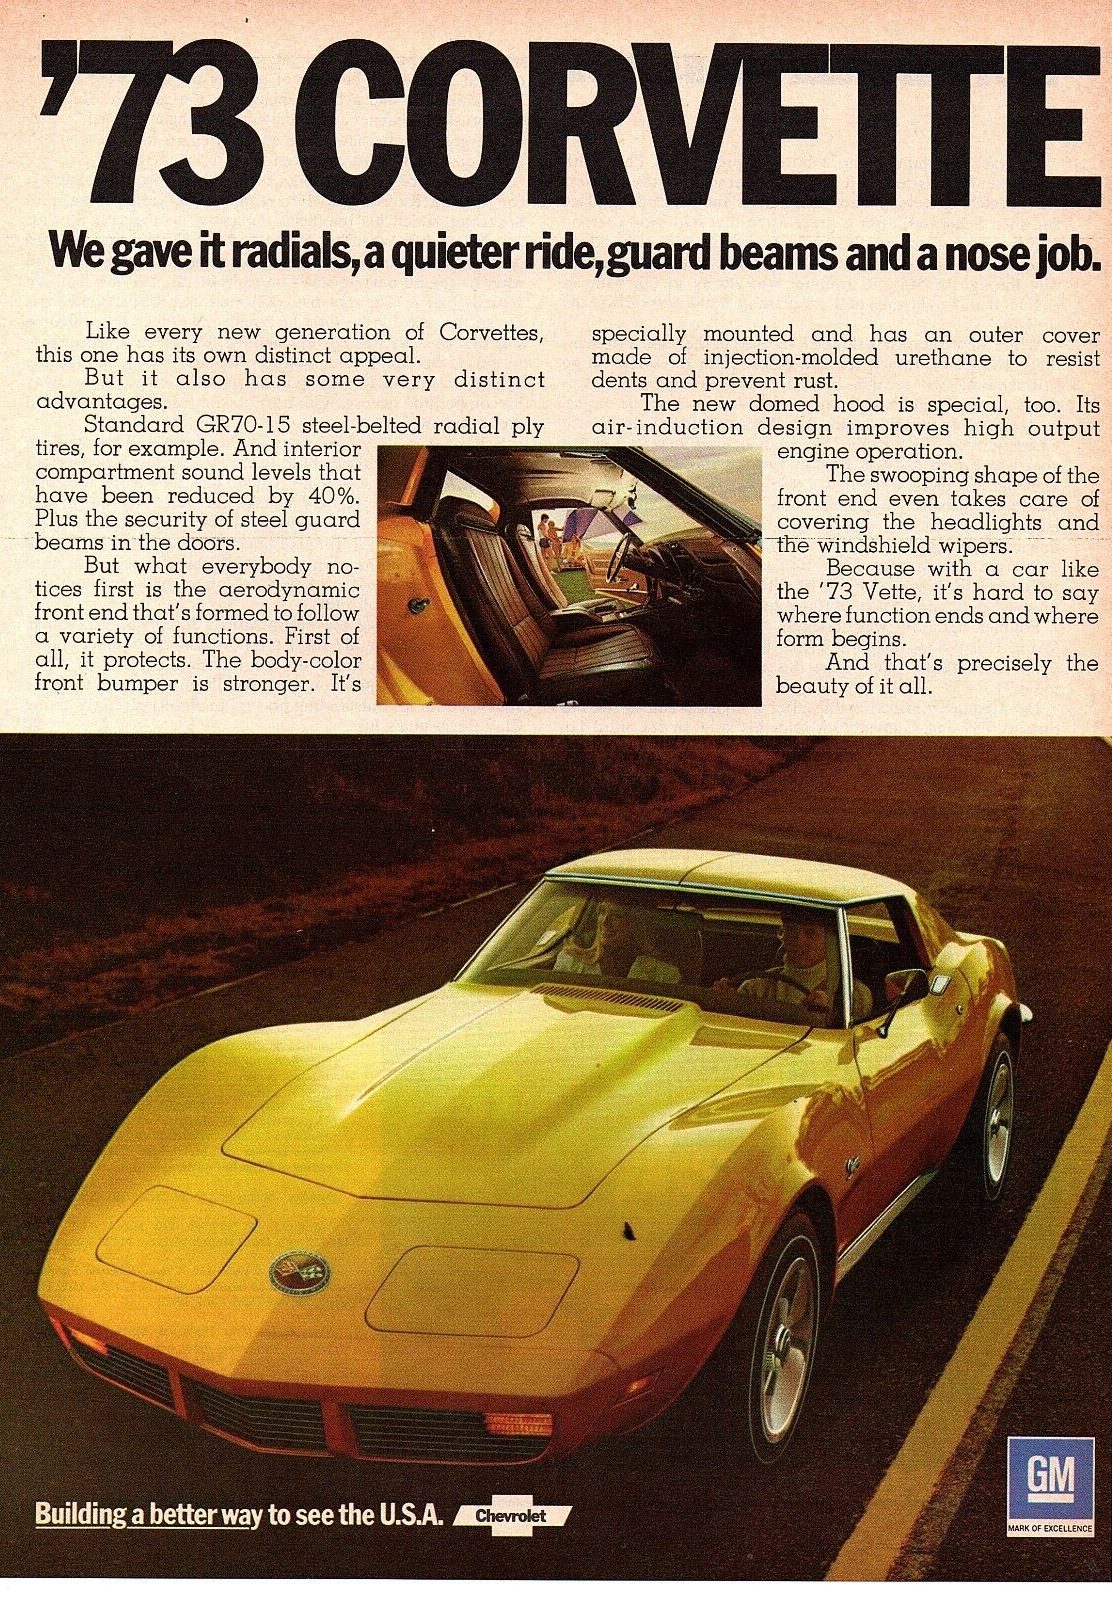
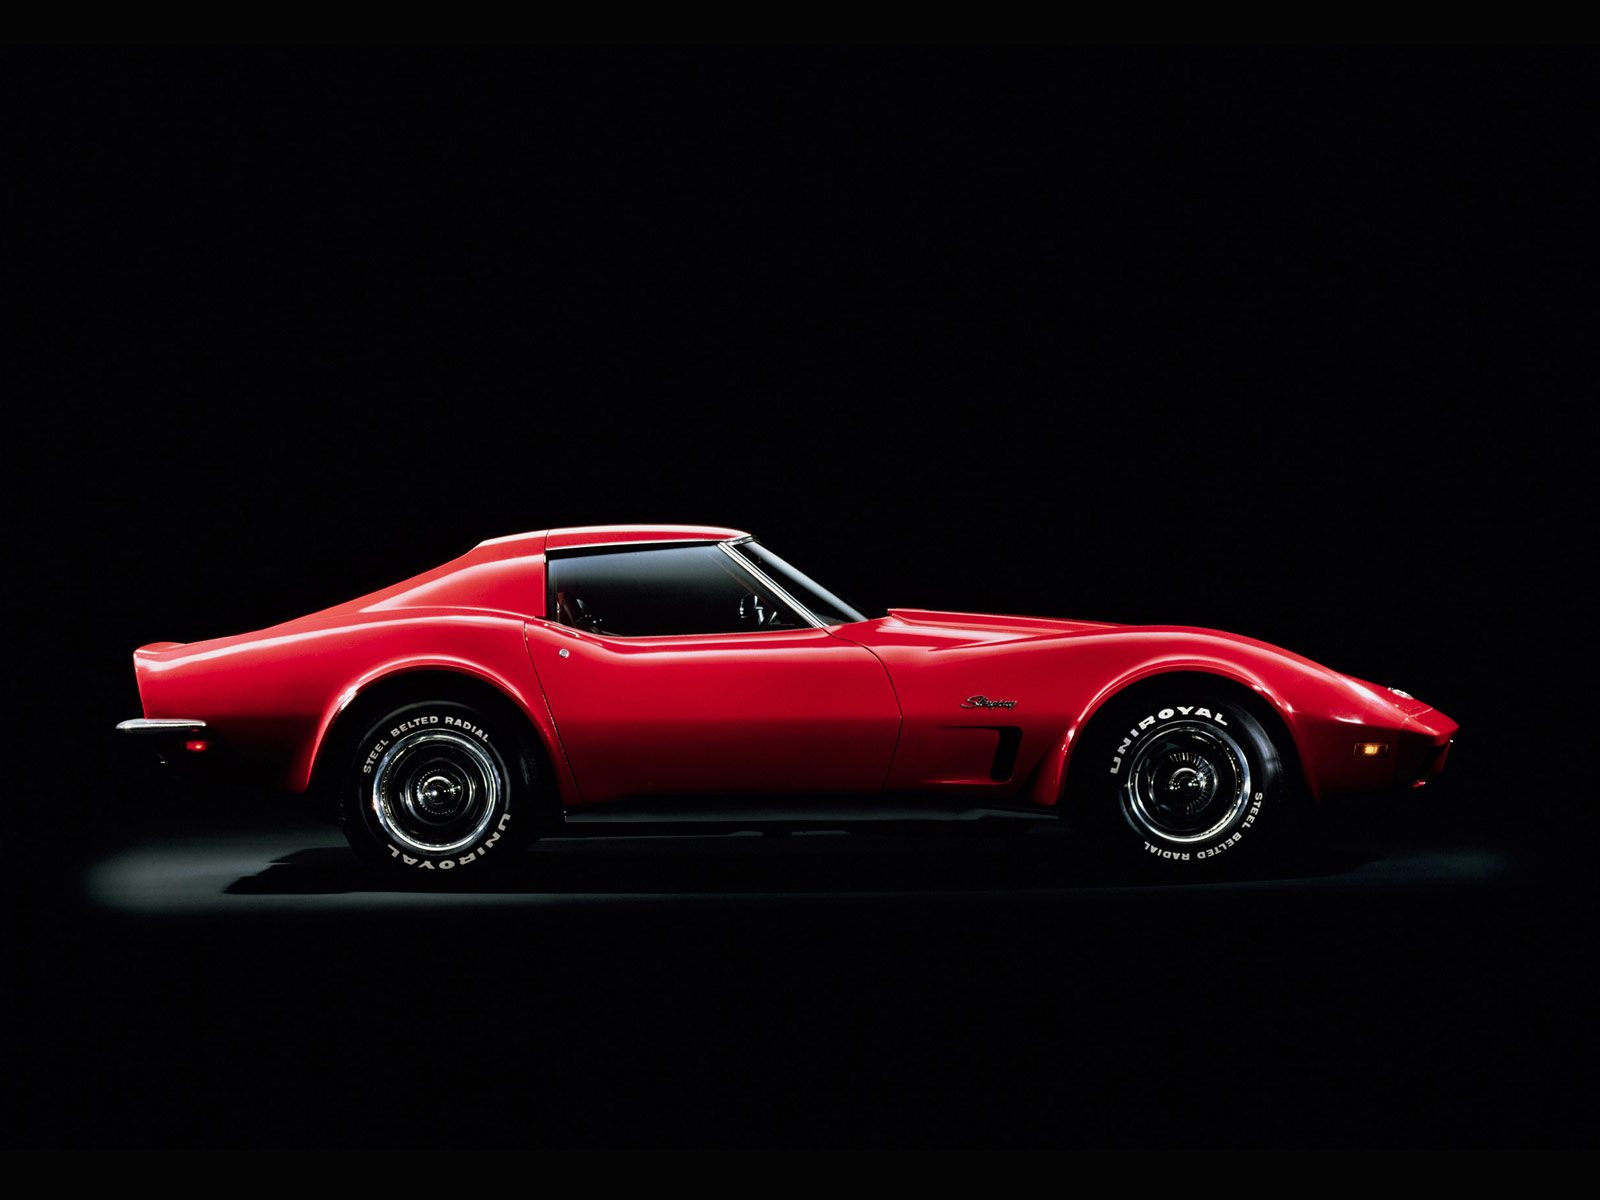
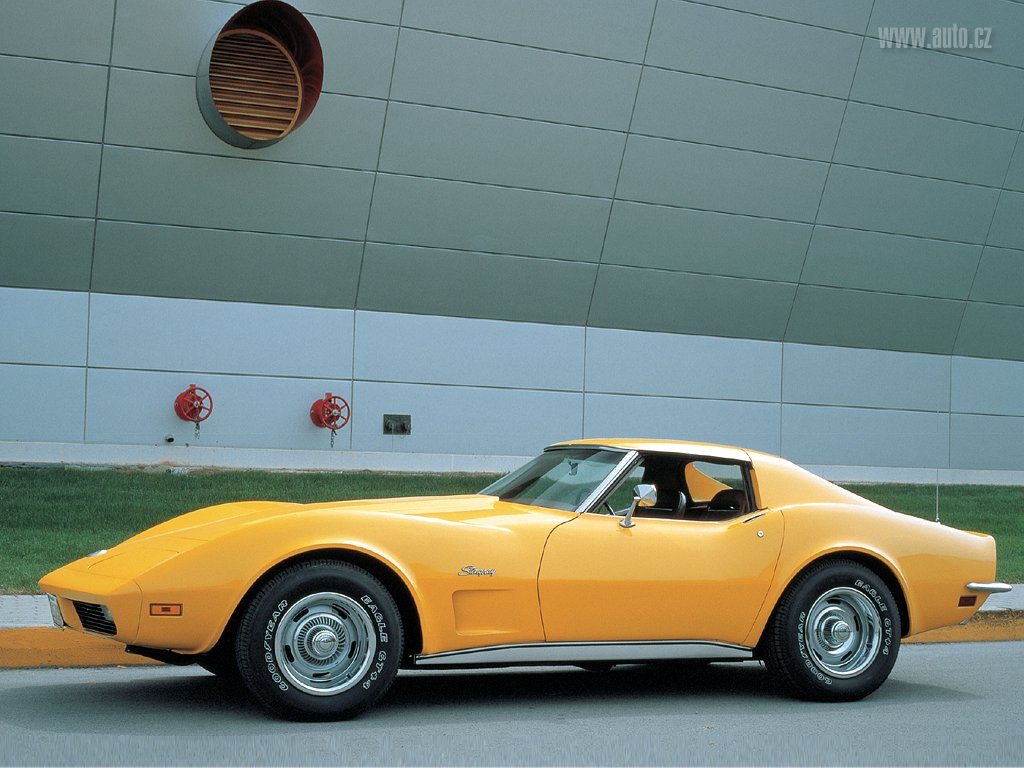
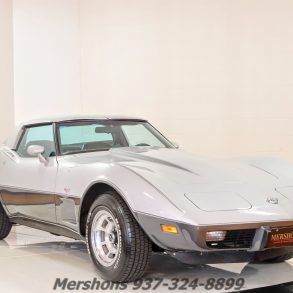
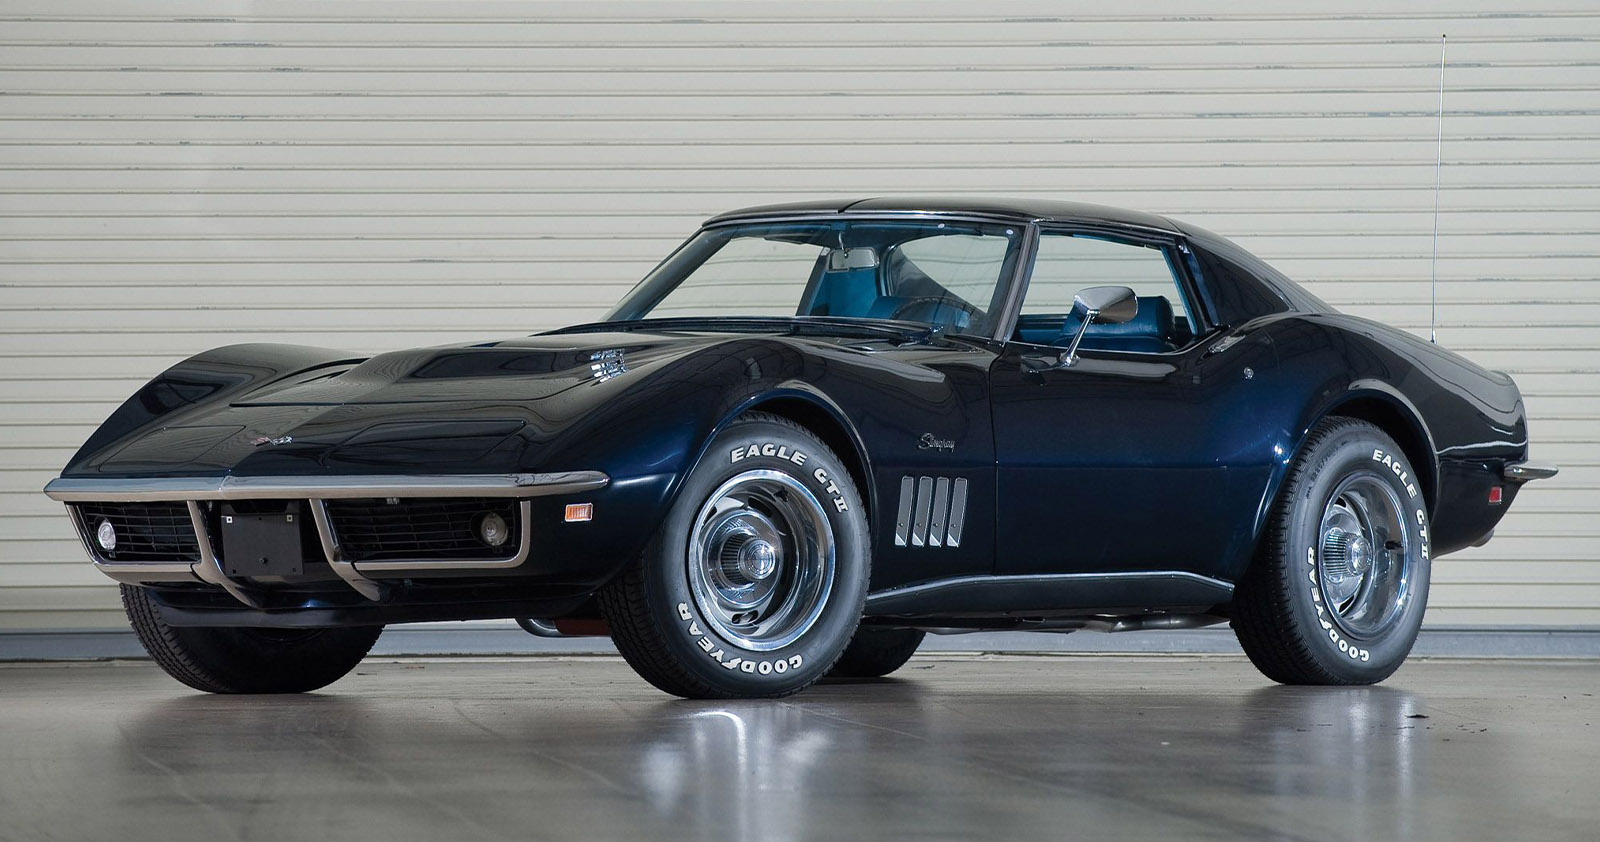
The 1973 C3 Chevy Corvette featured a longer nose, and a front bumper that was covered in urethane. (Image courtesy of GM Media.)The changes to the 1973 Corvette, especially when compared to the earlier C3 models, was obvious. For 1973, the Corvette received a new nose treatment on both the coupe and convertible models. The nose was longer (by about two inches), slightly heavier (by about thirty-five pounds), and featured a steel bumper that was covered by deformable urethane plastic that was matched to the body color of the rest of the car.
Although this new nose was the first major appearance change since the introduction of the C3 in 1968, the design was more than just a cosmetic enhancement. To the contrary, the new nose was one of the first examples in engineering design where the styling was dictated by function.
The rest of the front end saw other modifications to their earlier design as well. The 1973 Corvette front fender molds were made to incorporate a simple, recessed air vent design on each side of the car in lieu of the separate cast vent grilles that had been seen on the 1970–1972 models.
This provided a simpler, more streamlined look for the fenders once mounted to the car. Additionally, a new longer hood panel shrouded the parked wiper blades and brought back a cowl-induction system which supplied cool air to the carburetor. The air supply was controlled, according to engine operating conditions, by a solenoid-operated valve that was built into the hood.
While not as notable as the new front end, the 1973 Corvette received a number of other design and safety enhancements that followed the mantra of “form follows function,” (a statement that would become synonymous with the Corvette throughout this and all future generations.) The rear window, which had been removable on earlier models of the C3 Corvette, was now fixed in place. A benefit of this design change was that it provided an additional two-inches of rear storage space due to the removal of the rear window storage shelf.
Another enhancement that was implemented – this time at the direction of a Federal mandate – was the introduction of a longitudinal steel beam in each door to help protect occupants in side impacts. Inside the Corvette’s doors, the heavy fluted steel beams were installed, extending from the door hinges to the lock plates. A design that had been pioneered by General Motors, the beams tied together the body’s steel “birdcage”, and provided an improved method of safely protecting the car’s occupants from injury.
Still another performance enhancement that was included (though not Federally mandated) was the introduction of standard radial-ply tires. By using radial-ply tires, engineers were able to achieve longer tread wear, better wet-weather grip, and added stability when operating the Corvette at speed. At the same time, there was a tradeoff for using radial-ply tires. For one, the new Corvette demonstrated longer stopping distances despite the fact that the 1973 Corvette’s braking system went unchanged from the previous year. Additionally, the new radial-ply tires had lower lateral-G figures on the skidpad, and were rated to operate a maximum speed of just 120 miles per hour.
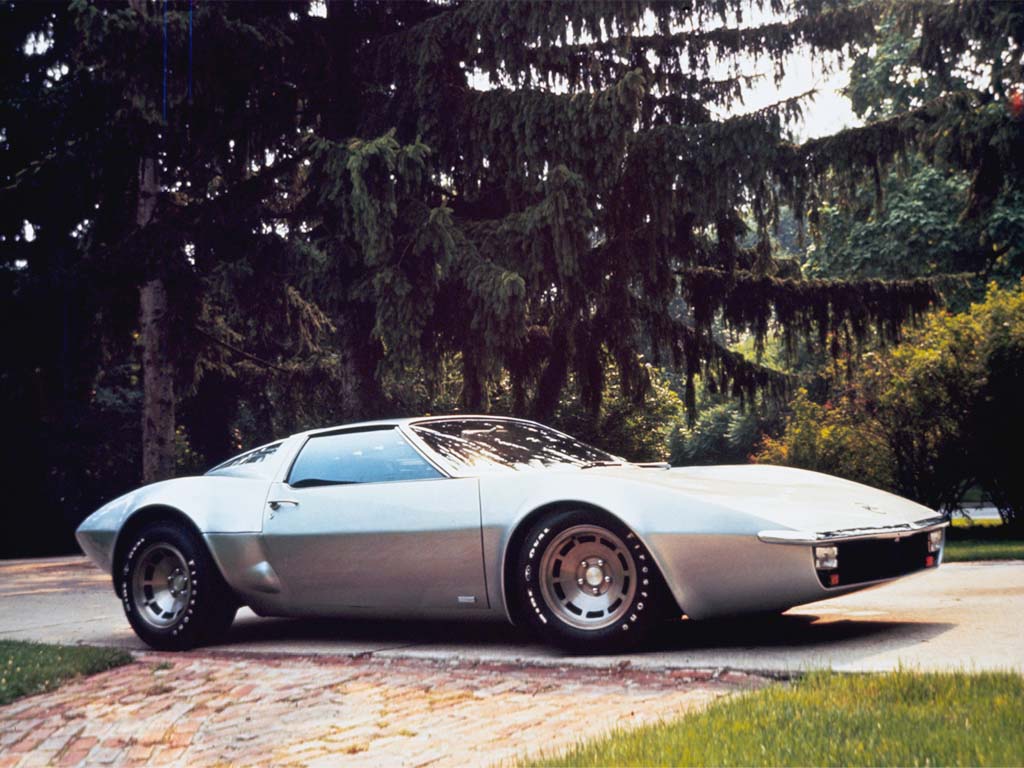
An option to consumers, the Corvette’s new tires could now be mated to new wheels that would follow the dual “form and function” philosophy. The wheel’s “form” was revised to include an all-new design that was patterned directly from the XP-882 mid-engine Corvette prototype. They featured an eight-inch rim width, a deep-dish section, and eight cooling vents (instead of the ten vents on the experimental car’s original wheels.)
The design was considered striking and more sophisticated by many Corvette enthusiasts than those seen on the earlier C3‘s. “Function” was enhanced by the use of aluminum as the component material, which aided in reducing Corvette’s curb weight by eight pounds per wheel (or 40 pounds per car) without compromising structural strength. Available to consumers as RPO YJ8, only 4 sets of wheels (5 wheels per set), were ordered in 1973, although it is rumored that Chevrolet manufactured a total of 800 sets in all. Early in their production run, Chevrolet rejected the wheels for porosity issues, and recalled the wheels that had been released.
Other design changes to the 1973 Corvette were more successfully introduced and implemented that help to further enhance the overall quality of the car. For one, the body mounts were changed to include a rubber/steel design that helped eliminate annoying vibrations experienced during various driving conditions.
The mounts, which actually utilized a rubber mount encased in a steel sleeve, provided additional cushioning without a loss in rigidity – helping Corvette to maintain a lower level of body roll while improving the ride experience for the car’s occupants. Up front, the problem-prone pop-up wiper panel was replaced by a single rear-hood extension. Elsewhere, engine noise was reduced by adding extra sound dampening insulation in strategic areas throughout the car. Some of this sound deadening material – specifically an asphalt based compound – was sprayed on to several inner body panels. Additionally, a new, sound-dampening pad was installed under the Corvette’s hood. Inside the cockpit of the car, thicker carpeting and heavier mats were installed in the dash, console and the rear quarters. As a result of this additional damping material, Chevrolet ads that year claimed a forty percent reduction in cabin noise levels.
DID YOU KNOW: The 1973 Corvette’s optional wheels (RPO YJ8) were limited to a single year of production, due to a design flaw in the material that caused Chevrolet to recall the wheels that had been sold. Although only 4 sets of wheels were ever recorded as being sold to consumers during the time of vehicle production, it is believed that Chevrolet manufactured as many as 800 sets of these unique aluminum wheels. These rare aluminum wheels carry the casting number 329381, and featured lug nuts with a recessed center area that had been painted black. While many of these rare wheels ended up in the hands of consumers, it is unknown how many sets of these YJ8 aluminum wheels still exist today.
While concerns about engine noise were certainly addressed, concerns about engine performance continued to linger. For the 1973 model year, federal regulations again emasculated the performance capabilities of every Corvette engine, including the optional upgrades. For the first time since 1956, Chevrolet did not offer a mechanical-lifter engine in the Corvette line. Instead, a choice of three hydraulic lifted units were available.
The base 350 engine (RPO L48), which came standard with the 1973 Corvette, offered consumers a relatively unimpressive output at 190 horsepower. An optional, uprated small block (L82) was also offered with an engine output rating of 250 horsepower. Lastly, a single optional 454 big block (LS4) was offered, producing an engine output of 270 horsepower. Although all three of these engine outputs was diminished from previous years, they did not deter the Corvette from running a quarter-mile time in the mid-15-second range, which was comparable to many of the European cars that were being built at that time – including the Porsche 911E and the DeTomaso Pantera.
Production Volumes
Given the changes in the design, and despite the steadily decreasing power of the engines being offered in all versions of the Corvette, the sales numbers for the 1973 model year actually improved over previous years. In all, Chevrolet sold 30,464 Corvettes in 1973, with more than 80% (or 25,521) of those sold being coupes. Prices increased only slightly for 1973, with a base coupe selling for $5,561.50 and a convertible selling for $5,398.50. Interestingly, 4,000 serial numbers were never used/built during the 1973 model year. The last 1973 Corvette’s serial number ended with 34,464, although total production of the 1973 Corvette only totaled 30,464 units. The unused VIN numbers – 24,001 thru 28,000 – were later identified.
During its first six years of development, the C3 Corvette had been transformed from the apogee of high performance represented by the ZL-1 in 1968 to a vehicle more recognized for its higher level of luxury, as portrayed in the 1973 model. While these extremes made many enthusiasts and critics alike begin to debate what kind of car the Corvette should be, it was this same debate that had fueled the continuation of the Corvette since its introduction in 1953.
1973 Corvette Specifications & Performance
See the complete breakdown of technical specifications for the 1973 Corvette, including engine, suspension, brakes, body dimensions, and power. Read more: 1973 Corvette Specifications.
Engine & Transmission
The base models, still using a 350 CID small-block V8, were reduced to a 190 horsepower rating. The L82 version of the 350 was rated at 250 horsepower, while the big-block 454 CID V8 was rated at 270 horsepower. The latter is the only engine that did not see a horsepower drop this year. Another significant engine fact is that the lineup did not contain a mechanical-lifter engine for the first time since 1956.
Performance
Car and Driver tested the 1973 Corvette and managed a 6.7 second sprint from 0 – 60 mph and a 15.1 second quarter mile time, while Road and Track managed a 7.2 second 0 – 60 mph and 15.5 second quarter mile. More performance data here.
1973 Corvette Vehicle Identification Numbers (VIN)
For all 1973 Corvettes, the location of the Vehicle Identification Number (VIN) is stamped on a plate attached to the left front body hinge pillar. The last six digits begin at 400001 and run thru 434464, accounting for 30,464 Corvette Coupes/Convertibles built in 1973. 4,000 serial numbers were unused for the 1973 model year. Each Vehicle Identification Number (VIN) is unique to an individual car. Read more: 1973 Corvette VINs.
1973 Corvette Price & Options
Core Features & Factory Options
Almost all changes for the 1973 Corvette were in response to new federal mandates that were changing the auto industry at the time to improve safety and emissions. Like many car models, this proved to have good points and bad points for the Corvette. Performance had been slowly drained nearly every year since higher emissions standards were enacted, including the requirement that all engines run on unleaded gas. 1973 was no different, and saw horsepower ratings drop once again.
A new hood made an appearance in 1973 and the new design eliminated the need for the moveable panel that was raised to allow the windshield wipers to do their thing. The mechanism was troublesome so it probably wasn’t missed.
The rear window would no longer be removable. The idea was to give a more open feeling, but excessive wind buffeting meant that it was little used. Some steps were taken to make the Corvette a quieter place to drive and ride in, including the addition of sound deadening material on some inner panels, a hood pad and improved chassis mounts.
Colors
Exterior colors included Classic White, Silver, Medium Blue, Dark Blue, Blue-Green, Elkhart Green, Yellow, Metallic Yellow, Mille Miglia Red and Orange. More details on 1973 colors here.
Pricing & Options
The Base Corvette Coupe with 350 cu. in. 190 hp engine and wide ratio four speed manual transmission started at $5,561.50, while the Base Corvette Convertible with 350 cu. in. 190 hp engine and wide ratio four speed manual transmission started at $5,398.
| CODE: | DESCRIPTION: | QUANTITY: | RETAIL PRICE: |
| 1YZ37 | Base Corvette Sport Coupe | 25,521 | $5,561.50 |
| 1YZ67 | Base Corvette Convertible | 4,943 | $5,398.50 |
| – | Custom Interior Trim | 13,434 | $154.00 |
| A31 | Power Windows | 14,024 | $83.00 |
| A85 | Custom Shoulder Belts (std with coupe) | 788 | $41.00 |
| C07 | Auxiliary Hardtop (for convertible) | 1,328 | $267.00 |
| C08 | Vinyl Covering (for auxiliary hardtop) | 323 | $62.00 |
| C50 | Rear Window Defogger | 4,412 | $41.00 |
| C60 | Air Conditioning | 21,578 | $452.00 |
| – | Optional Rear Axle Ratio | 1,791 | $12.00 |
| J50 | Power Brakes | 24,168 | $46.00 |
| LS4 | 454ci, 275hp Engine | 4,412 | $250.00 |
| L82 | 350ci, 250hp Engine | 5,710 | $299.00 |
| M21 | 4-Speed Manual Transmission, close-ratio | 3,704 | $0.00 |
| M40 | Turbo-Hydro-matic Automatic Transmission | 17,927 | $0.00 |
| N37 | Tilt-Telescopic Steering Column | 17,949 | $82.00 |
| N40 | Power Steering | 27,872 | $113.00 |
| PO2 | Deluxe Wheel Cover | 1,739 | $62.00 |
| QRM | White Stripe Steel Belted Tires, GR70x15 | 19,903 | $32.00 |
| QRZ | White Letter Steel Belted Tires, GR70x15 | 4,541 | $45.00 |
| T60 | Heavy Duty Battery (std with LS4) | 4,912 | $15.00 |
| U58 | AM-FM Radio, Stereo | 12,482 | $276.00 |
| U69 | AM-FM Radio | 17,598 | $173.00 |
| UF1 | Map Light (on rearview mirror) | 8,186 | $5.00 |
| YF5 | California Emission Test | 3,008 | $15.00 |
| YJ8 | Cast Aluminum Wheels (5) | 4 | $175.00 |
| Z07 | Off Road Suspension and Brake Package | 45 | $369.00 |
Read more: 1973 Corvette pricing and factory options.
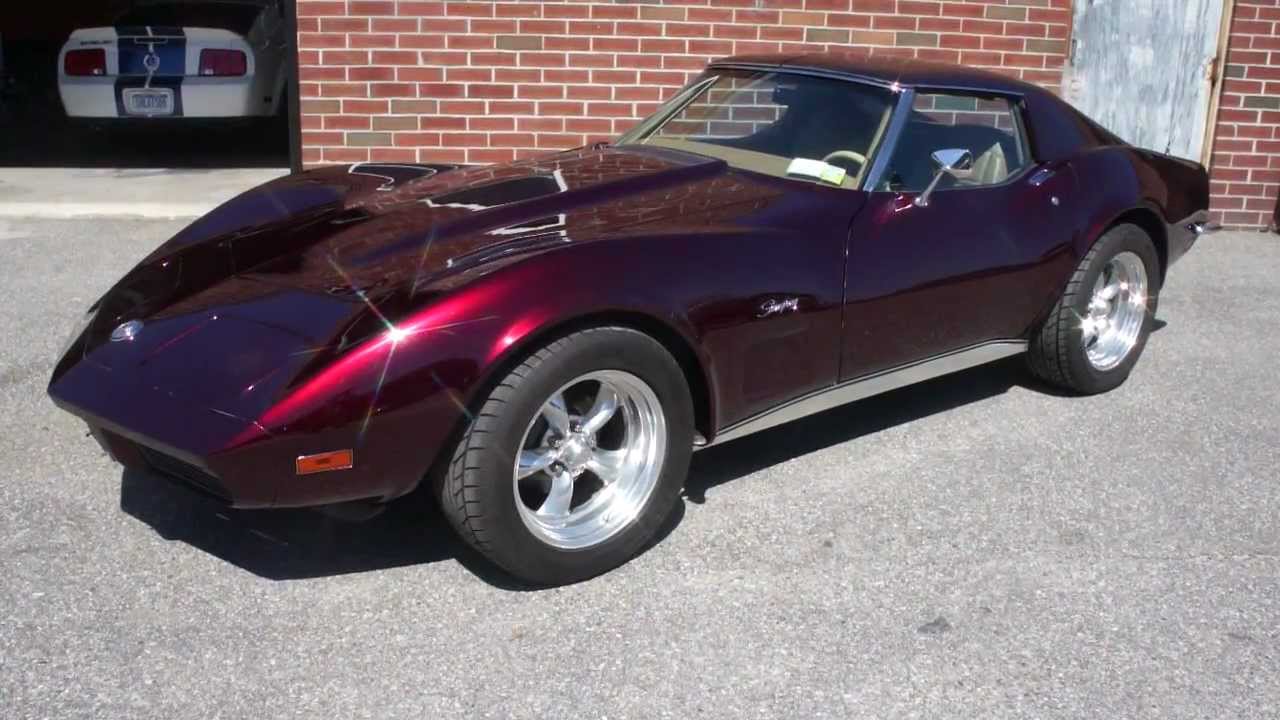
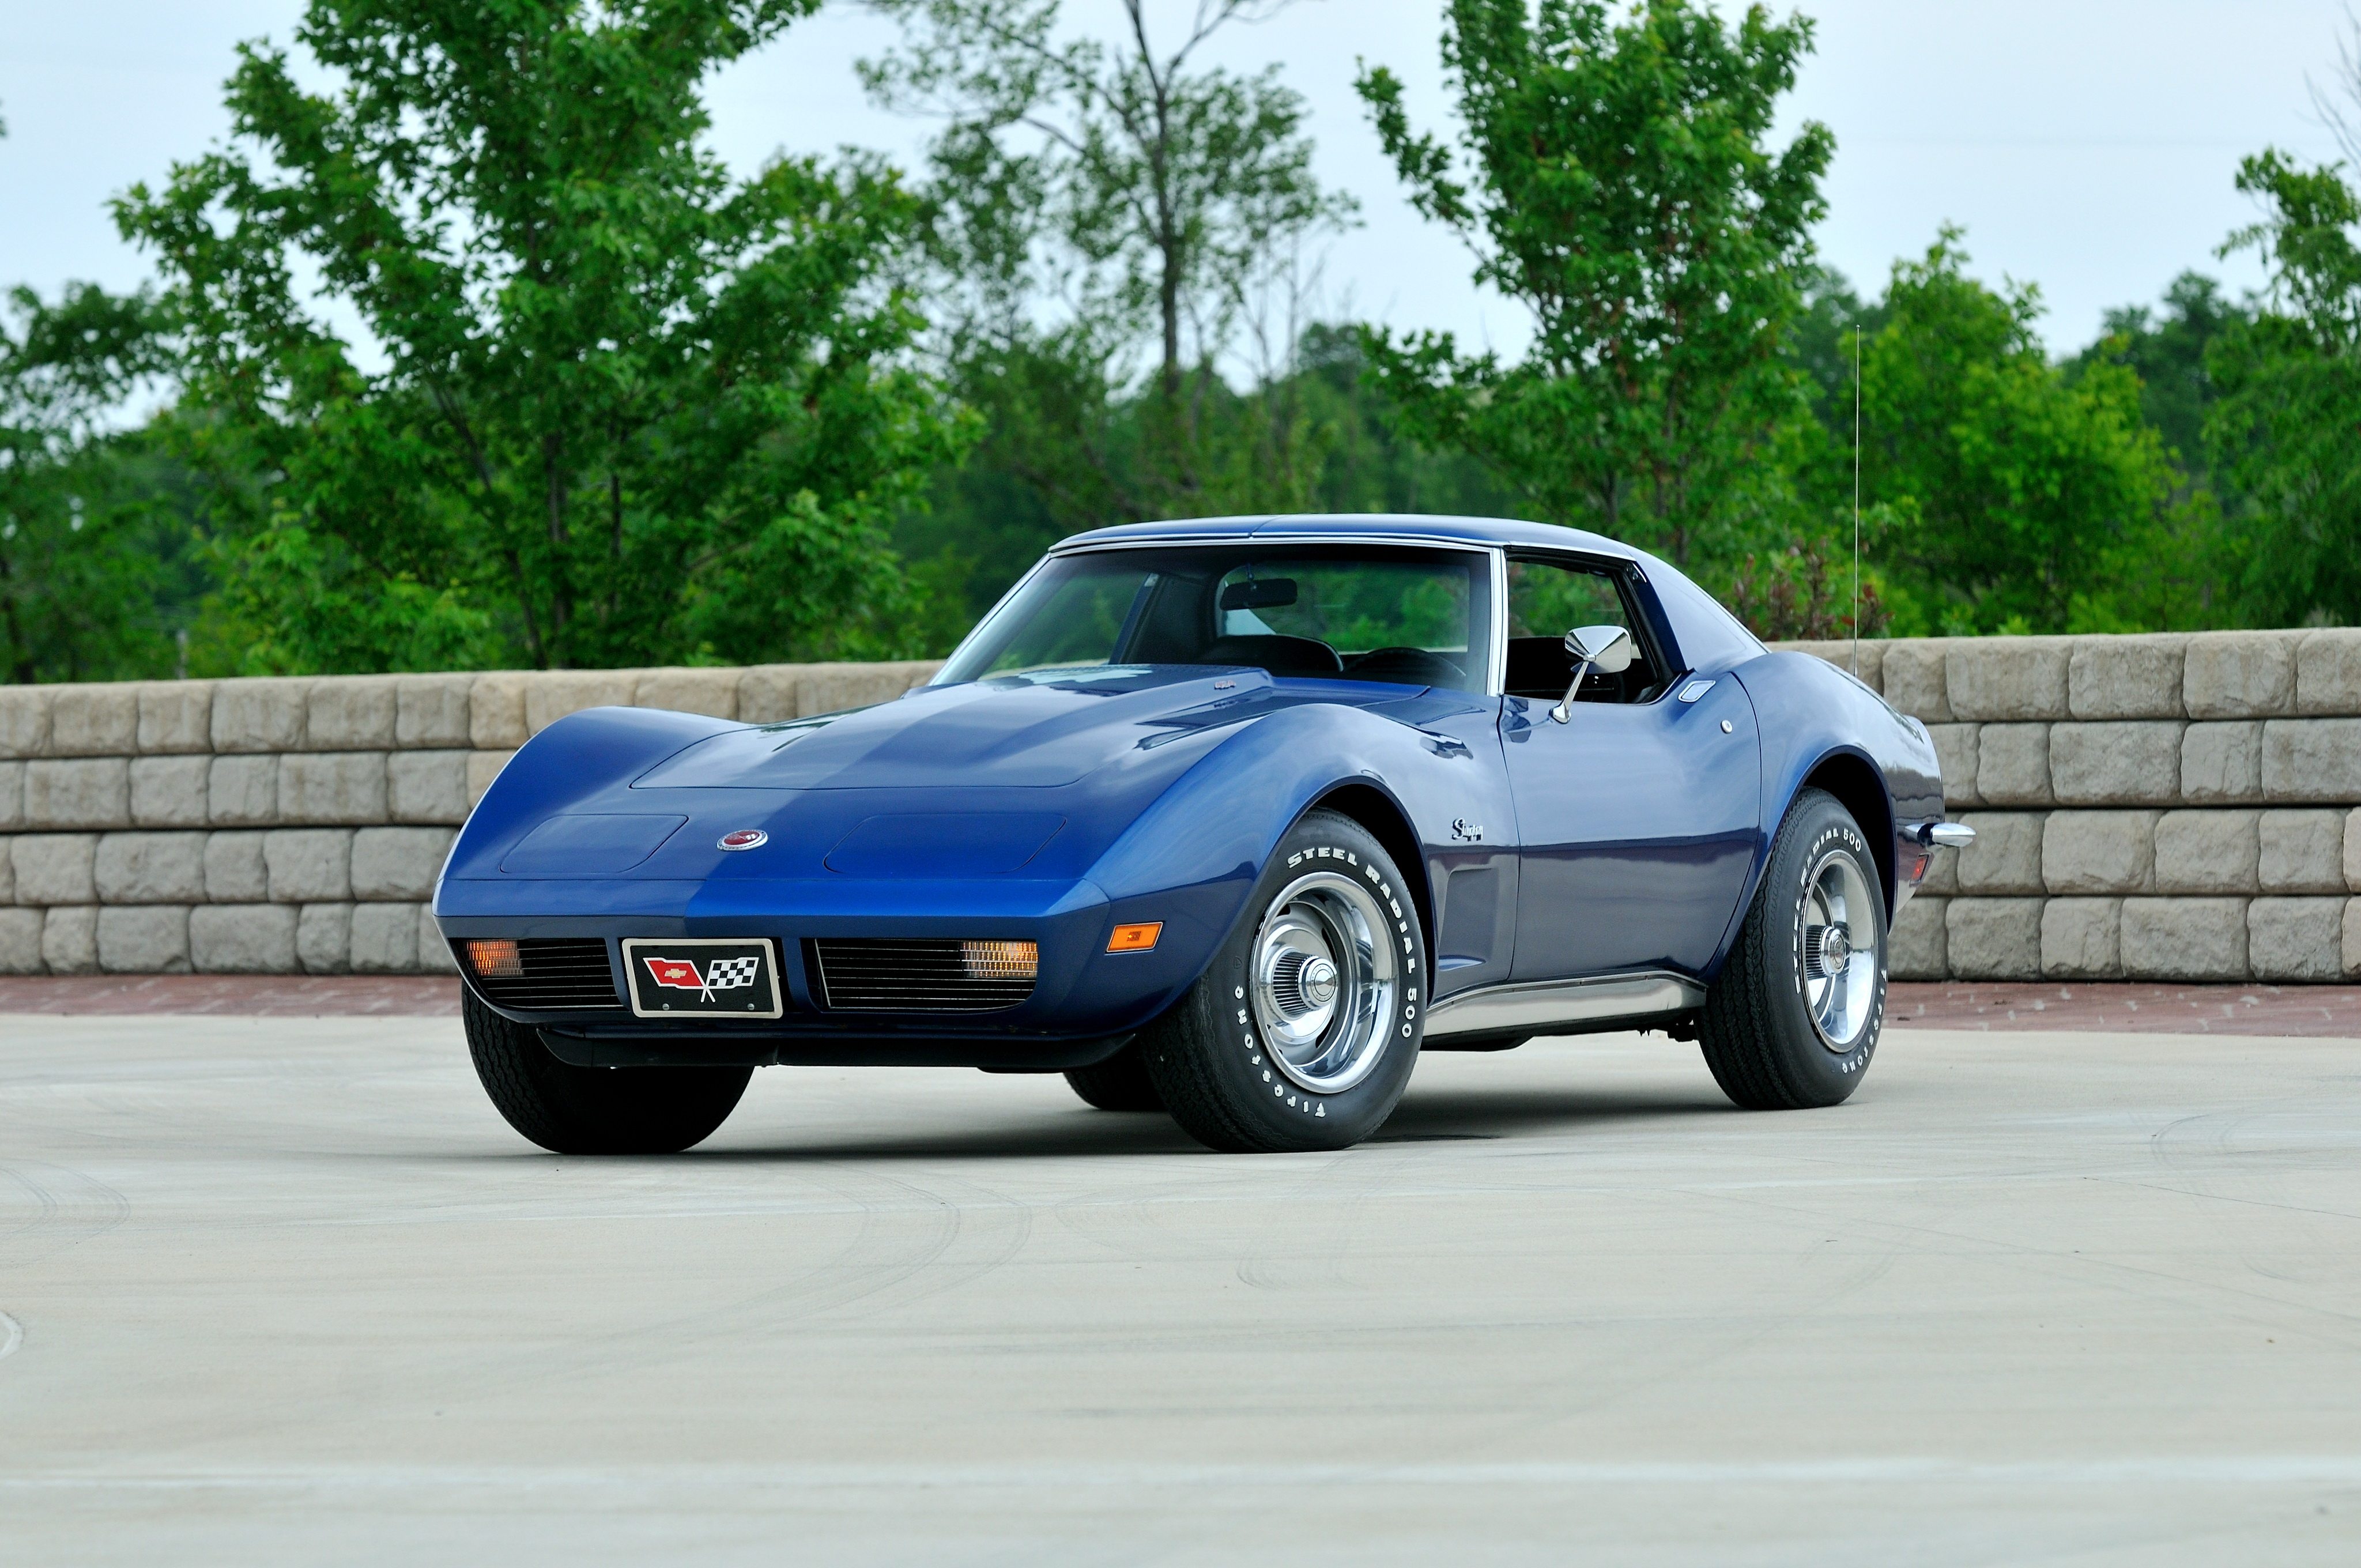
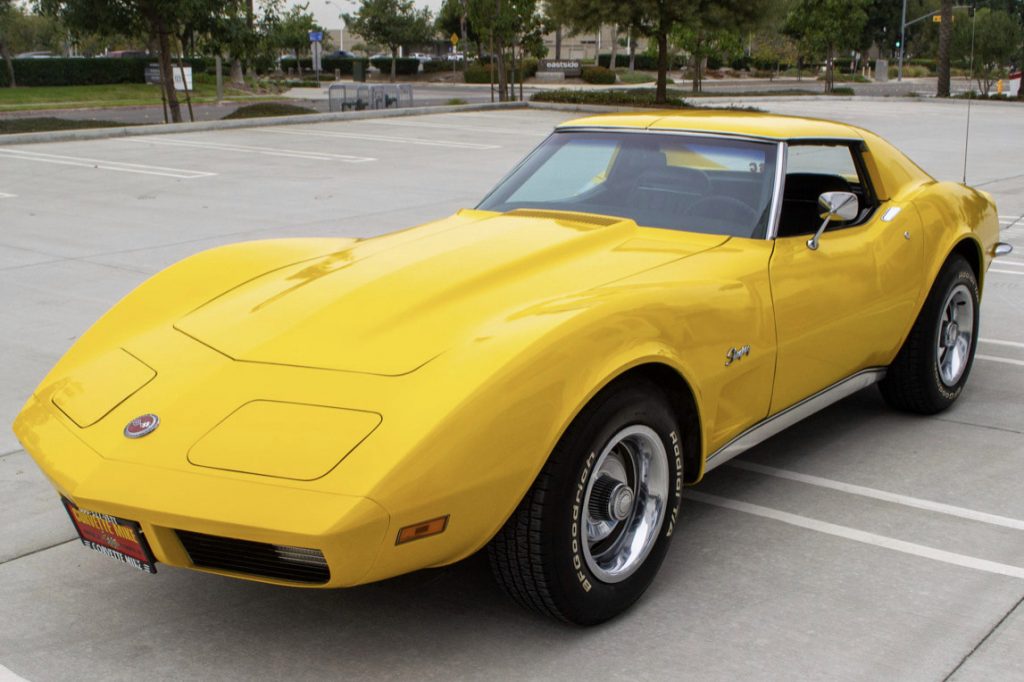
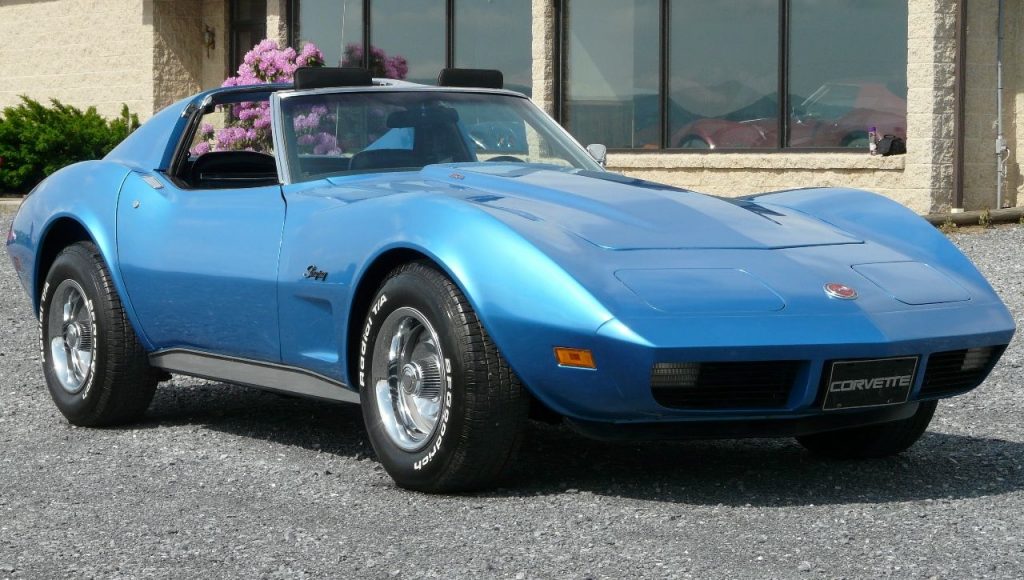
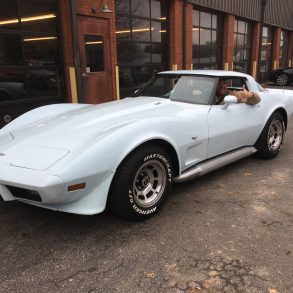
1973 Corvette Gallery
The bumper system consisted of an injection molded urethane cover, which, due to the flex agent in the paint, was often a slightly different shade than the rest of the car. Other design features that gave the new design a fresh look were new side events. Replacing the former egg crate type vent were single openings that were almost vertical. A fixed rear window for the coupe slightly added trunk space, and the pop-up wiper panel, which had been prone to mechanical problems, had been replaced. New wheel covers also were introduced along with the new radial tires. See full 1973 Corvette Image Gallery


No wonder I can’t travel any distance, with that 4 gal fuel capacity.
how do i when my nuetral safety switch is faulty also when going up a hill the car dies out