

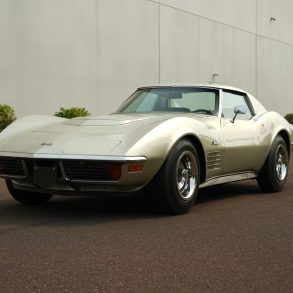
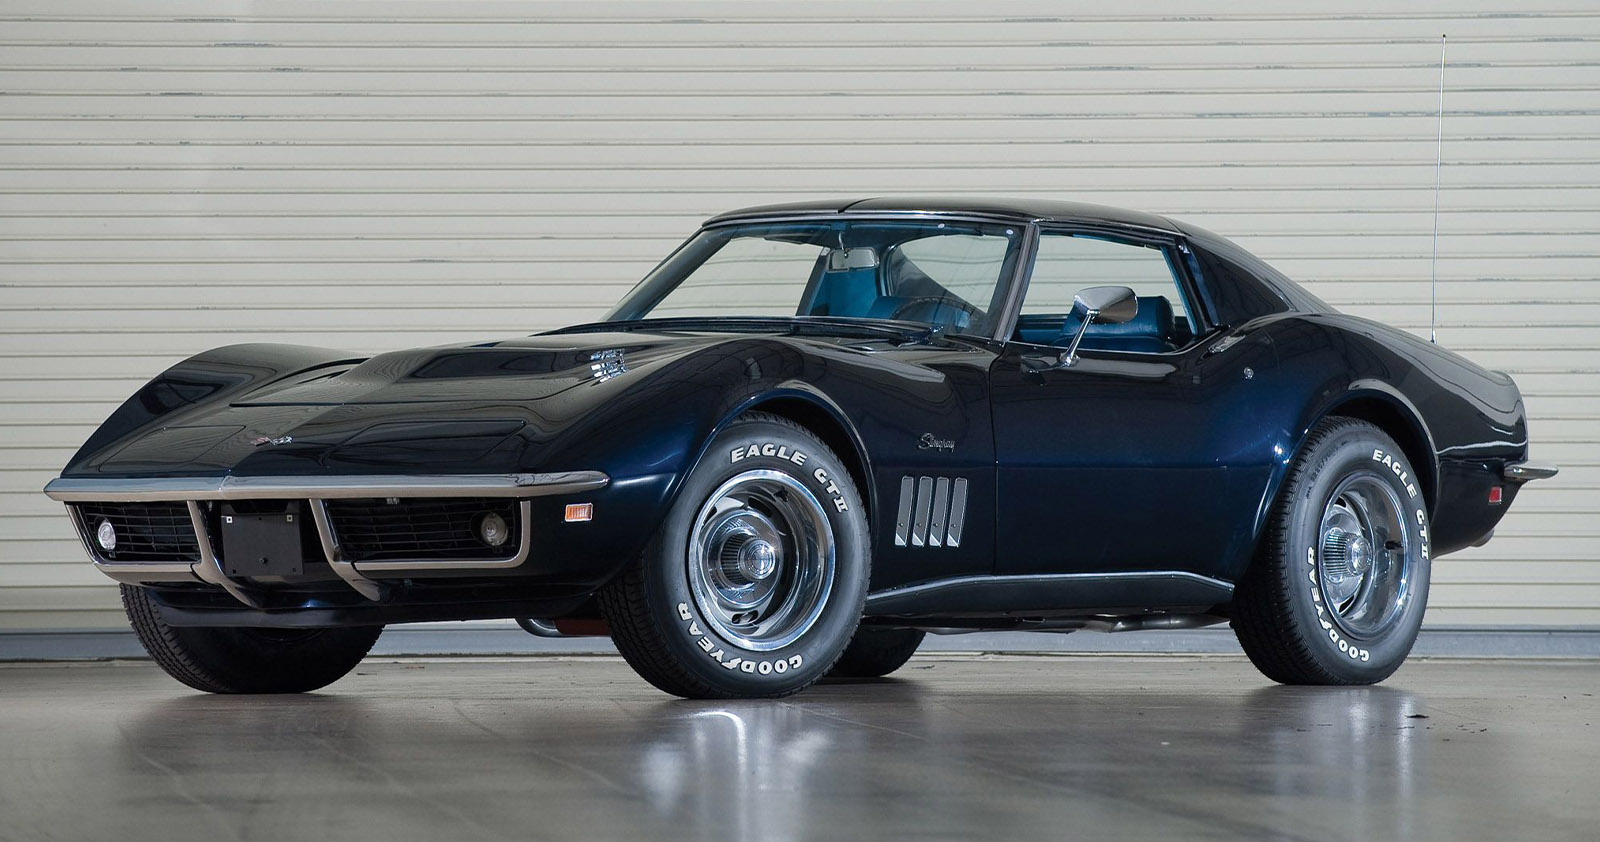
1972 Corvette – The Ultimate Guide
Although its arrival was anticipated by consumers and critics alike, there were virtually no physical or mechanical changes made to the 1972 Corvette from the previous year. In fact, the most dramatic “changes” made to the current model year involved items that were no longer available to prospective owners when ordering a new Corvette.
To start, consumers could no longer order the optional ZR-2 package, due to General Motors elimination of the aluminum headed LS-6 from the Chevrolet engine lineup.
Previously, consumers looking to purchase a Corvette had had the option of including the 454 cubic inch big block LS-6 either on its own or as part of RPO ZR2, but because of incredibly poor sales numbers the previous year (only 188 Corvettes with the LS6 engine and a meager 12 Corvettes equipped with RPO ZR2 were sold), GM felt that the eradication of the engine was a necessity. To that end, only three engines were listed for the Corvette in 1972, which made it the smallest selection since the 1956 model.
All three – the base optional LT-1 small block, and the optional LS-5 big block – were all carry over engines from the 1971 model year, and each of these had more conservative power ratings than their 1971 predecessors.
All of the engines offered in 1972 suffered a loss in power because of the mandatory inclusion of emissions-lowering tuning that year. Furthermore, as was becoming common amongst all automotive manufacturers, GM was now measuring engine outputs in the new SAE “net” measure for the 1972 model year. The choice to use the net numbers instead of the “gross” horsepower measurements was the result of power losses caused by mandatory equipment such as the water pump, alternator, power-steering pump, mufflers, and air cleaner. While the ratings were universally lower, they were also more realistic.
The base engine, designated ZQ-3, was rated at a conservative 200 brake horsepower. The LT-1 was rated at 255 horsepower and the LS-5 was rated only slightly higher at 270 horsepower.
While some cynics were quick to criticize Corvette for the notable depreciation in horsepower from the previous model year, Motor Trend magazine gave the new offerings a favorable endorsement. Motor Trend stated that “the LT-1 screams past those lifeless people ensconced in their movable living rooms laughably referred to as cars. It is an experience that does not soon pass from one’s memory.”
Additionally, then race-car driver Tony DeLorenzo test-drove the 1972 Corvette and stated “you can’t get a better overall performance car. I’d be hard-pressed to find a better car for the money, then the ‘Vette.
It’s just an incredible automobile.
Perhaps the most unfavorable “cut” to the 1972 Corvette was Chevrolet’s failure to complete emissions certification of the Mark IV LS-5 in time to clear it for sale in California, where limits on oxides of nitrogen had been imposed that didn’t apply in the other forty-nine states. Chevrolet knew that the LS-5 was capable of passing these tests, but Chevrolet had simply lacked the manpower to certify every engine/car combination that it had wanted to, and as a result, the LS-5 – due in large part to its low production numbers – was dropped from the test series. Some critics have been quick to question Chevrolet’s decision not to fully support this certification process given that California contained the second-largest Corvette customer base (behind Michigan) at that time.
Beyond the realignment of GM’s engine program, there were virtually no other notable changes made to the 1972 Corvette with the following exceptions: For 1972, the fiber-optic light monitoring system was dropped and an all-new center console was designed to take its place.
Additionally, Chevrolet standardized the horn-honking burglar alarm, which was now included on every new model. The alarm system could be armed and disarmed via a lock cylinder at the rear of the car. When armed, the alarm would sound whenever either the hood or the doors of the car were opened. The alarm – which utilized the factory car horn – would continue honking until the owner’s key was used in the special alarm lock cylinder.
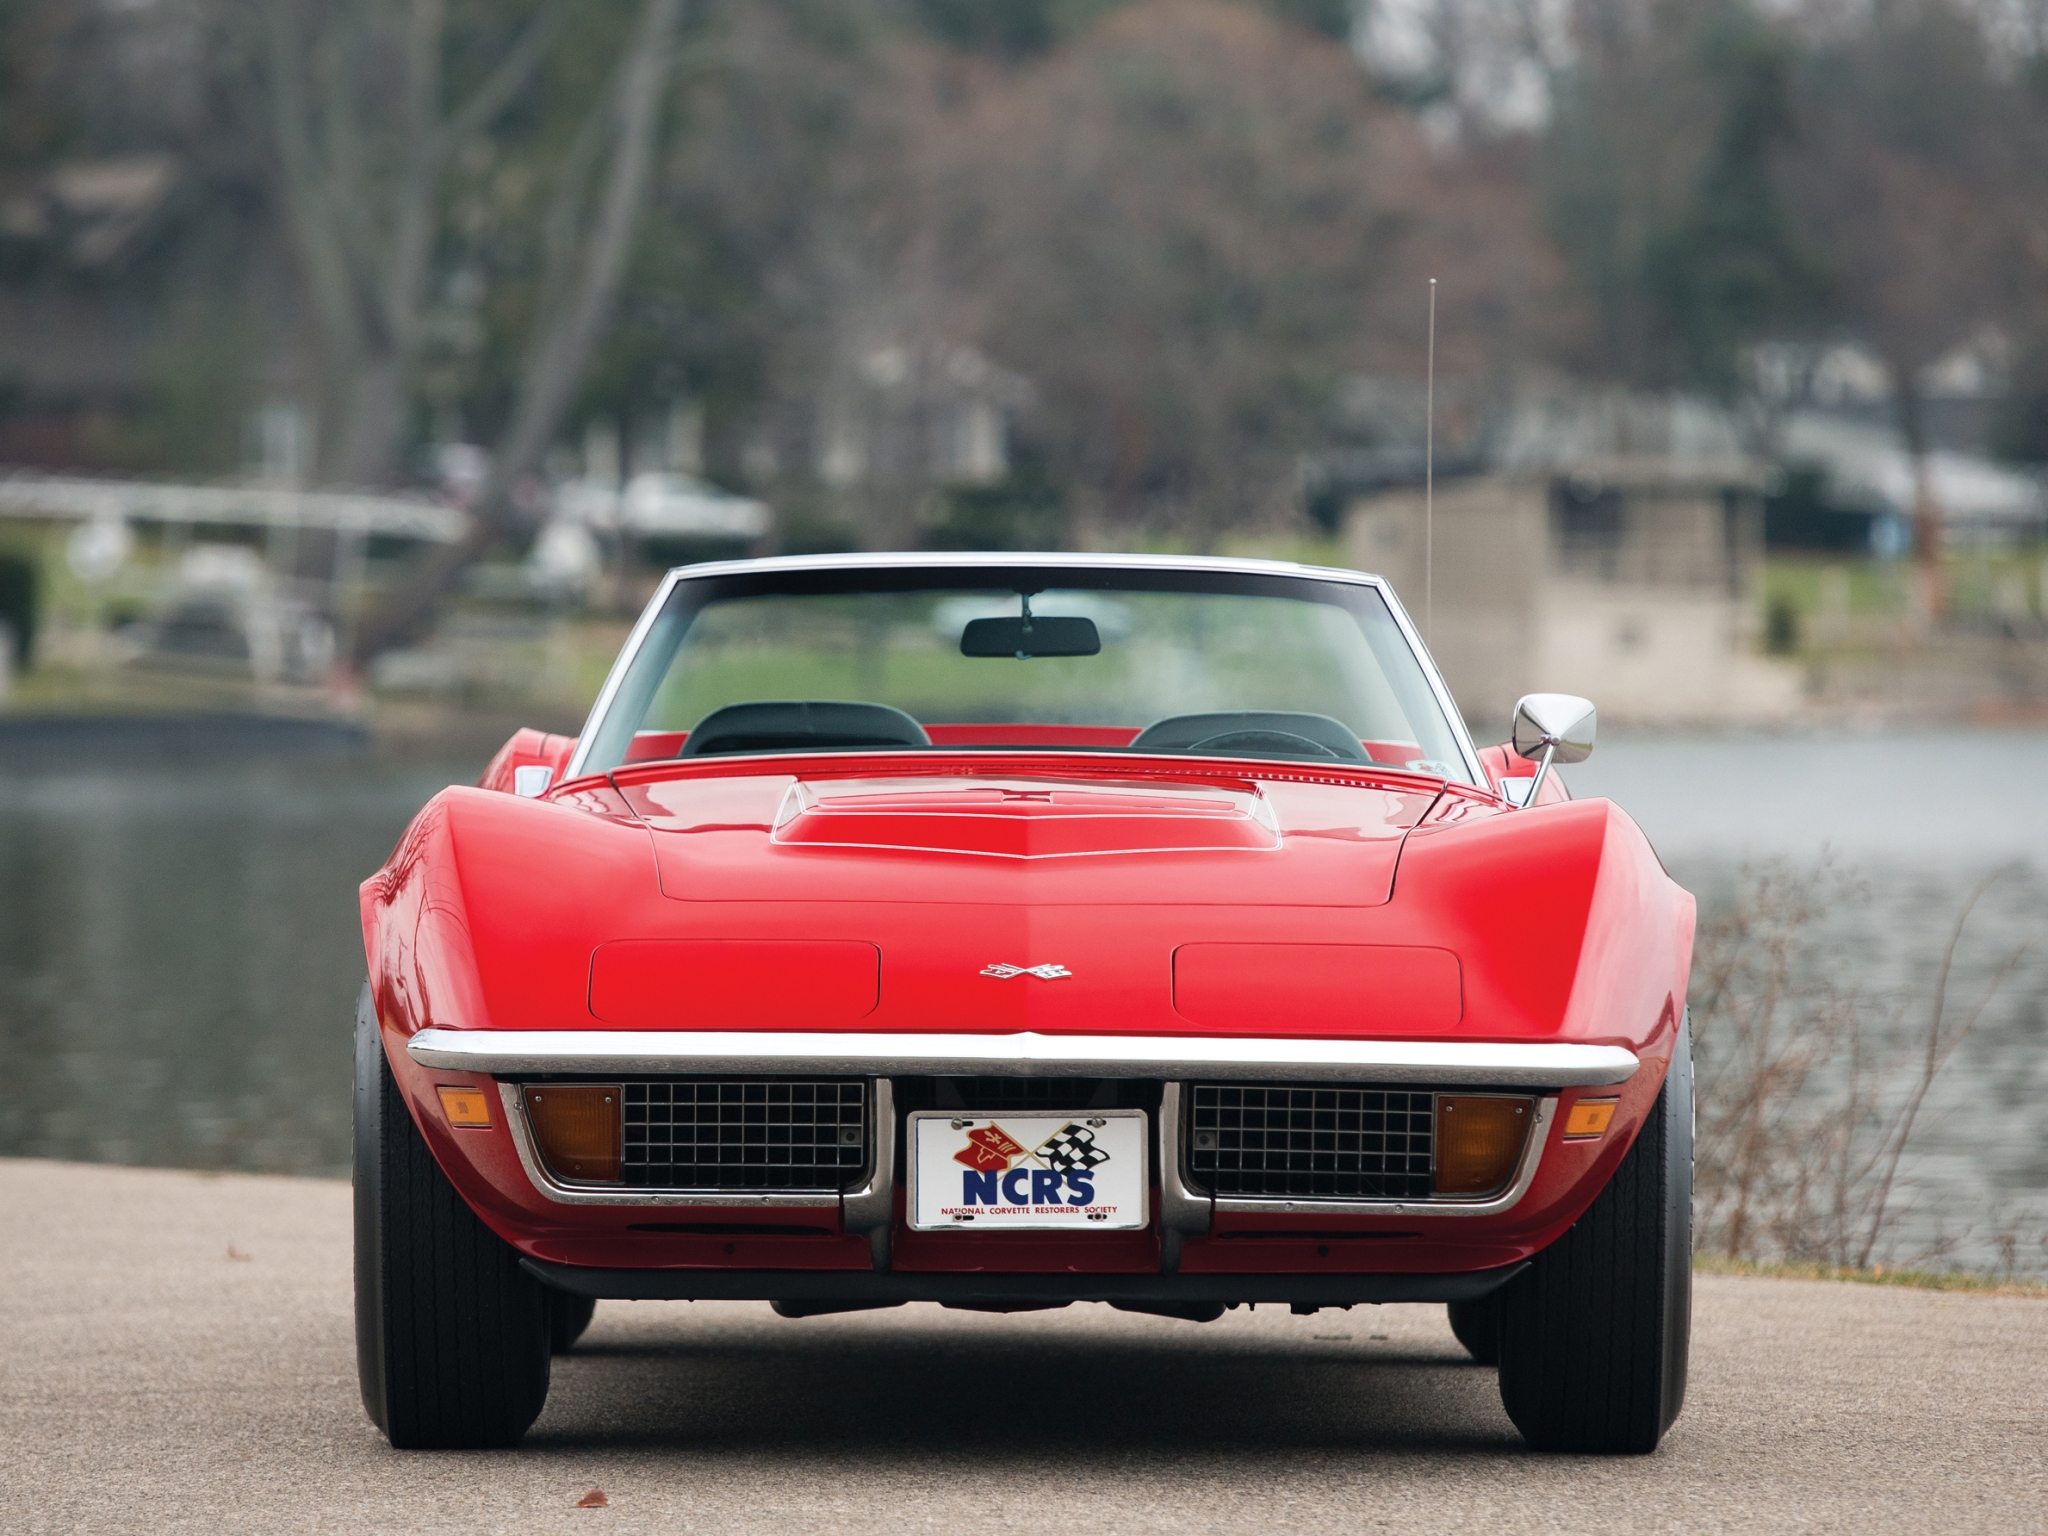
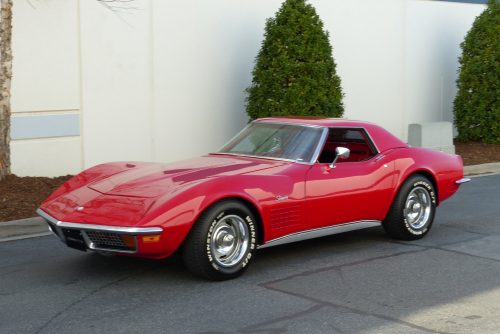
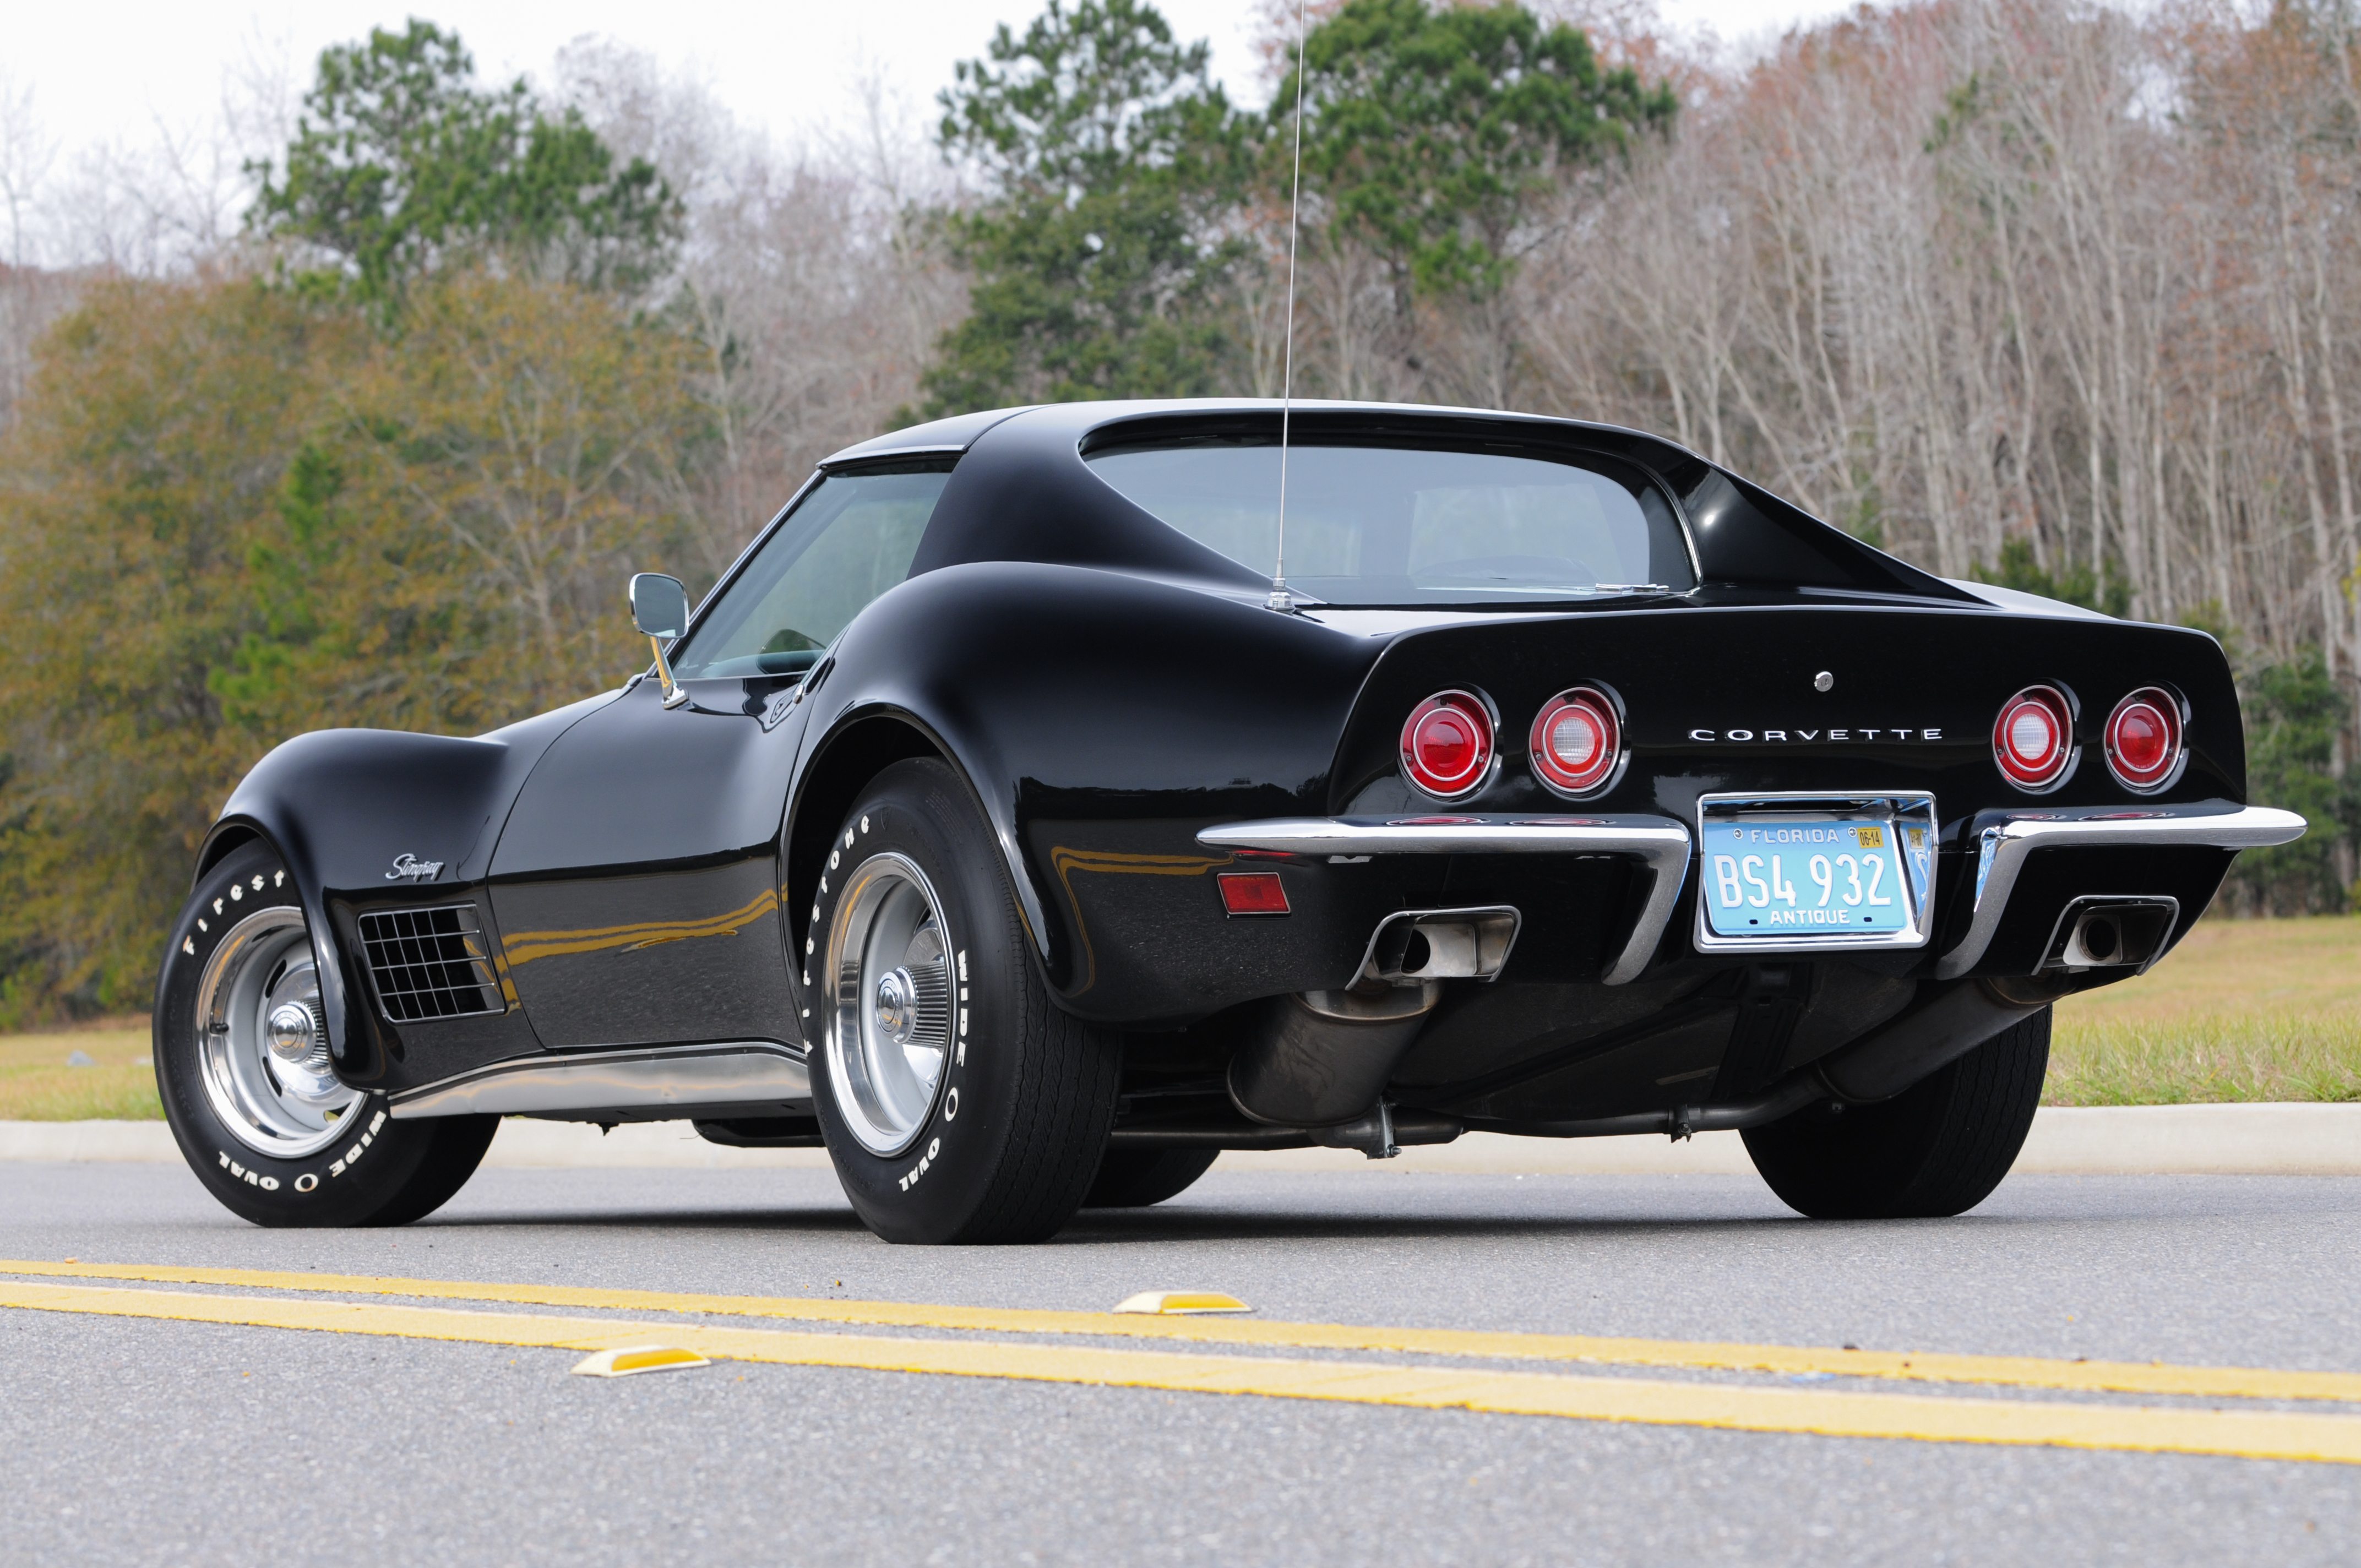
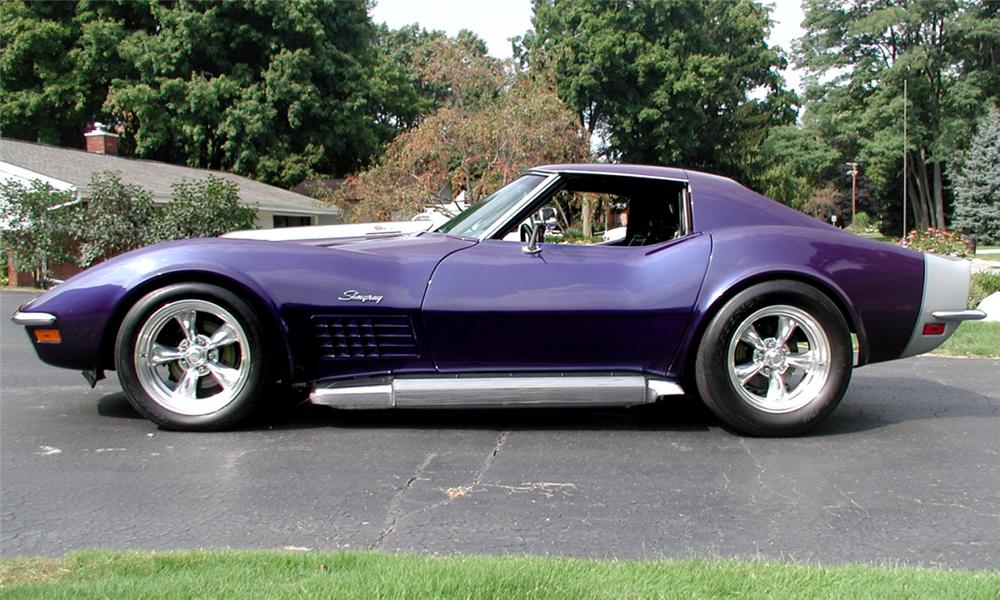
While there were virtually no appearance changes to the 1972 Corvette, the model year did mark the “end of an era” for the third-generation Corvette. It would be the last model year to feature both front and rear chrome bumpers, a bright egg-crate grill, side-fender grills (later models do have functional vents and some have vent trim), and a removable rear-window (this last had been a standard feature from 1968-1972.)
DID YOU KNOW: The 1972 Corvette was the last to feature both front and rear chrome bumpers, a bright egg-crate grill, side-fender grills, and a removable rear window (this last was a feature unique only to the 1968-1972 Corvettes.)
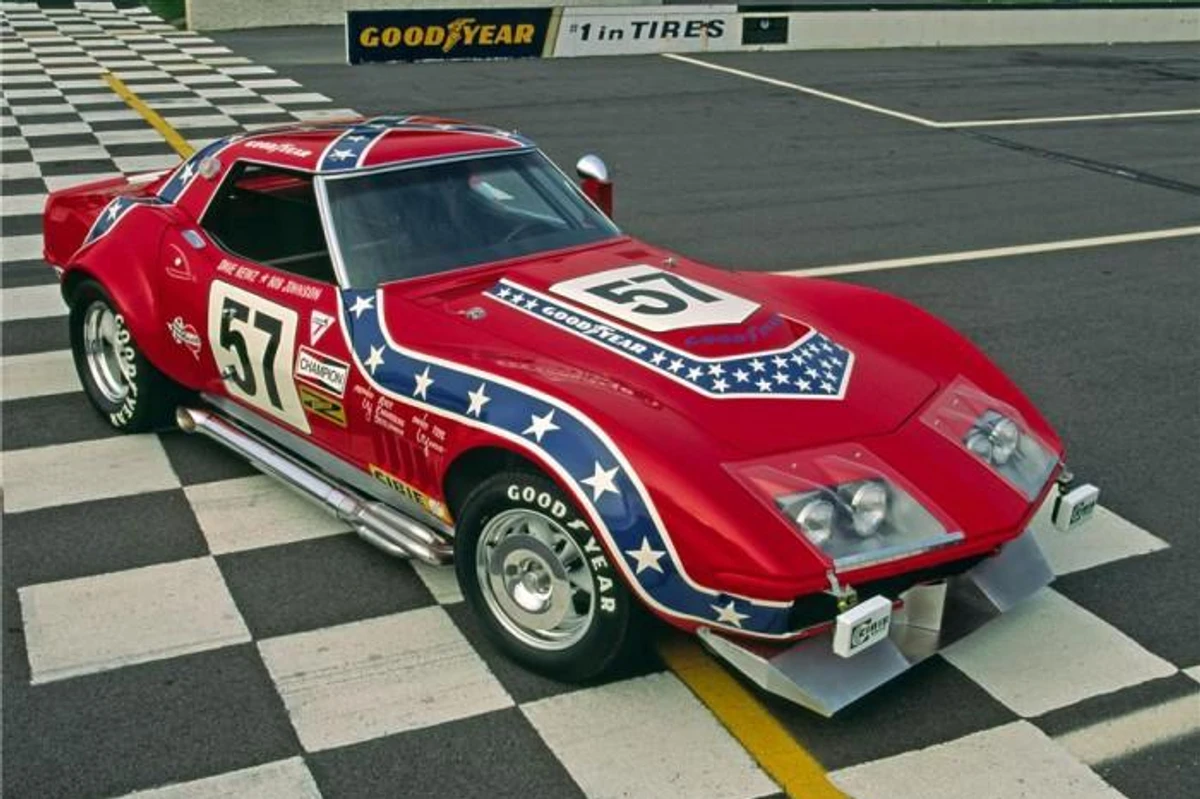
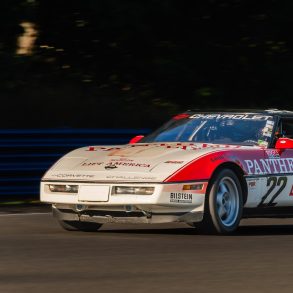
The 1972 racing season would continue to see a strong presence from Corvette, though the car itself would also serve as a test-bed for new tire designs being developed by some of the largest tire manufacturers in the business. While the Corvette made an excellent race car, its combination of weight and speed were very demanding on the car’s tires. Both B.F. Goodrich and Goodyear recognized (and decided to take advantage of) this fact to show Detroit that radial-ply tires were more durable and could be utilized on more vehicles than ever before – even under the toughest driving conditions.
Goodyear would lead this “race-within-races” on the basis of outstanding performance (and race results) of Dave Heinz and Robert Johnson, who drove the No. 57 Chevy Corvette of Dave Heinz racing to a GT class victory (and took 8th overall) on February 6, 1972 at the “Six Hour Daytona Continental-World Manufacturers Championship Race” (more commonly known as part of “the 24 Hours of Daytona” today). Far more impressive, however, was that this same team would take another GT finish and (an overall fourth place finish) on March 25 at the “12 Hours of Sebring.” Their fourth place finish amongst all racing classes that year was the best overall finish Corvette had ever seen to that point in its racing history.
Production Volumes
Pricing of the 1972 Corvette did decrease slightly thanks to the repeal of a Federal excise tax on December 11, 1971. In total, 20,496 Corvette coupes with a base price of $5,533.00, and 6,508 convertibles with a base price of $5,296.00 were sold in 1972, which was an improvement of nearly 5,200 units over the 1971 model year.
1972 Corvette Specifications & Performance
See the complete breakdown of technical specifications for the 1972 Corvette, including engine, suspension, brakes, body dimensions, and power. Read more: 1972 Corvette Specifications.
Engine & Transmission
With the introduction of the net horsepower rating requirement, cars across the auto industry seemed to lose power in 1972, though much of the actual power remained the same. Net power ratings forced auto makers to account for all of the accessories attached to the engine that affected power. These included the water pump, alternator, power-steering pump, mufflers and air cleaners. GM had listed both gross and net power for the Corvette in 1971, and only used the net ratings in 1972.
The new net power ratings caused a significant drop in horsepower ratings. The previous rating of 300 horsepower for the base 350 CID small-block V8 dropped 200. A new version of the same engine was rated at 210 horsepower. The LT1 version of the 350 was rated at 255 horsepower, down from 330 the previous year. For 1972, there was only one big-block offering, the 454 CID V8 that produced 270 horsepower. This was down from 365 the previous year.
Performance
The 1972 Corvette (350ci/255hp) was good for a sprint from 0 – 60 mph in 6.9 seconds while going onto a quarter mile of 14 seconds. More performance figures here.
1972 Corvette Vehicle Identification Numbers (VIN)
For all 1972 Corvettes, the location of the Vehicle Identification Number (VIN) is stamped on a plate attached to the left front body hinge pillar. The last six digits begin at 500001 and run thru 527004, accounting for all 27,004 Corvette Coupes/Convertibles built in 1972. Each Vehicle Identification Number (VIN) is unique to an individual car. Read more: 1972 Corvette VINs.
1972 Corvette Price & Options
Core Features & Factory Options
One new development for the year was that the LT1 was available with the optional air conditioner. This had previously not been available because of designer’s worries that high revving of the car would result in the A/C belts being pulled off their pulleys. To account for this, tachometers for the cars redlined at 5,600 RPM instead of the previous 6,500 RPM. Only 1,741 Corvettes were ordered with the LT1 engine option.
For the first time in the history of the third-generation Corvette, the majority of 1972 models were fitted with an automatic transmission. From its initial offering in 1953 until 1968, the only automatic transmission for the Corvette was the two-speed Powerglide transmission, which was not at all suitable for the Corvettes power, at least after V8s began being installed in the cars. But 1968 saw the introduction of the three-speed Hydramatic, which was far more popular, and 54 percent of Corvettes had this option in 1972.
The fiber optics light monitoring system was dropped. Although ingenious and simple, some thought of it as a gimmick.
A horn sounding alarm was part of the base price. Although the LS5 454 cu. in. big block was listed on the options sheet, it was not available to California buyers. This was the start of an unfortunate trend where Golden State residents were shut out of some power train choices due to the state’s more stringent smog regulations.
Colors
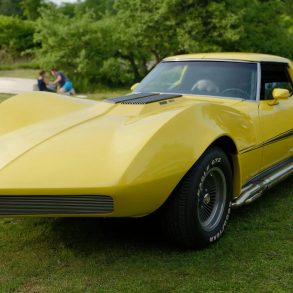
Colors for 1972 included Sunflower Yellow 1,543 (5.71%), Pewter Silver 1,372 (5.08%), Bryar Blue 1,617 (5.99%), Elkhart Green 4,200 (15.55%), Classic White 2,763 (10.23%), Mille Miglia Red 2,478 (9.18%), Targa Blue 3,198 (11.84%), Ontario Orange 4,891 (18.11%), Steel Cities Gray 2,346 (8.69%) and War Bonnet Yellow 2,550 (9.44%). More color information found here.
Pricing & Options
The Base Corvette Coupe with 350 cu. in. 200 hp engine and wide ratio four speed manual transmission started at $5,533, while the Base Corvette Convertible with 350 cu. in. 200 hp engine and wide ratio four speed manual transmission started at $5,296.00.
| CODE: | DESCRIPTION: | QUANTITY: | RETAIL PRICE: |
| 19437 | Base Corvette Sport Coupe | 20,496 | $5,533.00 |
| 19436 | Base Corvette Convertible | 6,508 | $5,296.00 |
| – | Custom Interior Trim | 8,709 | $158.00 |
| AV3 | Three Point Seat Belts | 17,693 | $0.00 |
| A31 | Power Windows | 9,495 | $85.35 |
| A85 | Custom Shoulder Belts (std with coupe) | 749 | $42.15 |
| C07 | Custom Shoulder Belts (std with coupe) | 2,646 | $273.85 |
| C08 | Vinyl Covering (for auxiliary hardtop) | 811 | $158.00 |
| C50 | Rear Window Defroster | 2,221 | $42.15 |
| C60 | Air Conditioning | 17,011 | $464.50 |
| ZQ1 | Optional Rear Axle Ratio | 1,986 | $12.65 |
| J50 | Power Brakes | 18,770 | $47.40 |
| K19 | Air Injection Reactor | 3,912 | $0.00 |
| LS5 | 454ci, 270hp Engine (n/a in California) | 3,913 | $294.90 |
| LT1 | 350ci, 255hp Engine | 1,741 | $483.45 |
| M21 | 4-Speed Manual Transmission, close-ratio | 1,638 | $483.45 |
| M40 | Turbo-Hydro-matic Automatic Transmission | 14,543 | $0.00 |
| N37 | Tilt-Telescopic Steering Column | 12,992 | $84.30 |
| N40 | Power Steering | 23,794 | $115.90 |
| PO2 | Deluxe Wheel Cover | 3,593 | $63.20 |
| PT7 | White Stripe Tires, F70x15, nylon | 6,666 | $30.35 |
| PU9 | White Letter Tires, F70x15, nylon | 16,623 | $43.65 |
| T60 | Heavy Duty Battery (std with LS5) | 2,969 | $15.80 |
| U69 | AM-FM Radio | 19,480 | $178.00 |
| U79 | AM-FM Radio, Stereo | 7,189 | $283.35 |
| YF5 | California Emission Test | 1,967 | $15.80 |
| ZR1 | Special Purpose LT1 Engine Package | 20 | $1,010.05 |
Read more: 1972 Corvette pricing and factory options.
1972 Corvette Gallery
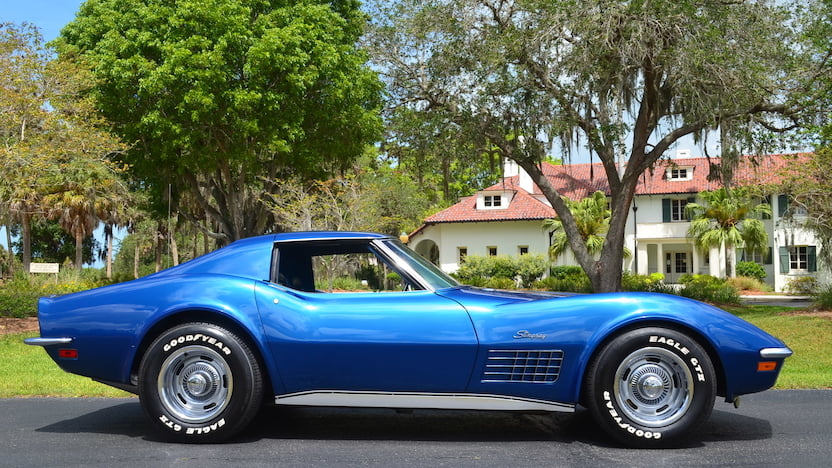
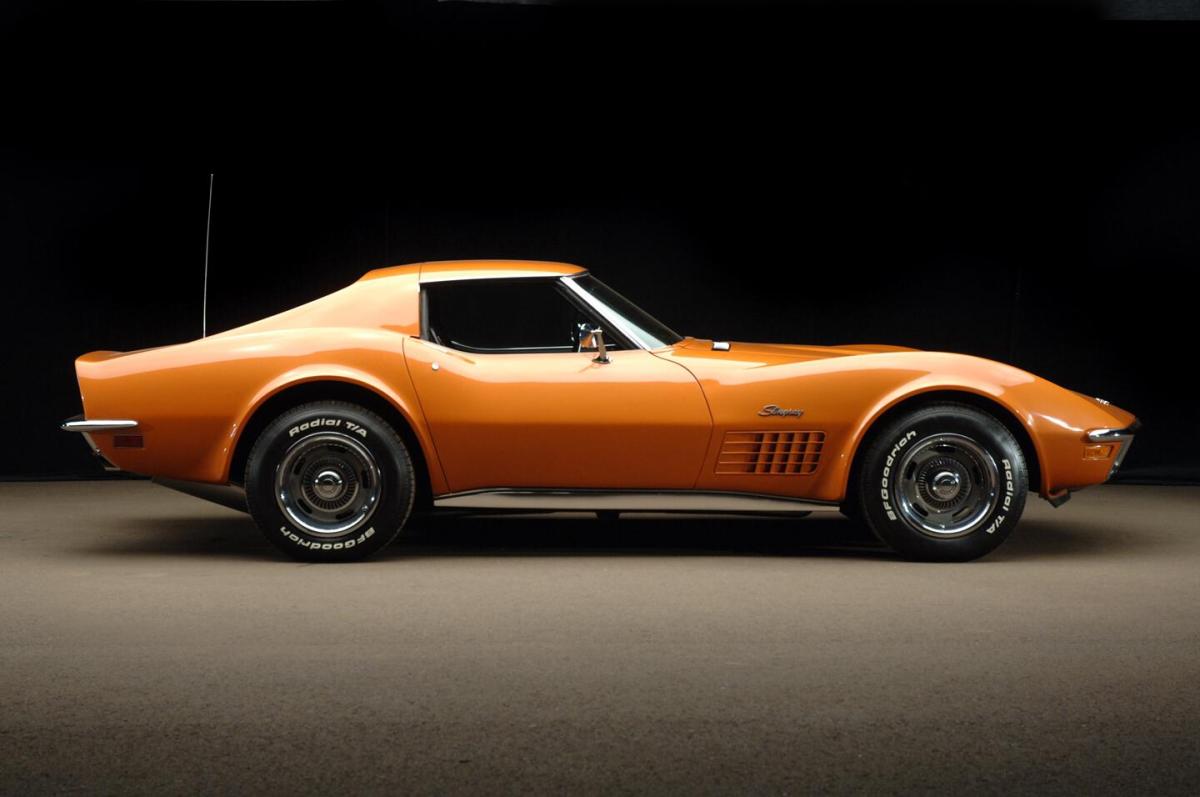
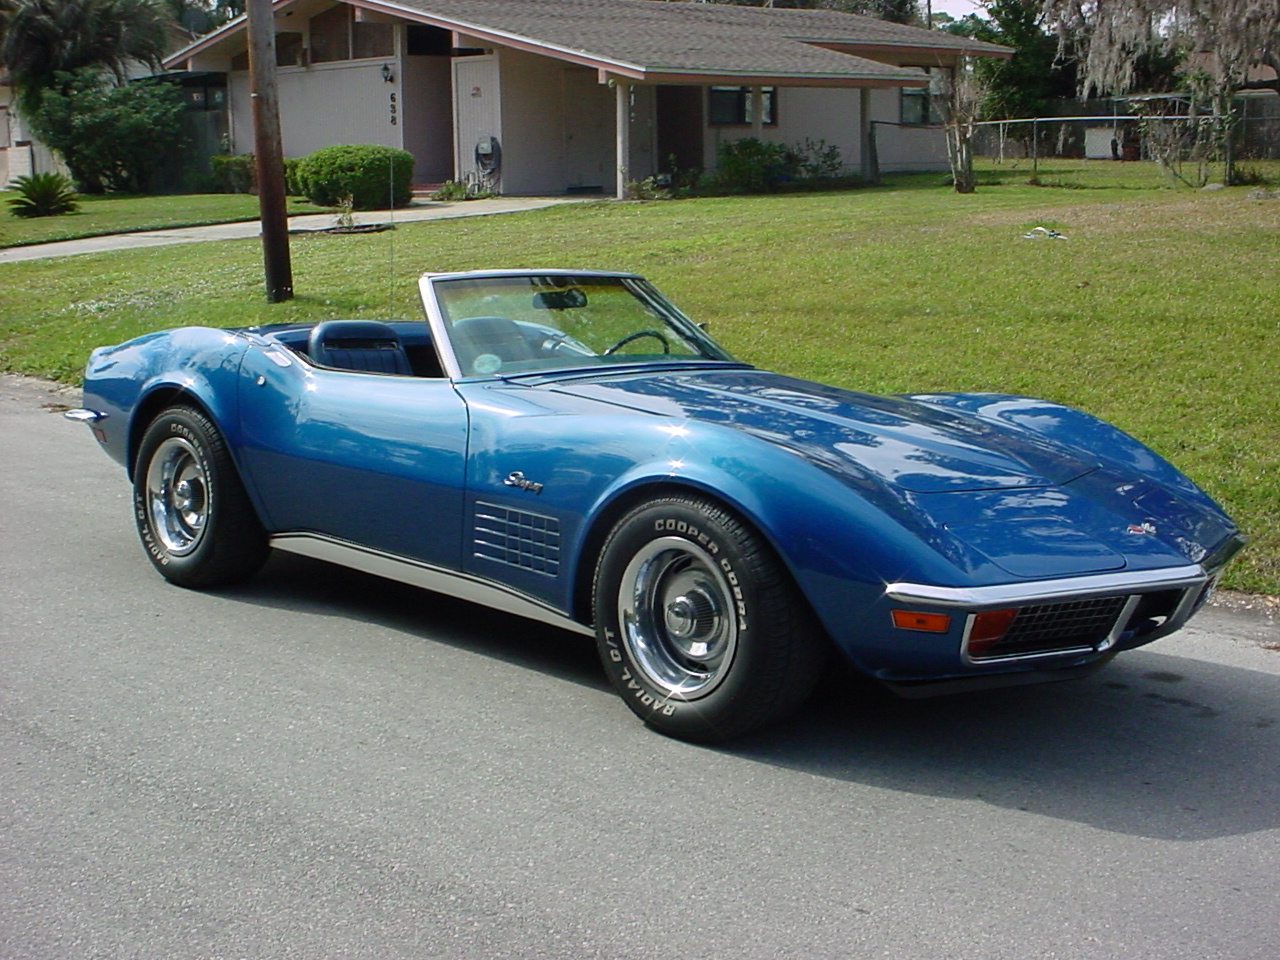
Other than a change to the center console, very little was changed to the interior or exterior of the car from 1971 to 1972. See full 1972 Corvette Image Gallery

No 1973 info? When one clicks on the link to year 1973, the 1972 info pops up.
Gary, we’ll take a look. What page are you clicking on that’s taking you to the wrong page? It could just be a broken weblink – we definitely have a ton of information on the 1973 Corvette.
We corrected the link on our C3 Corvette Overview page and you should now be able to navigate to the 1973 model year page. Thanks for letting us know!
Were side pipes a factory or dealer option in the 72?
Hello I have a 1972 with the code plate exterior color 945 and saddle interior 417 on the vehicle plate, but this wasn’t listed as an option color code .. the vin number has been validated as a 1972
I was the third owner of a 1972 LS5 454 convertible and lived in the same Colorado small (pop 245) town as the second owner (as it was told to me) that bought the car from his brother when he (the brother) was deployed with the USMC. The brother bought the car new from a dealer in San Diego, CA. It came with the LS5 454 CPR code with the air injection reactor system and a Quadrajet manufactured by Carter. The car was originally titled and registered in Colorado. So at least one LS5 was sold in CA. It may have been a special order or something related to the CO titling.