As with most weeks, Carl is jumping around his shop with a flurry of various projects, including more phenomenal electronics wizardry, so sit back and enjoy. But first, if you missed any previous episodes for Carl’s 10-second turbo build, (or need a review), here are the links: part one, part two, part three, part four, part five, part six, and part seven. Each episode is a quick read, with lots of pictures. If you want some short but cool videos, episode two has our first start-up video showcasing that monster turbo, and episode three has a video showing Carl’s custom-coded trans controller working flawlessly with the turbocharged engine and transmission.
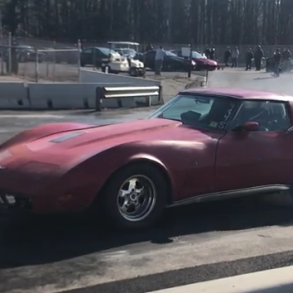
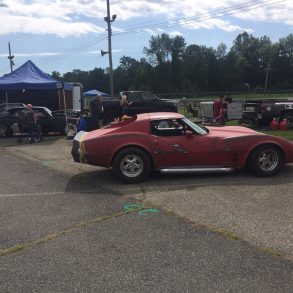
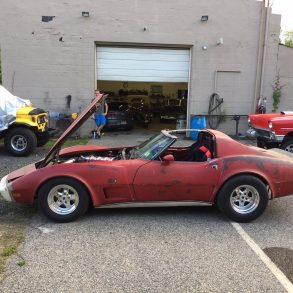
Viewer Advisory: This build has some serious meat on the bones, as Carl has some crazy technical skills (especially with electronics), and he is going to tap into all of them to turn his 1977 Stingray into a 10-second quarter-mile monster!
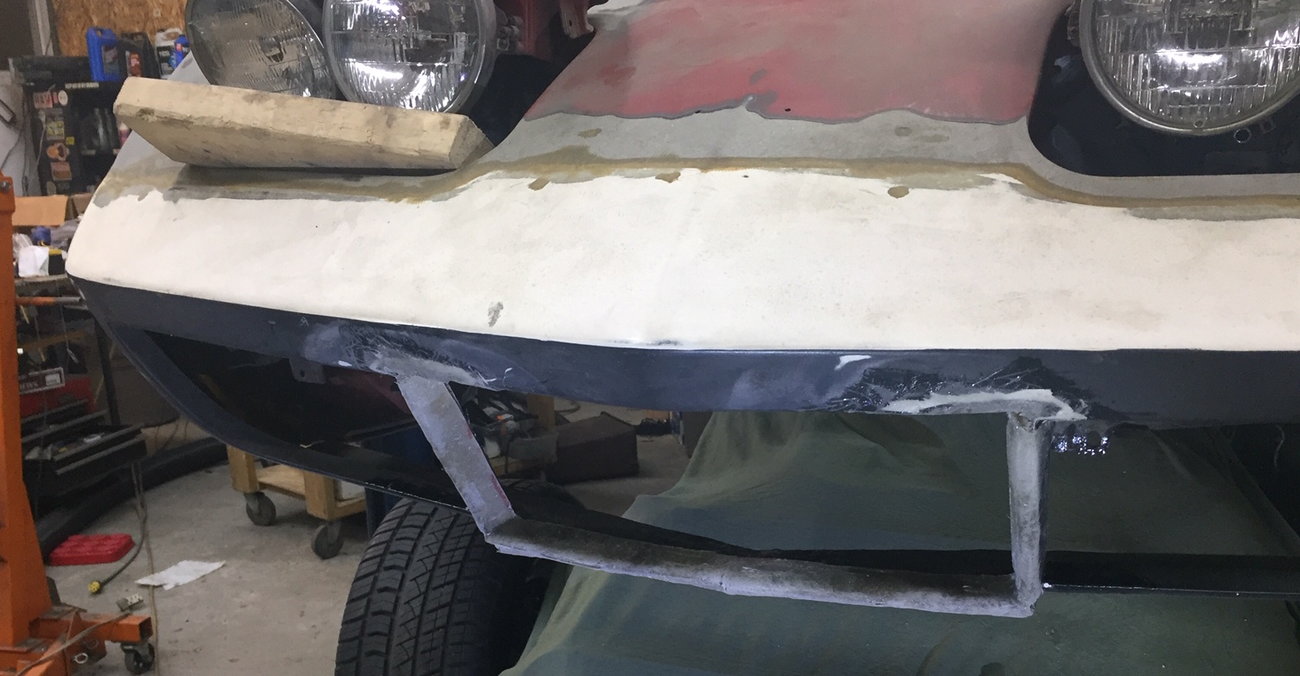
Today’s first project is some bodywork, as Carl remarks, “I’m working on the nose. I didn’t like the license plate area that looks sorta like this.”
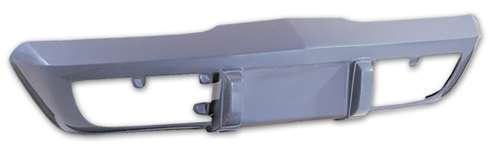
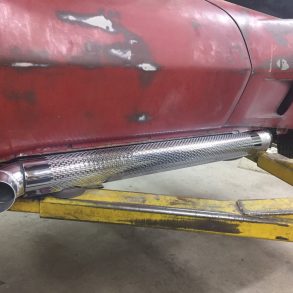
So, Carl cut the front bumper and started to re-glass it, noting “Here in NJ, we’re required to have a front plate. I might hang it inside the hole on a hinge, so at speed, it will keep the air flowing.”
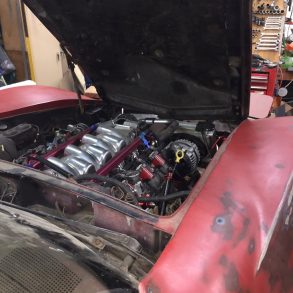
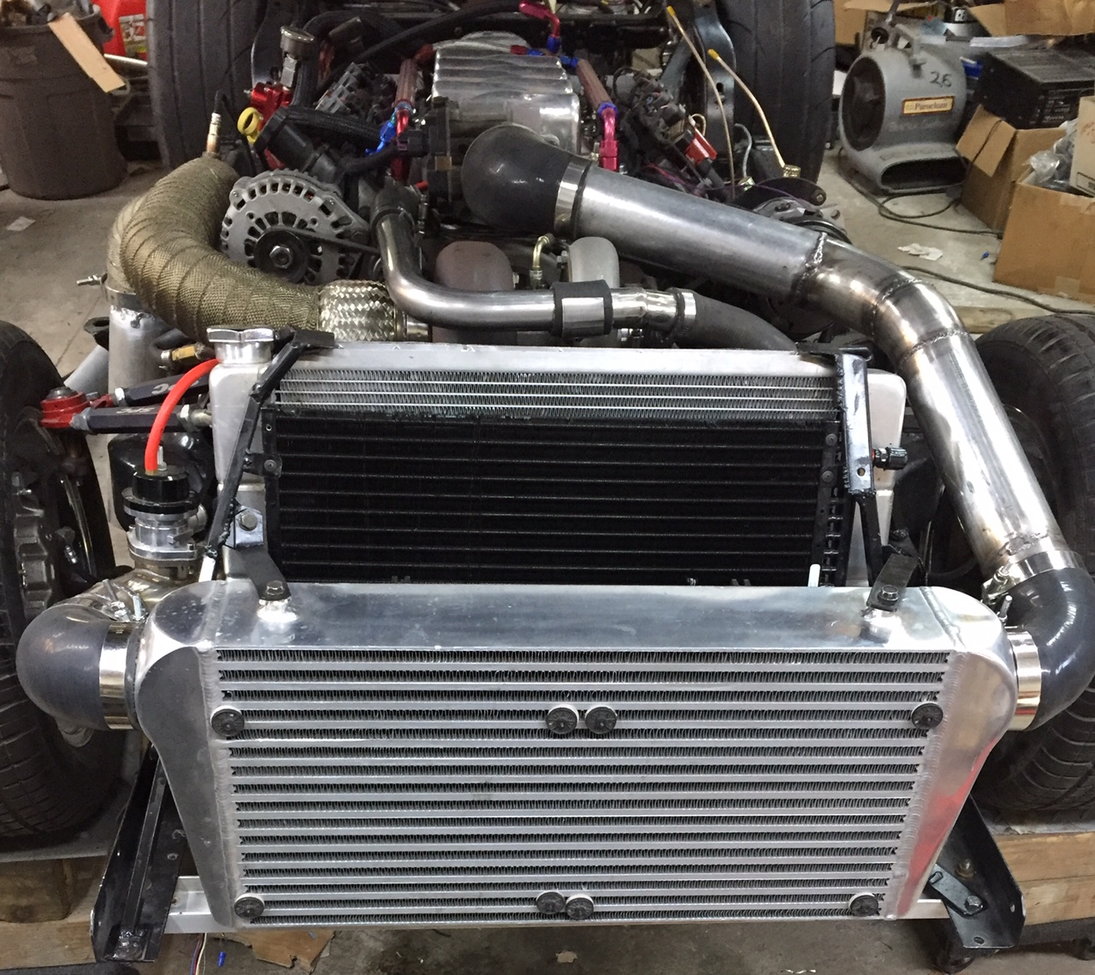
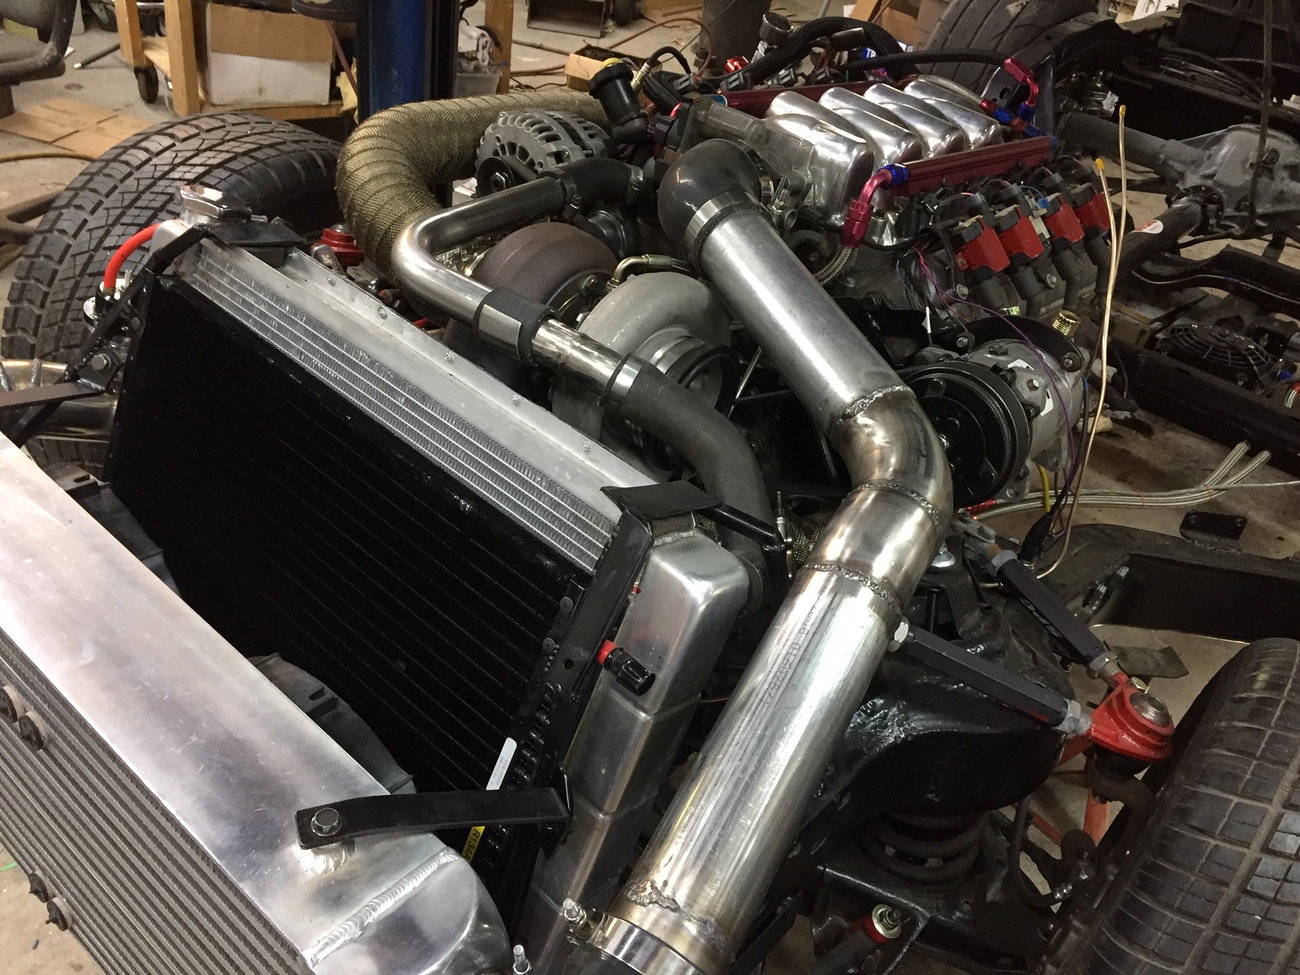
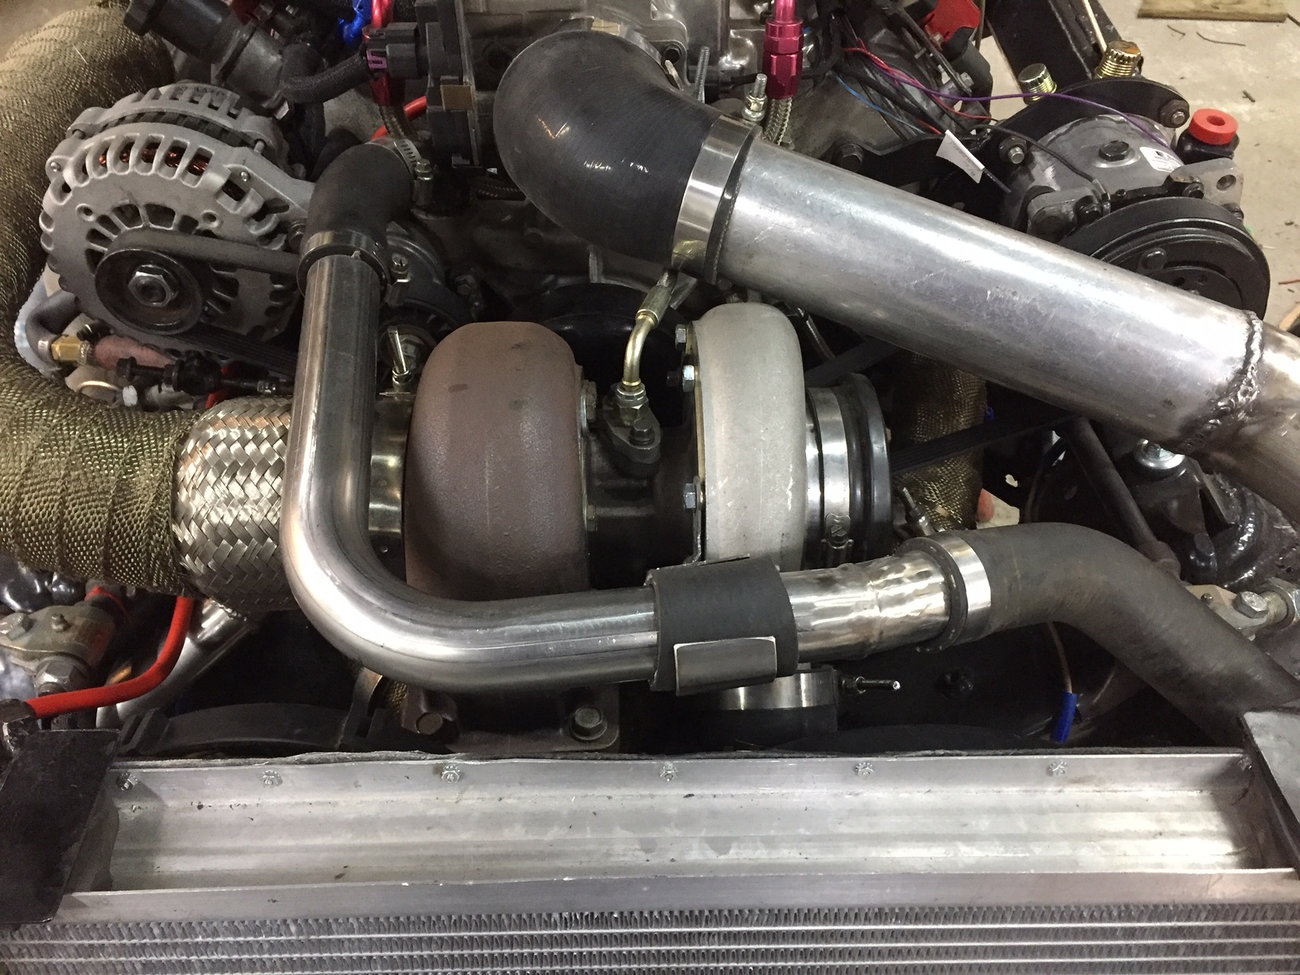
Carl’s next project was reorganizing under the hood, as the radiator was sitting a little lower than he liked, and once he put the hood on he noticed there was some room to raise it about two inches. Carl comments, “So I raised it and angled it a little less. This also gave me an extra inch between the fan and the turbocharger. I also found that I could stand the Intercooler straight up now… It all fits under a stock hood.”
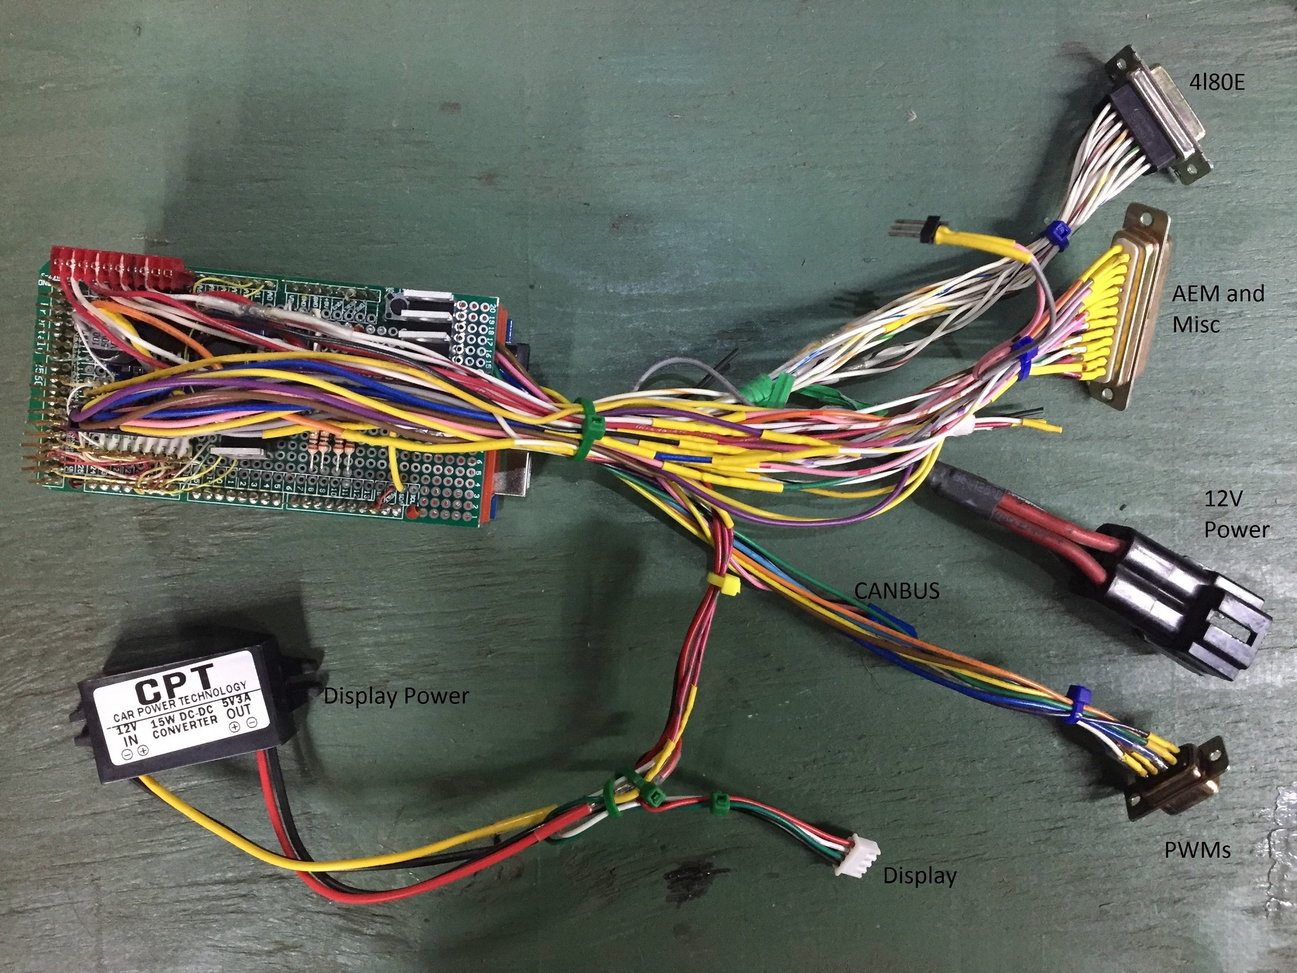
Now Carl moves on to what he is really good at, DIY electronics! Over the course of this build, he has completely redesigned the DIY 4L80E controller and body module. He wasn’t happy with the first version, due to inconsistent power up, 3.3-volt instead of 5-volt operation, and no built-in NVRAM (meaning settings can’t be stored when powered off).
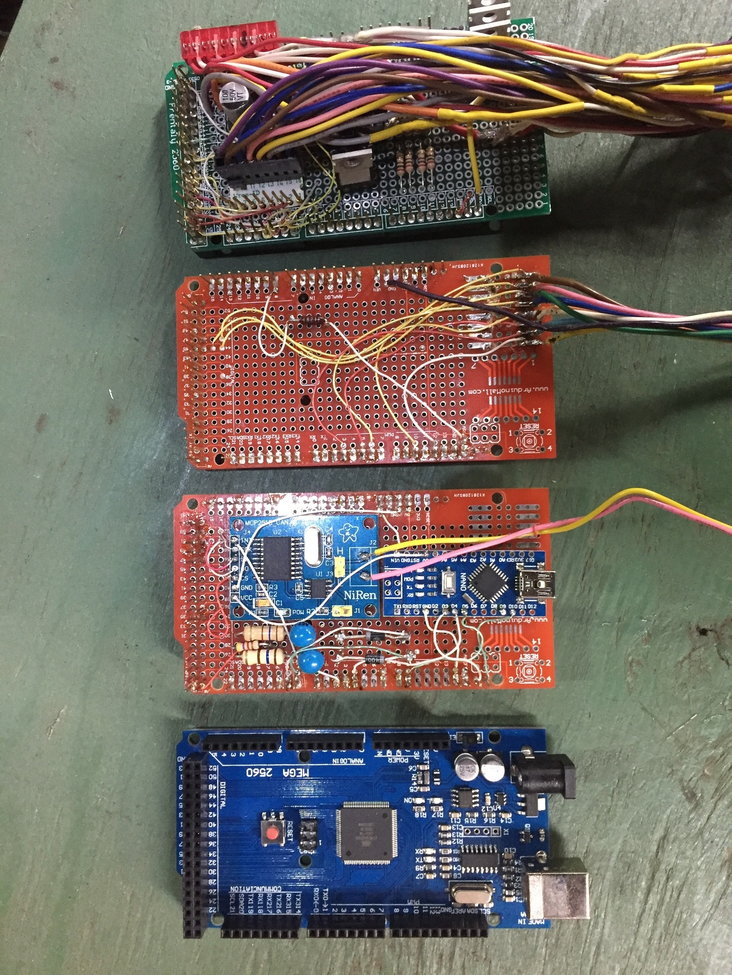
Carl explains, “I worked around these and got it to work, but I wasn’t happy with it and the display sucked. The new (final) version is based on the Arduino Mega board. As it turns out, the Mega is more than plenty fast enough for the task. It’s a 5-volt board, so no jumping through hoops to interface it. It can store and retrieve settings after being powered off. Has lots of I/O pins to connect to the rest of the world.”
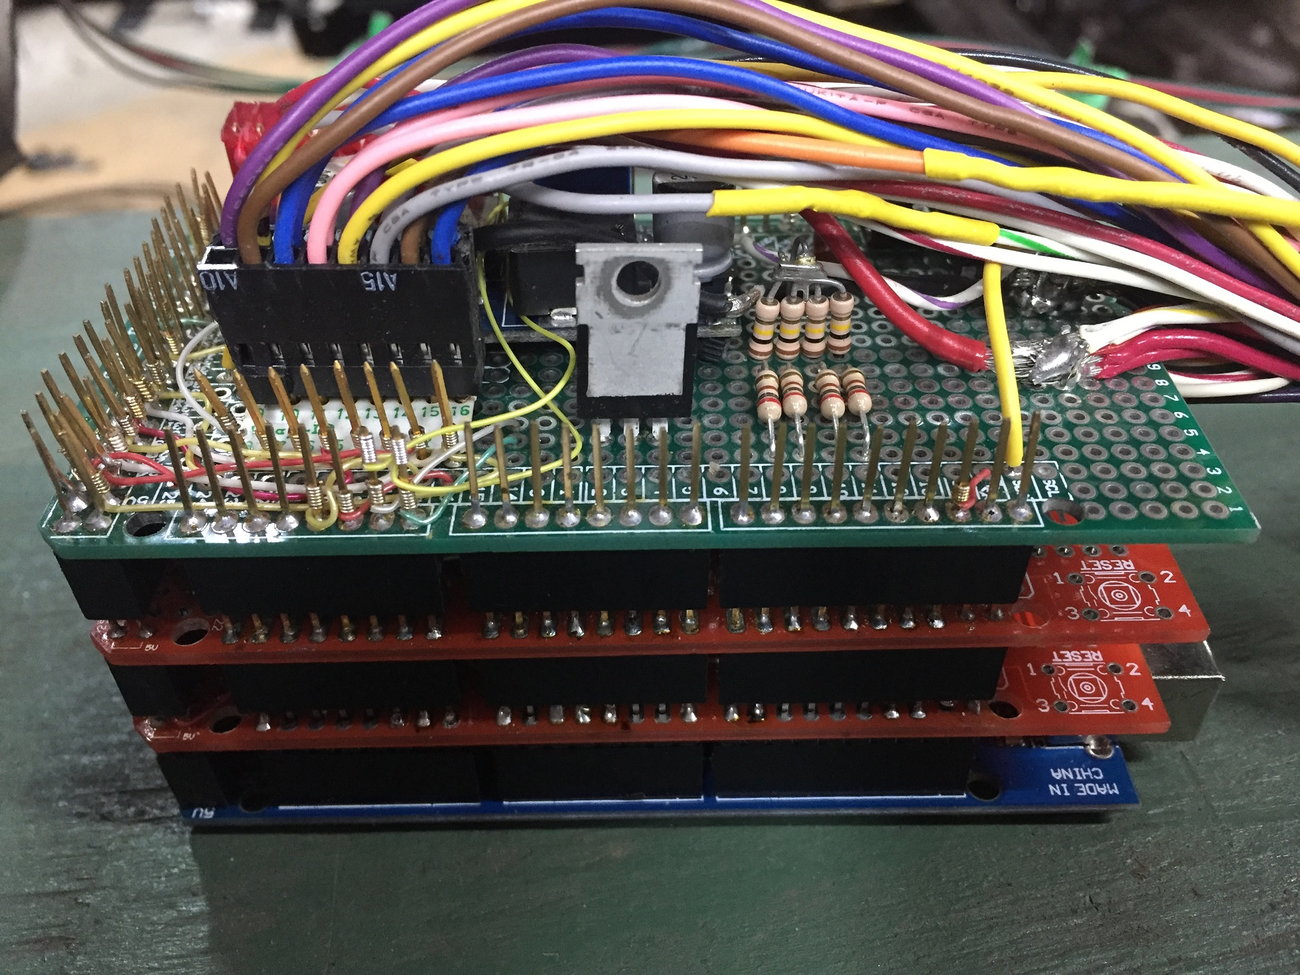
Carl is certainly in his wheelhouse with these DIY electronics, as evidenced by everything his new Arduino Mega board will handle.
- It controls the 4l80E
- PWMs all the fans: 2 radiator, 2 intercooler, trans cooler and oil cooler
- PWMs the two fuel pumps
- PWMs the alternator
- Connects to the AEM infinity with CANBUS
- Controls Boost
- Controls the BOV
- Displays alarms from AEM or itself
- Triggers the AEM two step
- Controls the backup lights
- Controls the brake lights
- Scramble button
- Fuel level sensor
- Paddle shifting input
- Line pressure input
- 4L80E temperature input
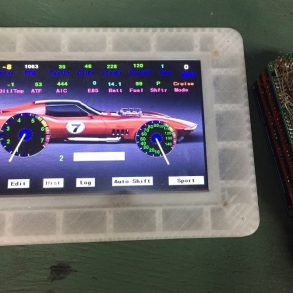
- 7″ touchscreen display and control center
Wow, the skills are simply amazing! Carl notes he doesn’t plan on having any gauges in the Vette, and says, “The touch screen I designed has more than I need to use this car as both a cruiser and strip car.”
The Heart of the Controller
This is a good time to come up for air! Next week Carl will demonstrate the multiple modes and displays the Arduino Mega board is capable of, as well as the usual blast of various projects required to get this beast on the road! We have the fastest-growing Corvette community on our Facebook page, with over 154,000 followers (35,000 since January!). Come join other hardcore enthusiasts and let me know what you think of Carl’s 10-second turbo build, Douglas B.