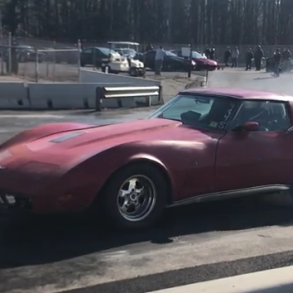
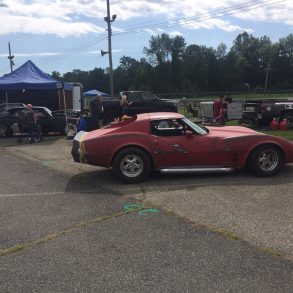
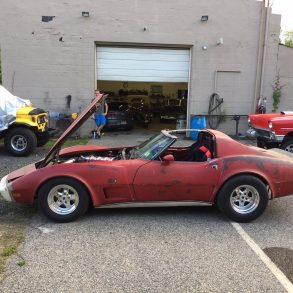
Carl B. from Middletown, NJ continues to transform this ole ’77 Stingray into a sleeper 10-second track beast, with a planned 600 horsepower to the wheels, and if you missed the part one launch click here. After a flurry of work, we will actually get our first start-up video! A quick review of the goal for the build, as told by Carl:
“The goal for my first 8 cyl American muscle car is a car that can really cruise the streets comfortably as well as race at the strip, somewhere in the 10s. It’s going to look stock, not with some huge hood bulge, or open headers poking out of the nose. I’m keeping the heater and the retractable headlamps. As most of you who have worked with C3s before know, it’s tight for turbo and stock appearance.
I like to do things a little differently from most, so I’m not just dropping in some bolt ons. It’s also a platform for me to test out some of my crazy ideas.”
Viewer Advisory: This build has some serious meat on the bones, as Carl has some crazy technical skills (especially with electronics), and he is going to tap into all of them to turn his 1977 Stingray into a 10-second quarter-mile monster.
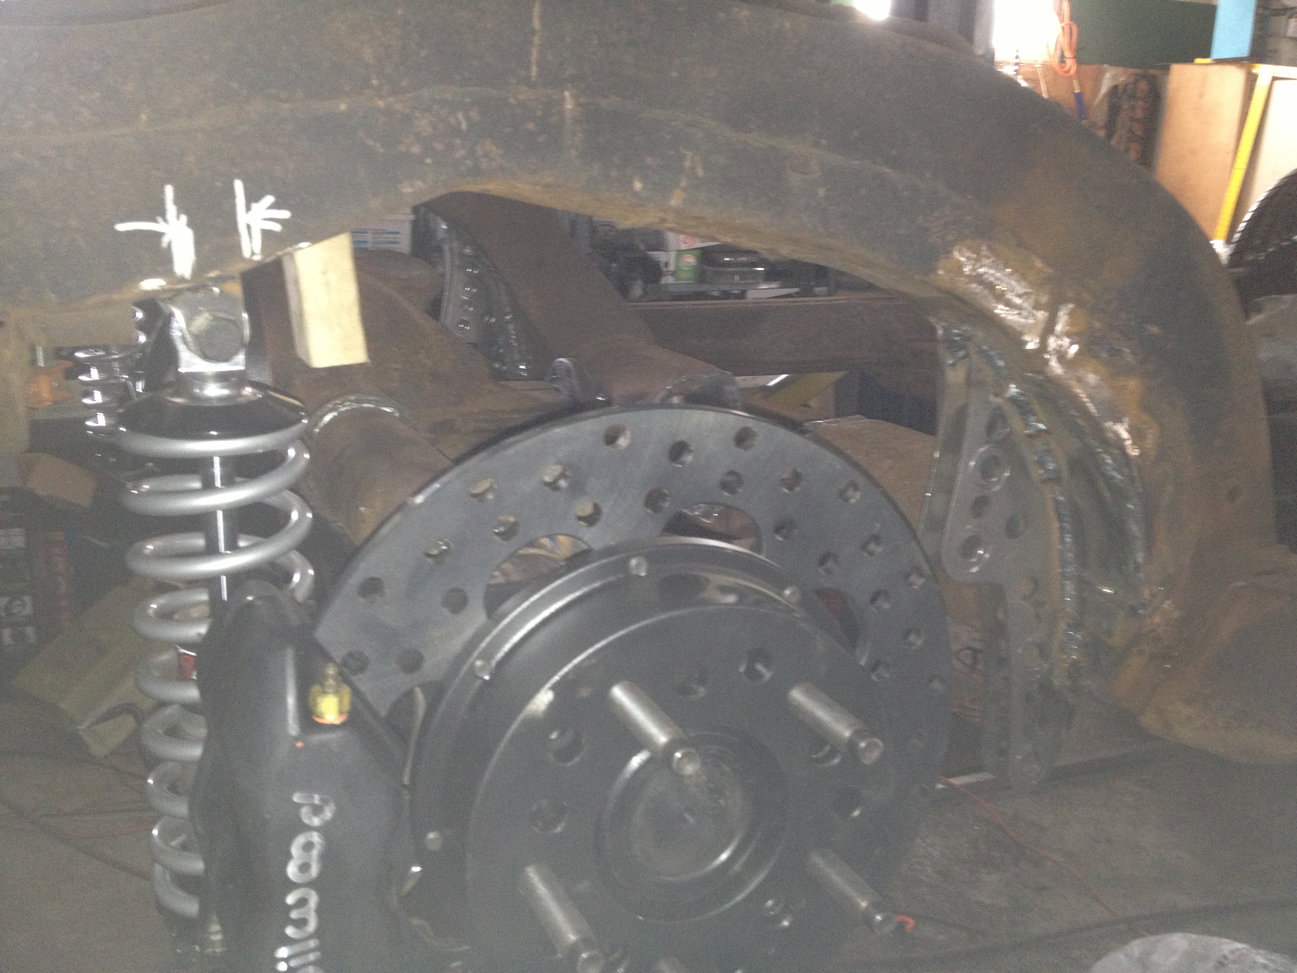
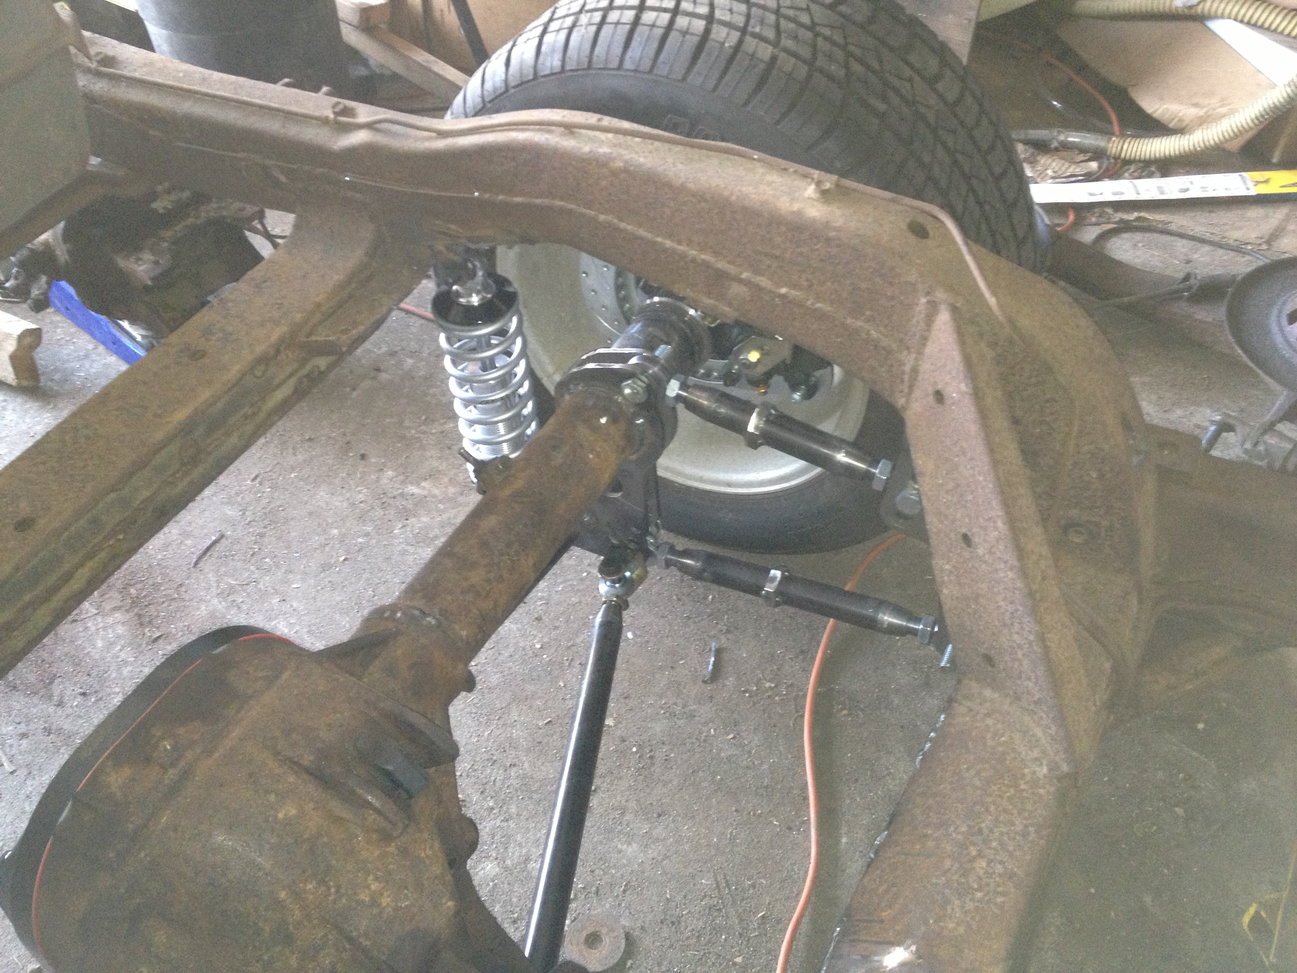
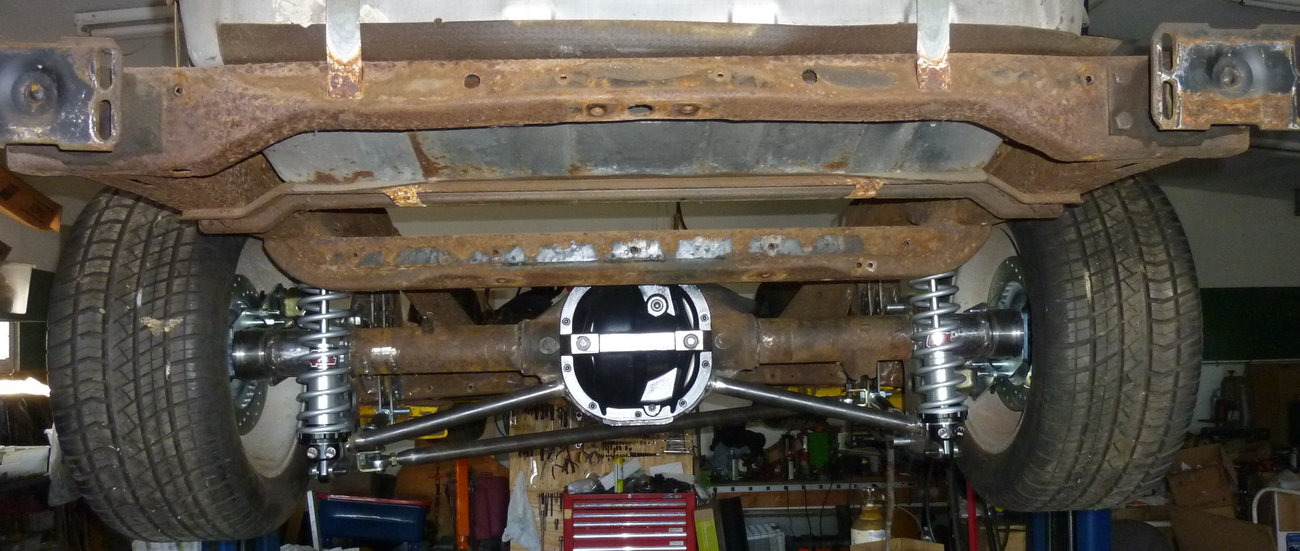
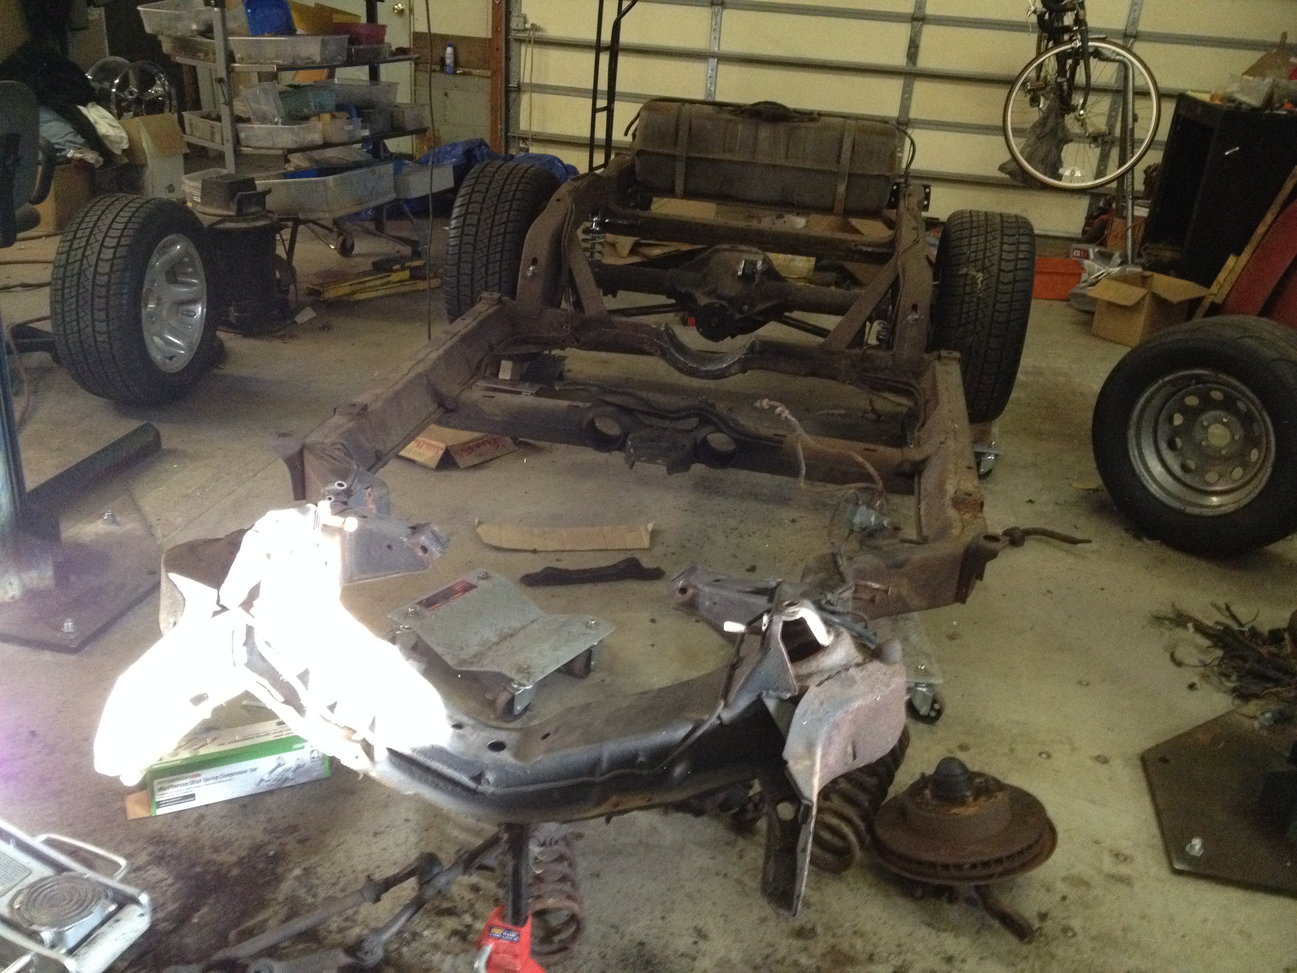
Carl starts out today by working on those upgraded brakes and suspension, to handle the speeds that mammoth turbo will produce at the drag strip.
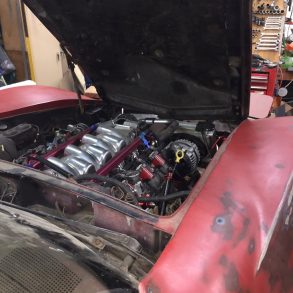
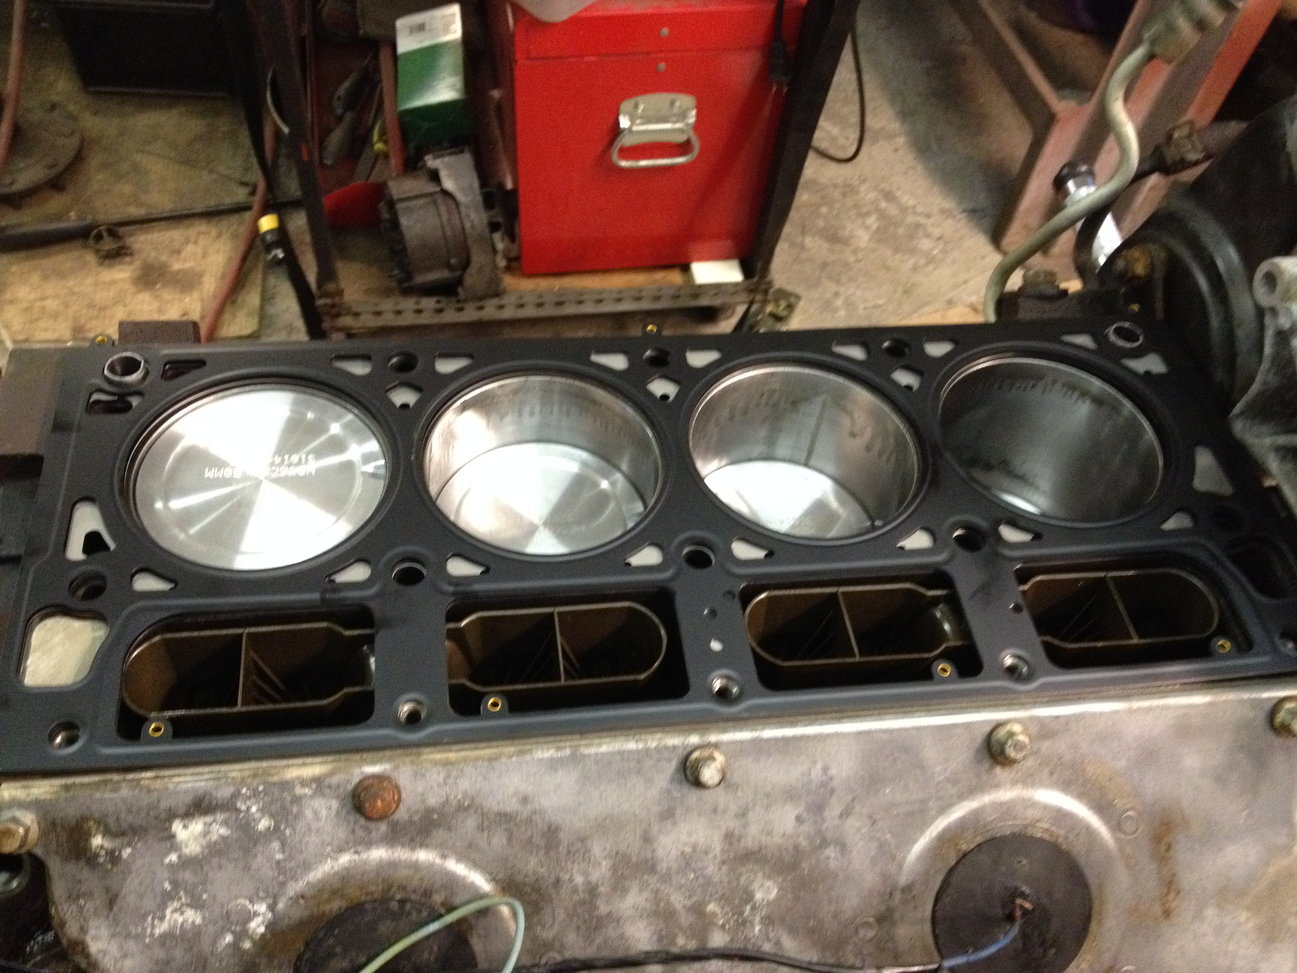
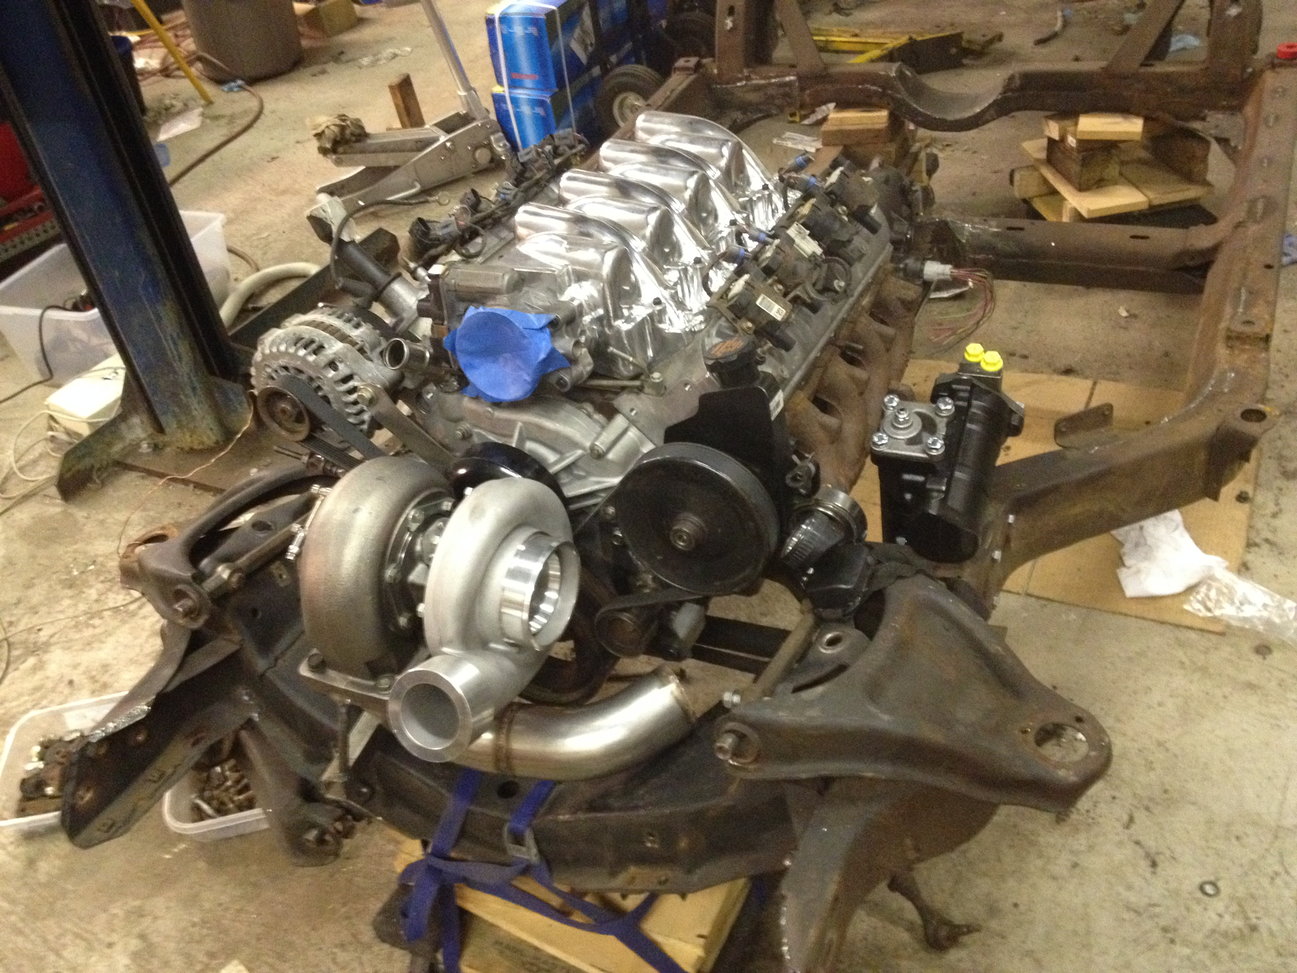
Now, back to that engine, as Carl remarks, “I had it bored .020 over to remove the rust after it sat for 13 years in the wreck. Put back stock style .020 over pistons. Ring gap .025. Cleaned up the head and refreshed valve seats. Changed springs to a higher spring rate.”
The chassis is ready for the new motor.
But not so quickly, as Carl comments on some of the early hurdles he had to jump over.
“And the fun begins. I ended up moving the engine 3/4 inch forward of where the stock adapter locations were. It was just too close to the firewall. Built brackets and idlers to bring the alternator down so it will fit in the stock hood. No way I can see to fit an AC compressor.
Really wanted to keep that. Built a beefy turbo support. I see lots of unsupported turbos nowadays and it scares me… Started by locating the turbo first, then the turbo collector and building the manifold back from there while trying to keep clearance for suspension and frame components.”
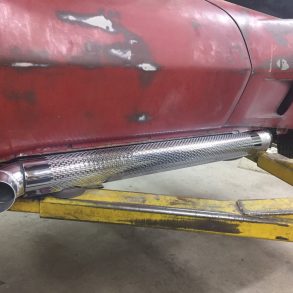
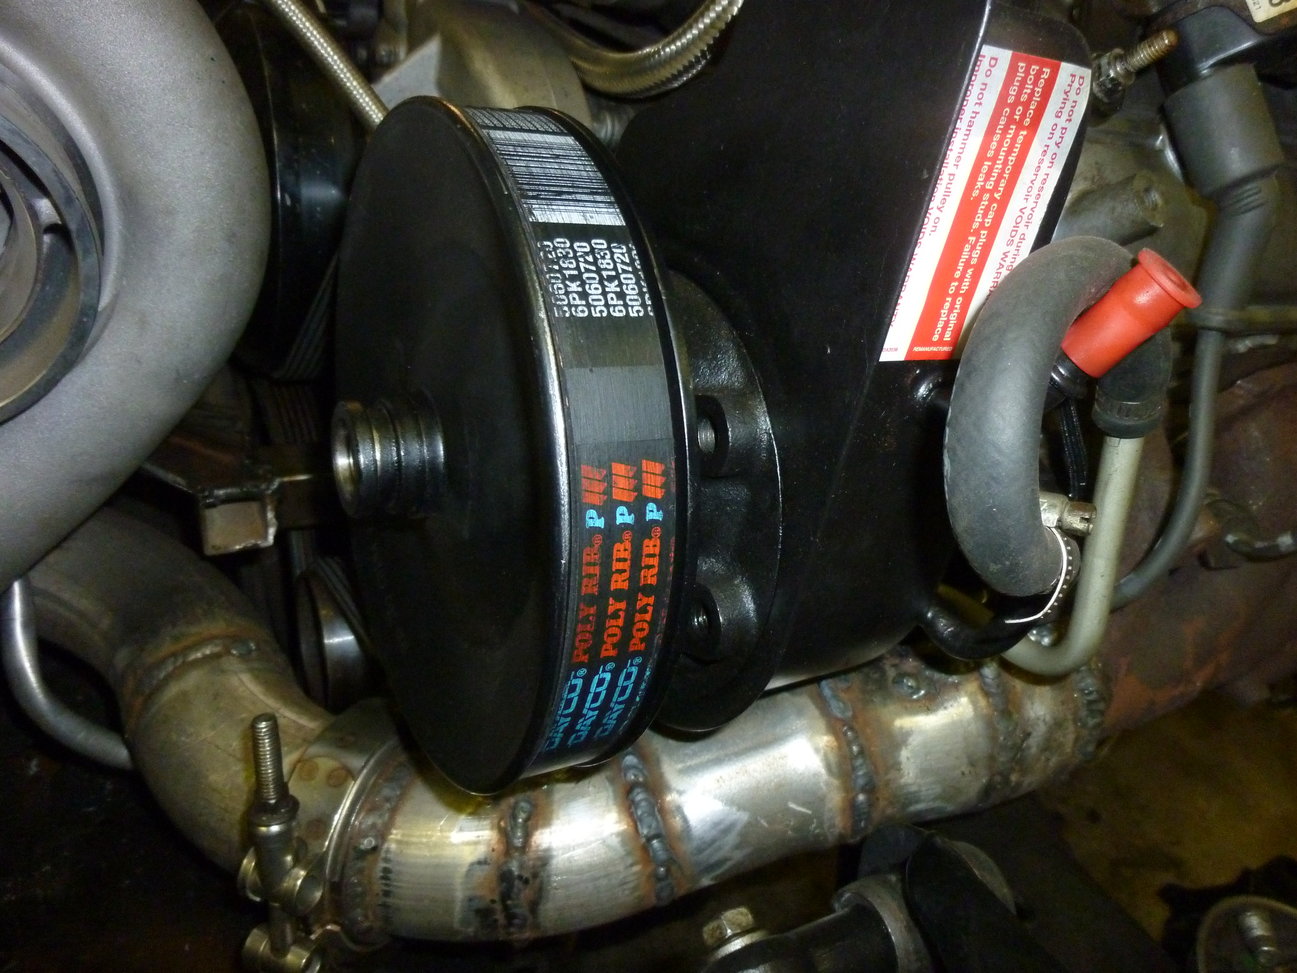
Some more hurdles, as Carl had to redo the driver’s side exhaust a couple of times to fix clearance issues.
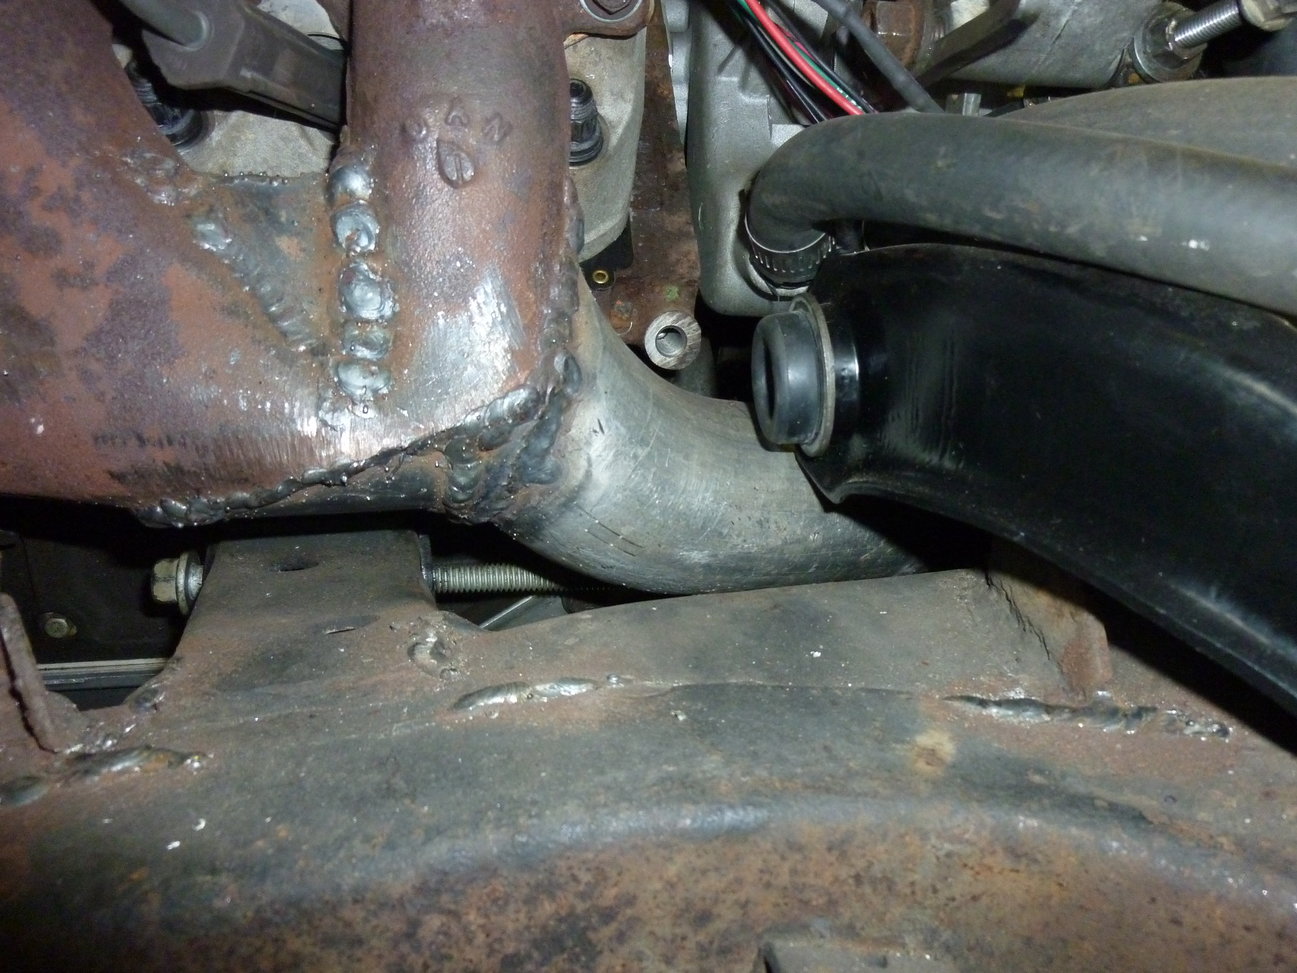
And over on the passenger side, the truck manifold did not fit, so Carl had to dial up more patience and fabricating skills to make it fit.
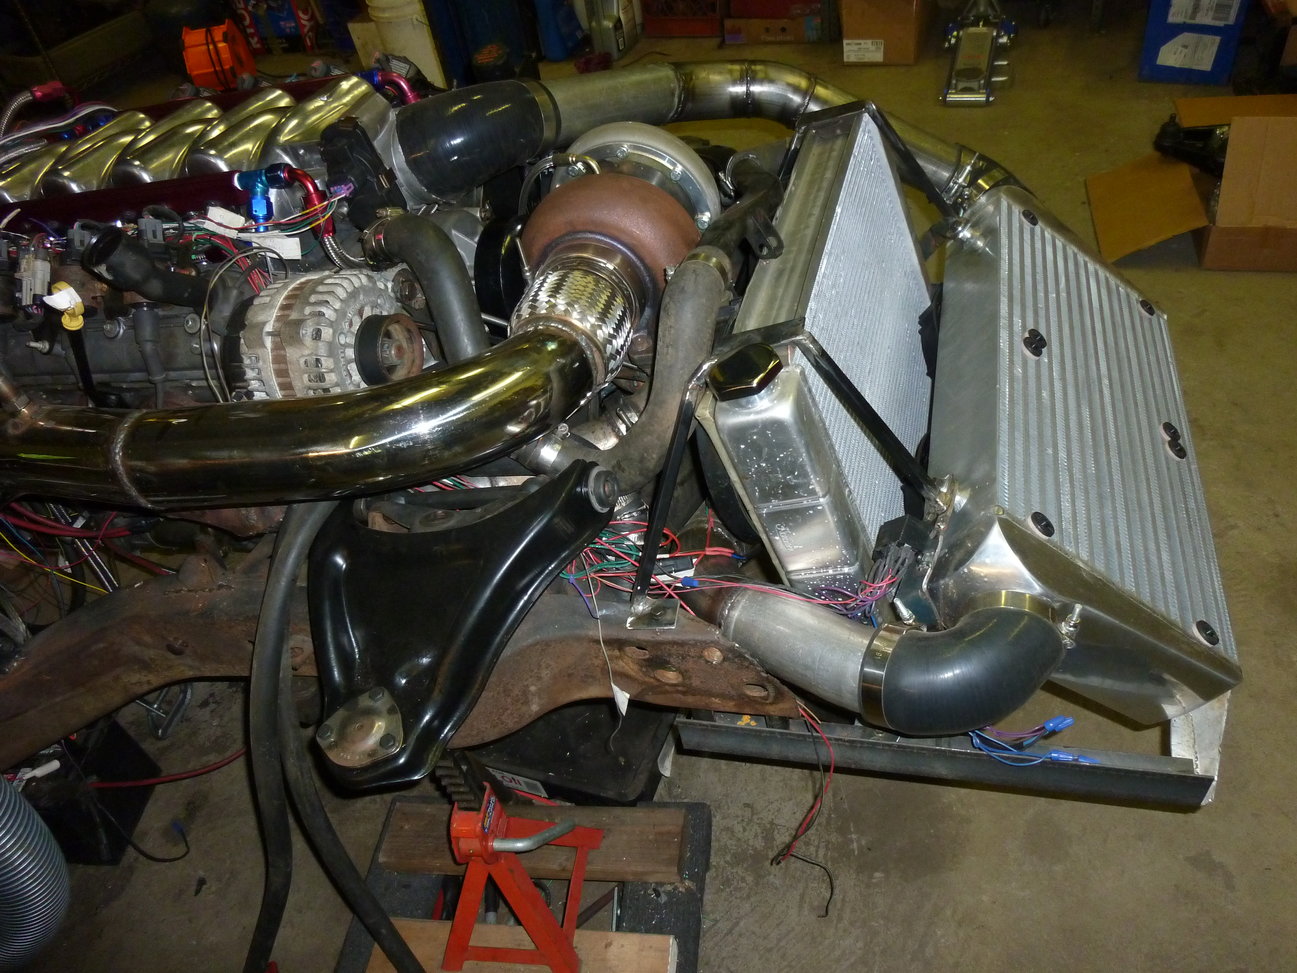
As the radiator and intercooler are installed, Carl says, “Instead of hanging the radiator from the body, I’m supporting the radiator and intercooler from the frame. This way I can slide the body on and off to ensure everything fits. I built a fan shroud out of fiberglass, that supports a 14 inch and a 10 inch fan. The intercooler has two 12 inch fans. The radiator return hose is temporary. I’m going to replace that black section (borrowed from a BMW E30) with a stainless 90 degree tube.”

Next up is a deep dive into the fuel system, which perfectly illustrates Carl’s technical nature and skills:
“Fuel supply line is 8 AN. It has a Y before the fuel rail. Both left and right sides are fed directly from the 8 AN feed line. There is another Y on the other side of the fuel rail that goes to the 6 AN return line. So both left and right fuel rails are fed in parallel instead of in series. I’m planning on having this car run on any mix of gasoline and E85. Maximum boost will be limited automatically by the percentage of E85 to gasoline. With E85, you need about 30% more fuel than gasoline, so the parallel setup will insure the last cylinder is not fuel starved.
The injectors are 80# Siemens. Twin Wallbro 255HP pumps are connected in parallel as well. One fuel pump will come on when the engine starts and the second will come on as some preset boost value. I built the fuel system this way in case I decide to up the horsepower somewhere down the line. That would require a bigger turbo and injectors, maybe also a change of fuel pumps. I drilled some holes in the chassis on the passenger side and will snake the fuel feed and return lines through the chassis.”
As if that description of the fuel system wasn’t a mouthful, Carl showcases even more of his technical and electrical experience with this:
“I added an offloader circuit into the wiring harness. What it does is turn off all heavy electrical loads while the engine is cranking. This leaves more battery for the starter. It’s just a 4 pole relay that is normally closed. 1 pole for the radiator fans, 1 for the headlights, 1 for the intercooler fans, one for the heater fan. When the starter gets power, this relay opens all of these electrical loads.”
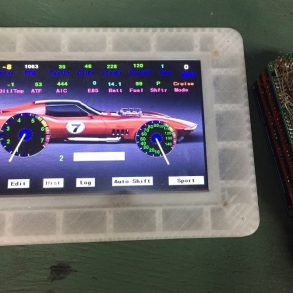
As I mentioned in the “viewer advisory”, this build has some serious meat on the bones. And if you weren’t persuaded yet, this detail and technical knowledge from Carl regarding the engine management system should convince you.
“Engine management is an AEM Infinity.
Upside… 8 direct injectors. 8 direct GM coils, throttle by wire, some canbus support, internal and external logging, built in wideband and, got a smoking deal on a new unit. lots of extra inputs and outputs, all programmable, small, waterproof, huge amount of flexibility (maybe too much).
Downside I’ve seen so far… not as many GM users, would like to see better support. No auto tuning. No built in transmission control. I wouldn’t suggest it for newbs, but it’s got all the bells and whistles. I’ve had good results with previous generations of AEM controllers, we’ll see how this one works out.
One of the features I’m really counting on is the ability to blend the E85 and gasoline maps. E85 is not as easily obtainable as I’d like around here, so the tank will usually contain a mix of gas and E85. The percentage of E85, the more boost I can run. AEM connects directly to the E85 sensor which I’m going to plum into the return line. I used the connectors that came with what was left of the junk yard harness to build a new harness for the AEM.”
Thankfully, all of this work and technical data did not come without some audible gratification for us viewers, as Carl already has his first start-up video!
I think this is a good spot to come up for air, and I hope you are enjoying this highly detailed build and what Carl has in store for us next! As always, we have an active community on our Facebook page, I would love to see you there! Douglas B.