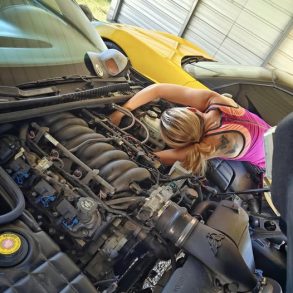
Welcome to another episode of CorvSport’s new DIY series, where we canvass the internet for the best do-it-yourself guides. Let CorvSport be your digital encyclopedia and bring you the best guides and resources from our vast Corvette community. This series can also give an enthusiast contemplating a DIY project the clarity needed to realize they should hire an expert. All our DIY guides address common Corvette issues, and today’s covers one of the top problems facing the early fifth-generation Corvettes.
CorvSport Complexity Guide
- Difficulty: 9 (10 most difficult)
- Patience Needed: 8
- Level of Specialty Tools Required: 9
- Is a Helper Recommended? No
Today’s guide comes from Corvette Forum member “Caddy2006” and is the best and most comprehensive guide I could find on the internet. To augment this guide, I’ve also included a popular YouTube video. This curated C5 guide is fully credited to “Caddy2006” and is being presented to our CorvSport community in an unedited format.
How To Update The Problematic EBCM On Your Early C5 To A 2001+ EBCM
Introduction
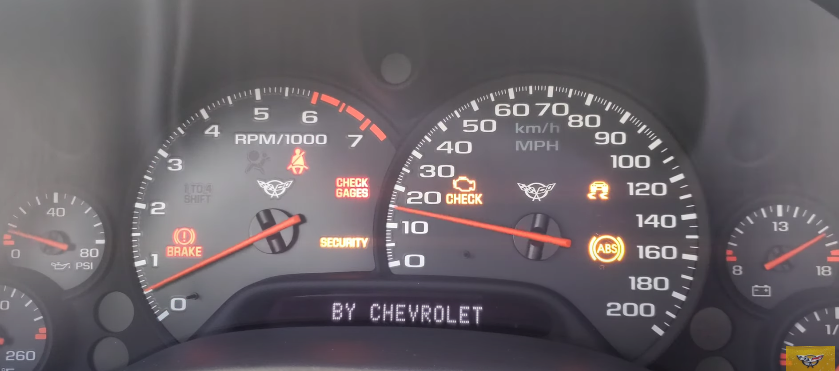
As the owner of a 1999 FRC with active handling, I have been worried about the potential future failure of the EBCM and the prospect of dealing with either inoperable AH/ABS or rolling the dice with a used EBCM of unknown origin. In short – the 1999 to 2000 AH EBCM CAN be converted to the 2001 – 2004 EBCM!
I’ve been driving my FRC the last 3 months to make sure I didn’t have any issues. All ABS/AH functions work seamlessly and no PCM change was required…
Background
Unlike others, my EBCM didn’t fail. I did have issues with the BPMV in 2012 and replaced it with a new unit. In March 2015 I started to have issues with the BPMV again (extremely soft pedal that wouldn’t go away with any amount of bleeding). I put the car on blocks in April 2015 and vowed that I wouldn’t take it down until the brake problems were fully fixed. After bleeding gallons of brake fluid with Automated ABS bleeds, pressure bleeds, gravity bleeds and manual bleeds – I gave up on the existing EBCM/BPMV and decided to convert the system over to the late model C5 system. I had read numerous threads about the potential of converting over – but nothing definitive. I studied the wiring diagrams in the 99 and 2002 service manuals and finally realized it was doable.
Many thanks to MRR23 in this thread who did much of the legwork on how to repin the harness in my 99: Click here to read about repinning the harness.
Step 1: Gather the needed parts
- 2001-2004 C5 EBCM and BPMV [These can be sourced from one of the C5 recyclers, the auction site, or purchased new.]
- 2001-2004 C5 ABS Bracket [Source: auction site]
- 2001-2004 C5 ABS wiring harness [source: auction site]
- 2001-2004 C5 hard brake lines from master cylinder to BPMV [source: auction site]
- 2001-2004 C5 hard brake lines from BPMV to both front wheels [source: auction site]
- 2001-2004 C5 ABS Pressure Sensor and pigtail [source: auction site]
- 2001-2004 C5 Steering Wheel Position Sensor [source: new from GM]
Step 2: Tools and supplies needed
- Tech 2 [This one isn’t really optional. Used to run automated bleeds and function tests. I used one of the Chinese clones and had no issues.]
- Brake lines and fittings [To custom bend and splice into existing hard line]
- ISO Bubble Flare Tool [required to match the fittings on the C5 BPMV
- Brake line bending pliers [To form new hard line from BPMV]
- Heat shrink butt connectors [To splice in new EBCM connector]
- Pressure brake bleeder [used during automated bleeding]
Step 3: Remove the BPMV/EBCM from the vehicle
This is pretty straight-forward. Remove the existing hard lines from the master cylinder to the BPMV and remove the BPMV/EBCM from the vehicle. Also remove the BPMV bracket and hard brake lines from the BPMV to the front 2 wheels.
Editor’s Note: We’ve included a video detailing this process in the resources below.
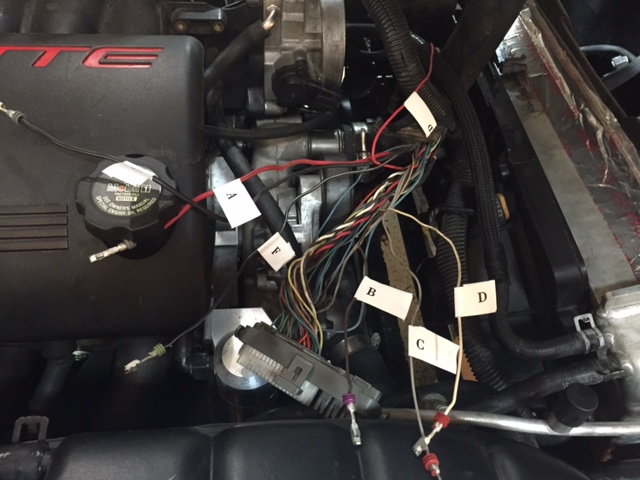
Step 4: Wiring preparations
The EBCM connectors are shaped differently between the 99 and late model C5s. I bought a used EBCM connector from a 2001-2004 C5 and spliced that into the existing harness in my 99. I staggered the cuts and spliced all wiring using heat shrink butt connectors. The pin out mentioned above was used as a reference on how to wire the new connector.
In process picture:
- The late model steering wheel position sensor (SWPS) installs the same as the existing SWPS – and uses the same physical connector. It just has to be re-pinned. I will upload pics of how to repin this harness.
SWPS connector:
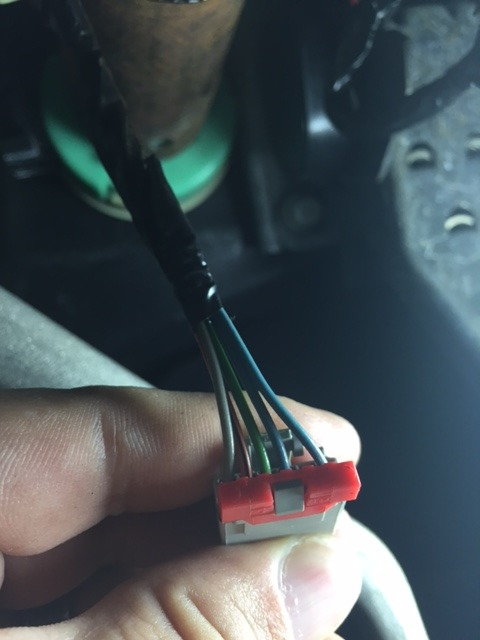
- Diagram on how to repin the SWPS harness (the light blue analog signal wire from the 99 is unused on the late model SWPS – I just wrapped it in electrical tape and made sure it was out of the way. The other end of the same wire is unused at the late model EBCM):

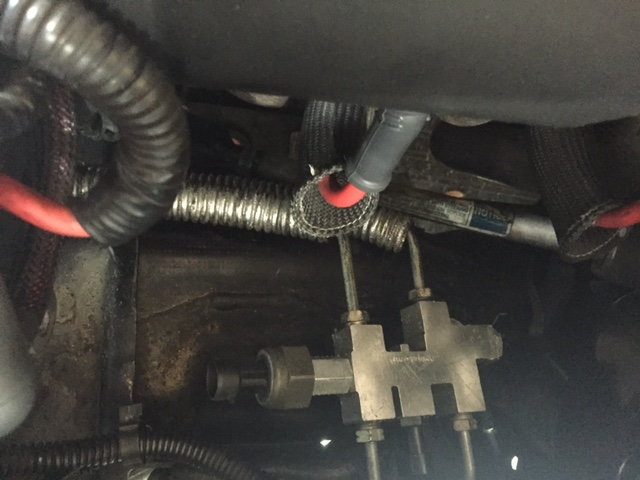
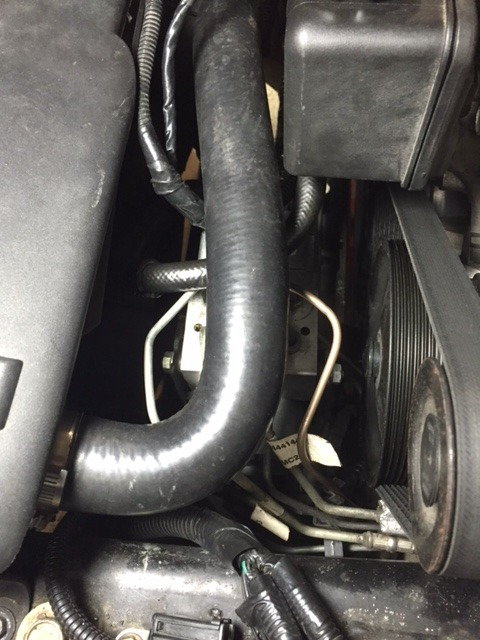
- The Brake Pressure sensor on the BPMV uses the wires from the proportioning valve on the 99. The late model C5 doesn’t use this valve and the wires from this switch are used to plug into the Brake pressure sensor. I used an extra weatherpak connector from a used late model C5 wiring harness.
The black sensor on the end of the proportioning valve below is the wiring used to go to the ABS pressure sensor on the late model BPMV.
Step 5: Brake line plumbing
I used the 2 front hard brake lines from a late model C5 (BPMV to front wheels) to keep the install as clean as possible. Install these prior to installing the late model C5 BPMV bracket to give a little extra room.
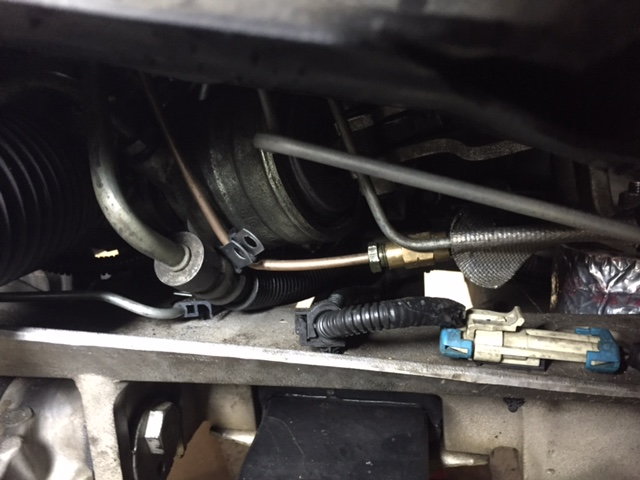
One of the rear hard brake lines was bent slightly so that it could be reused with the late model BPMV. The other rear brake line was cut and spliced with a custom bent section of brake line to the BPMV. Be sure to use an ISO bubble flare tool on all connections. I will post pictures where I spliced into the existing line.
This picture was taken through the drivers side wheel well and shows the location of the splice:
- This shows the line I custom bent. It’s the line on the right – I got in a hurry and failed to take a picture before getting the radiator hose back on. I tried to follow the stock line routing.
Step 6: Test the system
Once everything above is installed, the new unit can be tested and bled with the Tech 2. Have plenty of brake fluid on hand. Throughout this ordeal, I went through over 8 gallons of brake fluid!
Summary
The ABS/AH functions the same as it did prior to the install. No codes or strange message on the DIC. This install is very doable – either for an average DIYer like myself or a shop.
Click here to read the full follow-up discussion of Caddy2006’s upgrade.
The End! If you want to keep up to date with all the fresh Corvette news and maintain a pulse on the lifestyle and culture of this exciting, iconic brand, CorvSport has the fastest-growing Corvette community on our Facebook page, with over 173,000 followers (54,000 since January 2023!). Come join other hardcore enthusiasts and say hello, Douglas B.