Is it just me, and do I have unrealistically high expectations of how low a Corvette should be from the factory? Part of my Corvette affliction is they need to be low, not stupid ‘fast and furious’ slammed, but a nice sleek stance. It’s hyperbole, but not too far off from reality, to ask this question.
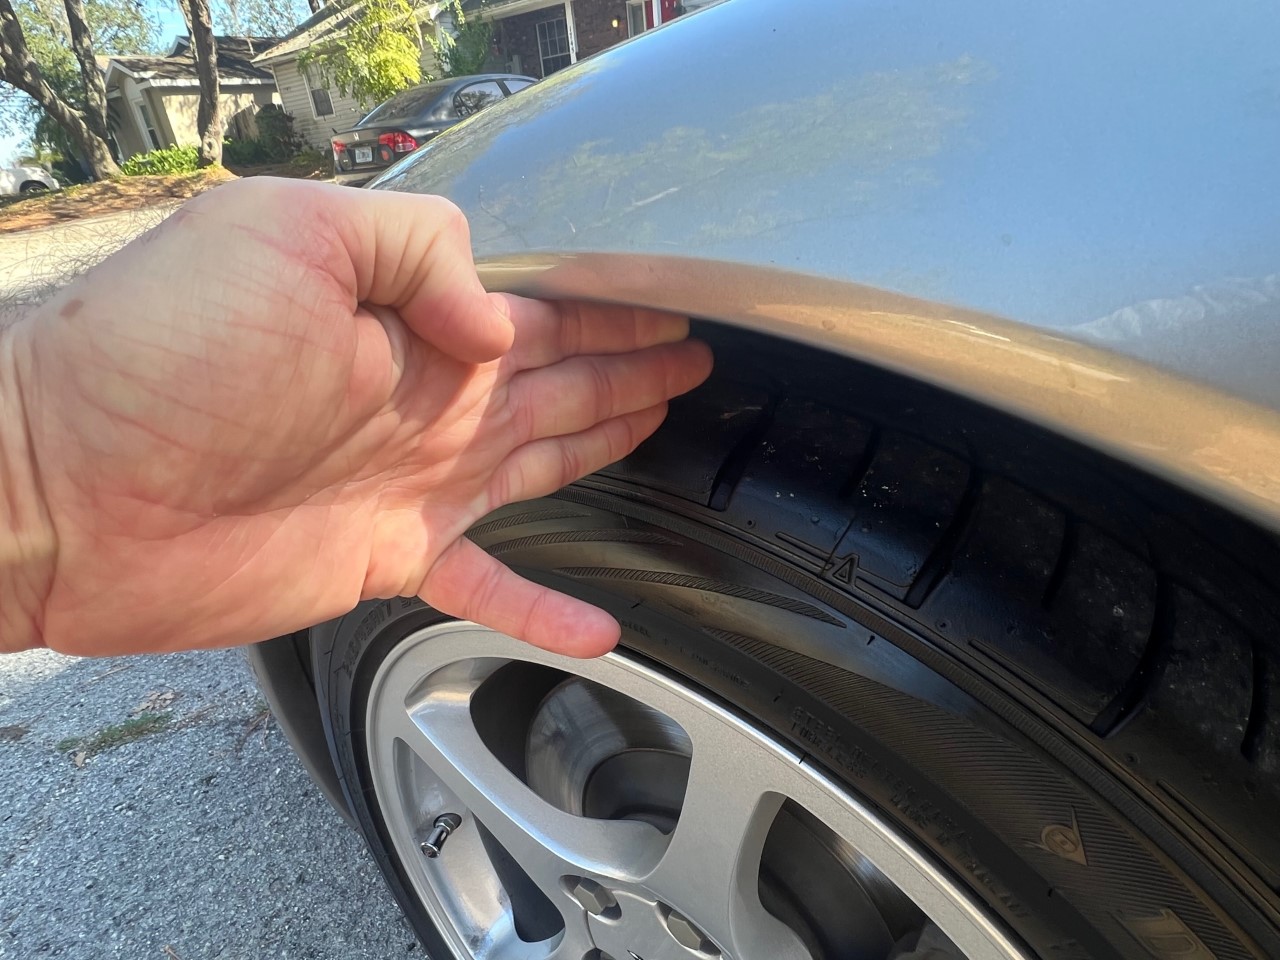
Why do Corvettes look like 4x4s coming from the factory? Call me picky, but just over 4 fingers of wheel gap on a C5 is ridiculous. Other manufacturers seem to get that wheel gap dialed in, so how come GM screws it up? Go look at a slick 911 from the factory, Porsche gets it right. Thankfully for those of us who like it low, and many do not know this, the fifth-generation Corvette suspension is “easily” adjustable (as is the C6).
I’ll never forget the time my brother and I were at an early 2000s Eckler‘s Corvette show in Titusville, and we saw one of the 4-finger models in the wild. As a matter of fact, this C5 coupe sported the 5-finger phenomenon, and you could literally stick your whole hand in the wheel gap. Sorry, but lol. I’d like to chalk it up to a lineman messing up in the factory, but most C5s left with such gaps.

Does anyone else wish GM would just make them lower from the factory? We typically have vibrant discussions on our Facebook page, would love to see you there! Douglas B.
How to Lower a C5 Corvette by Yourself
Without further delay, here is today’s bonus feature. With just basic tools and a little ingenuity, you too can lower a Corvette. There’s nothing more organic than being under your own Corvette changing fluids, oil dripping on your forehead and residue from a dirty undercarriage getting on nearly every body part. Hopefully, with today’s DIY there won’t be any fluids, or you did something wrong, but trust me there will be lots of dirty residue involved. And maybe even a bloody knuckle or two to prove your battle scars.
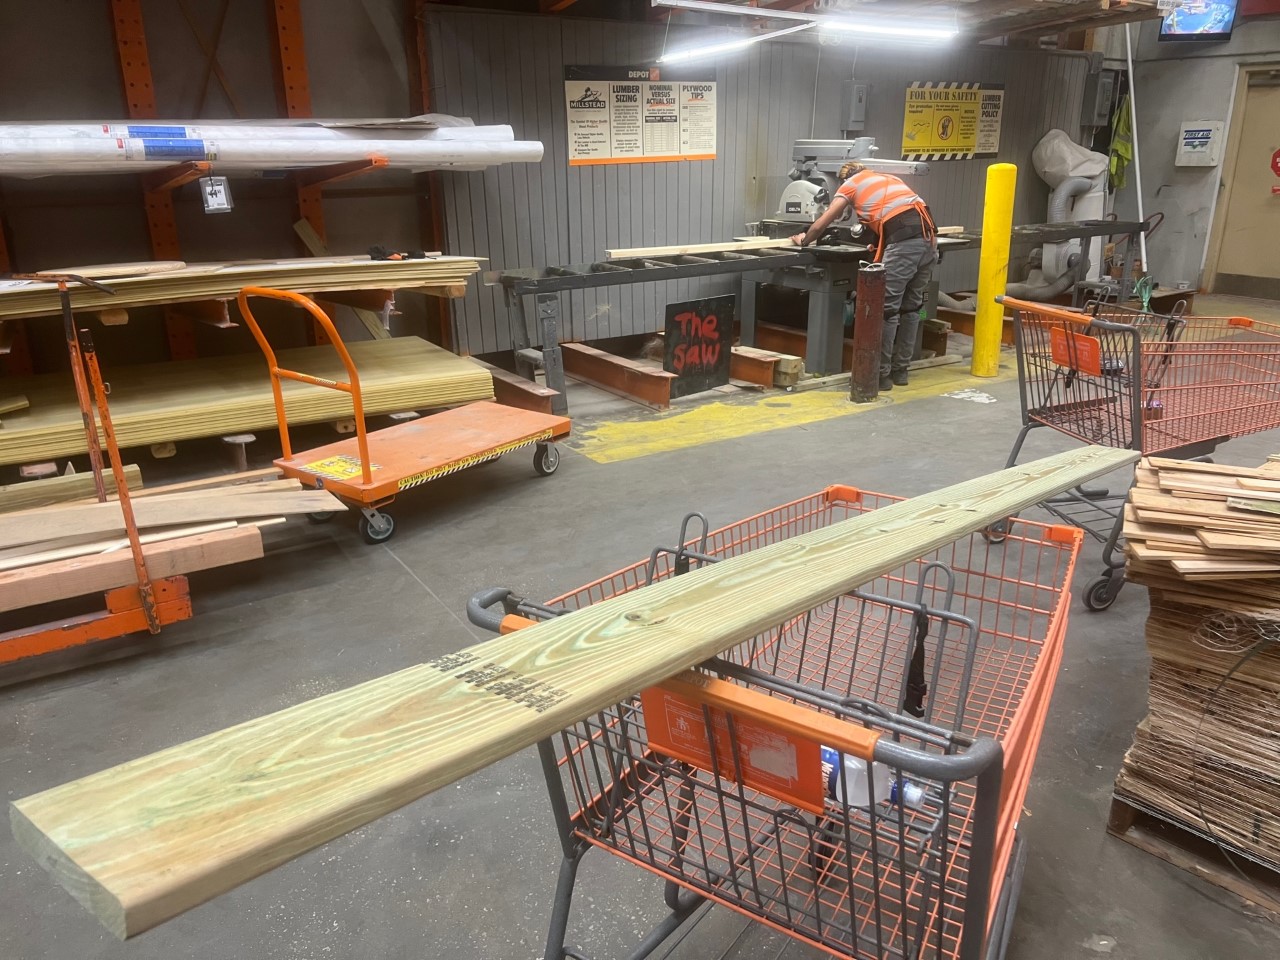
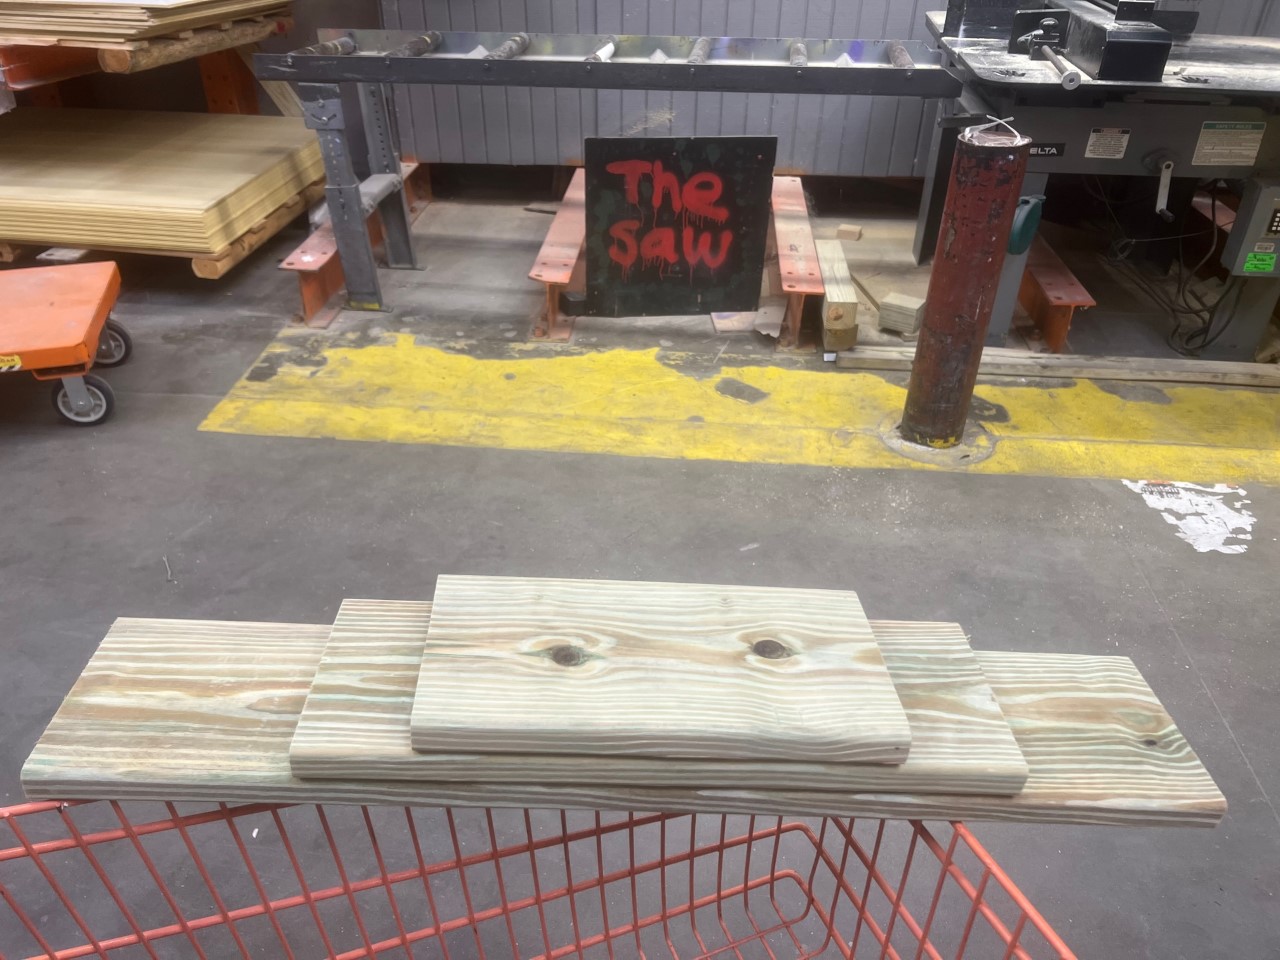
1) Make (or buy) your custom ramps.
You are going to want graduated ramps like these, and if you choose to make them the cost is only about $15 for a 10-foot 2×6. You’d probably want to nail them, but I got lazy and used duct tape. The piece sizes are 12 inches for the top pad, 18 inches for the middle, and 30 inches for the base.
 2) Set up and staging.
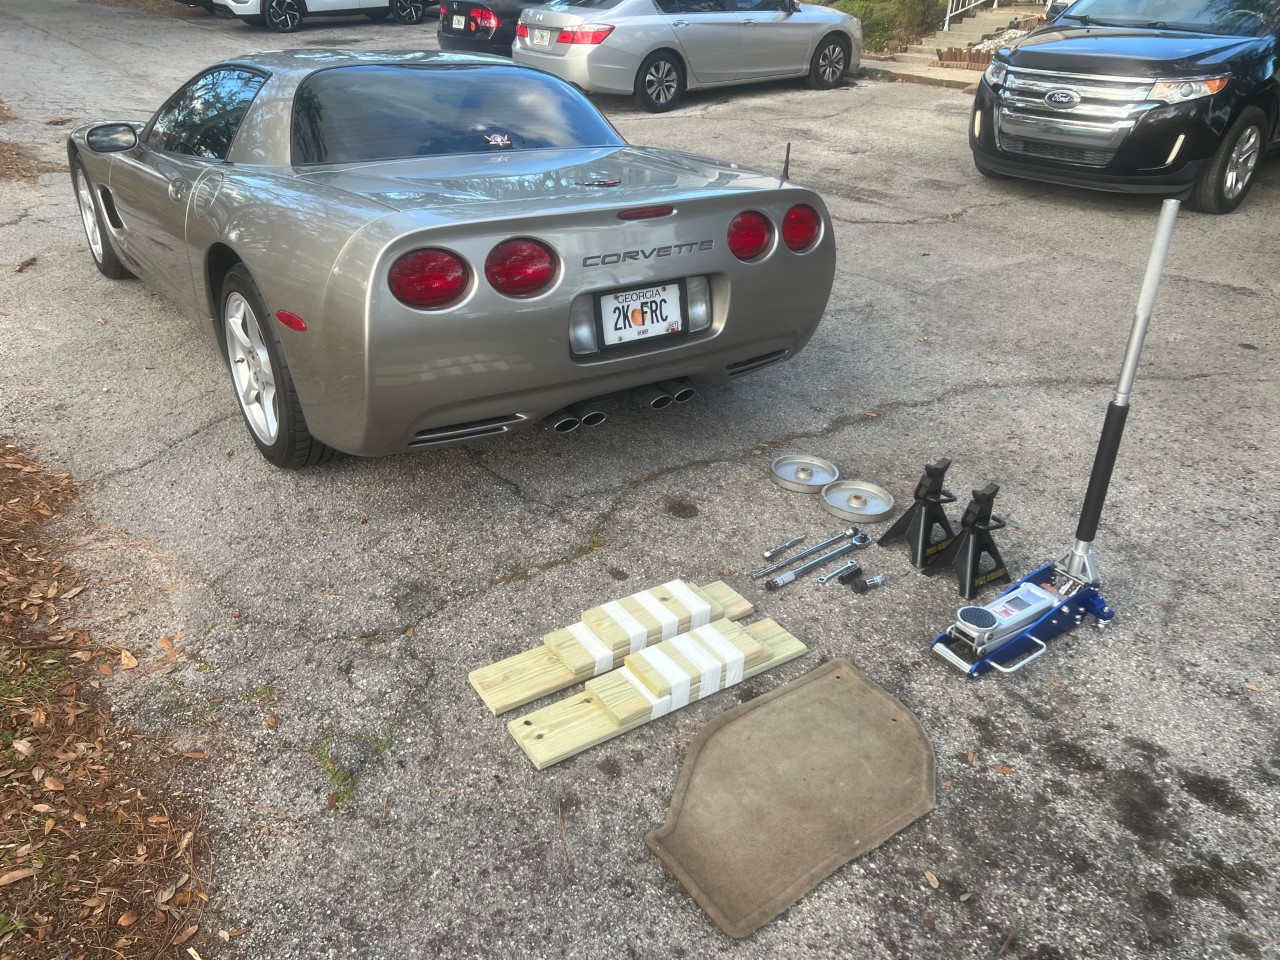
Here is everything you will need to complete the job. First, get a nice low-profile jack from a place like Harbor Freight. This lighter 1.5-ton was only $99. They will actually have all the tools you need. You will also need: 2 jack stands, wheel chocks (I used 10lb weights), something padded to lay on, 10mm ratcheting wrench, large crescent wrench (not pictured), ratcheting breaker bar, a 150 ft/lb torque wrench, 18mm socket, and a set of miscellaneous drive adaptors.
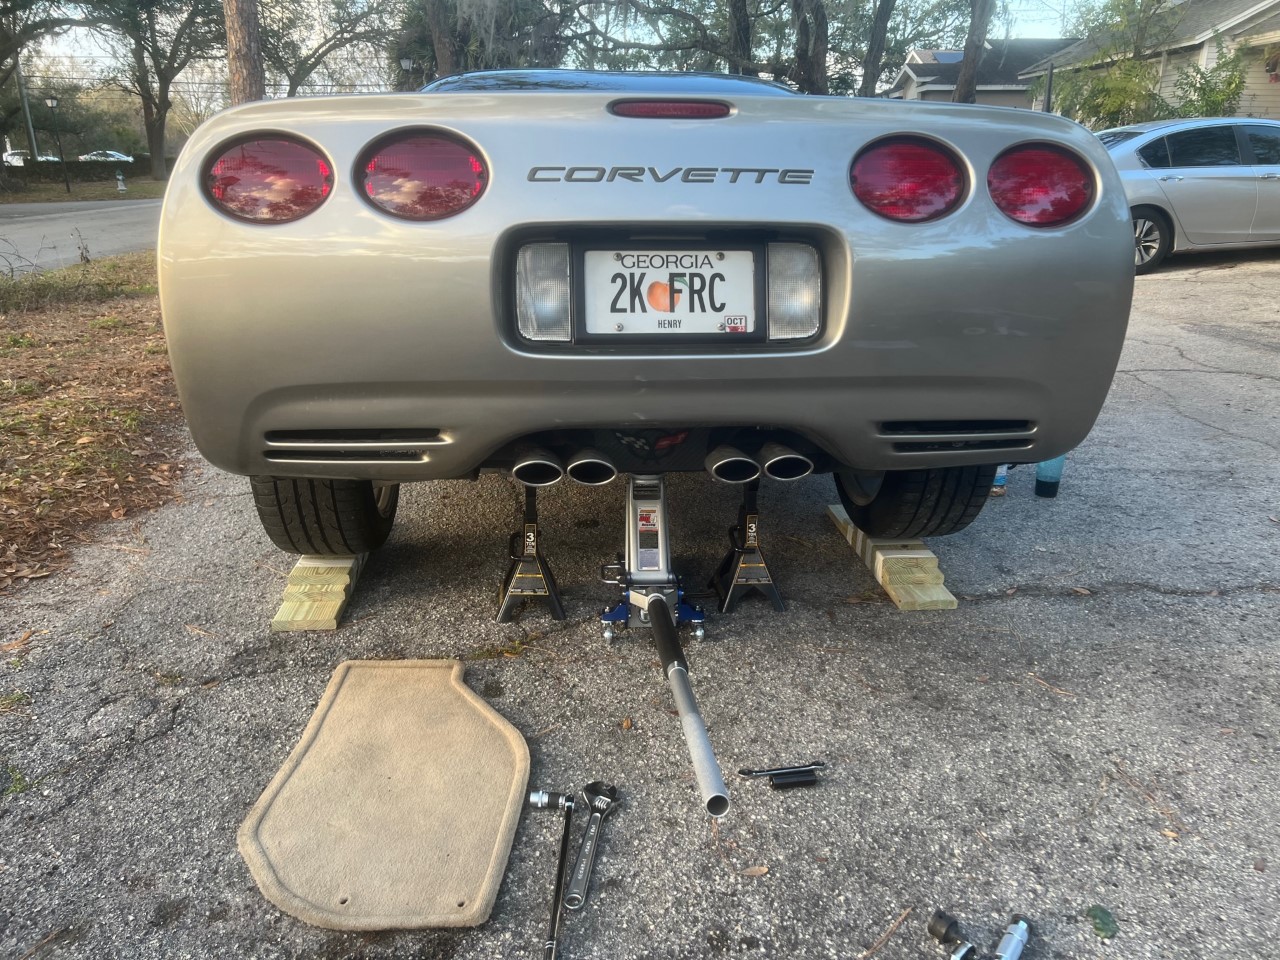
3) Lift up the rear and secure the jack stands.
As seen in the picture, there is a great place to secure your jack pad center frame, and nice frame spots on each side to secure your jack stands. Make sure to put the wheel chocks in front of the front tires. You will not need them when you switch to lowering the front, just make sure to put your brake on and put it in gear.
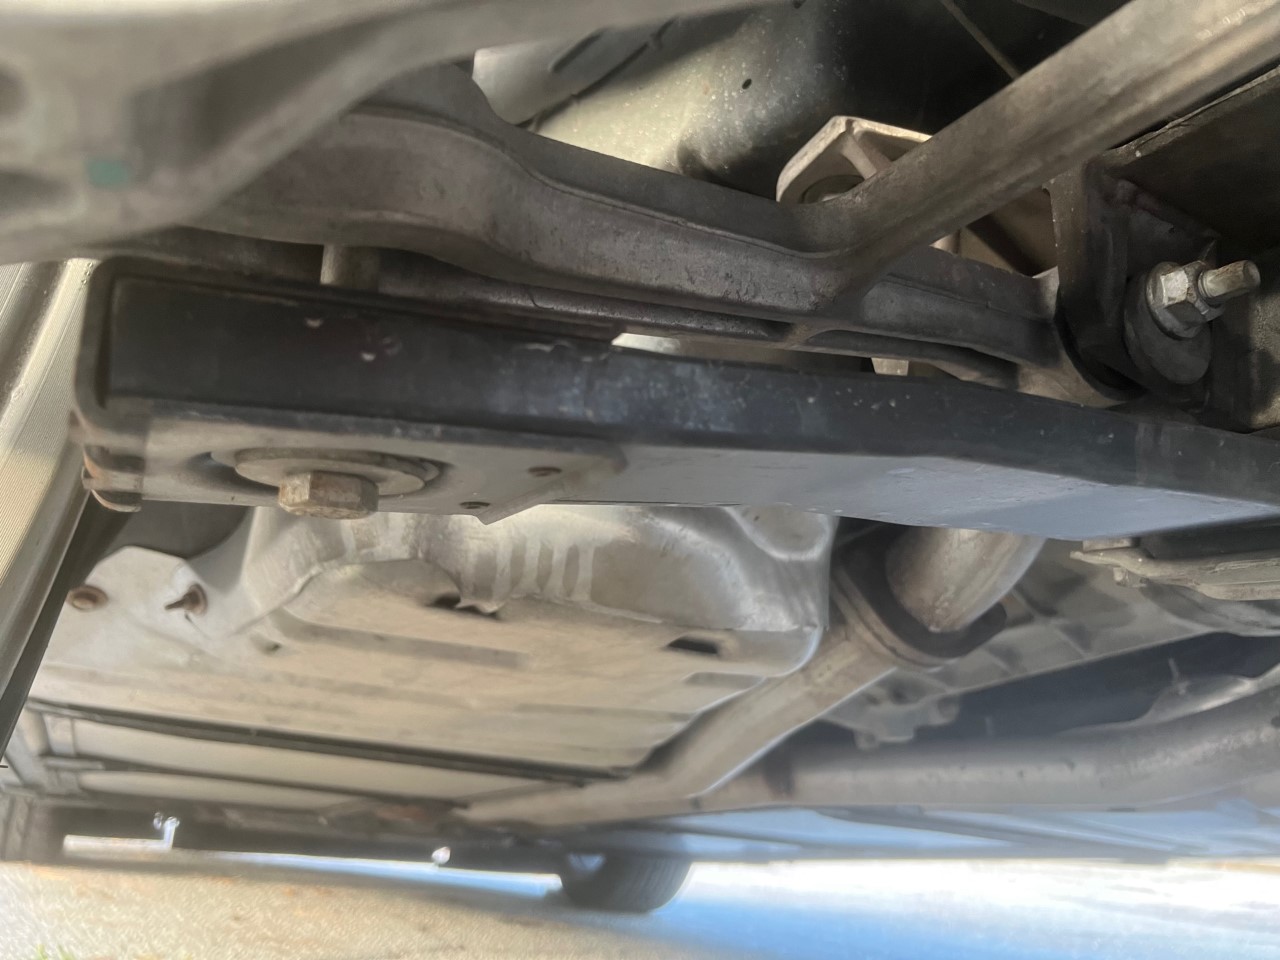
4) Adjust the bolt on each end of the rear leaf spring.
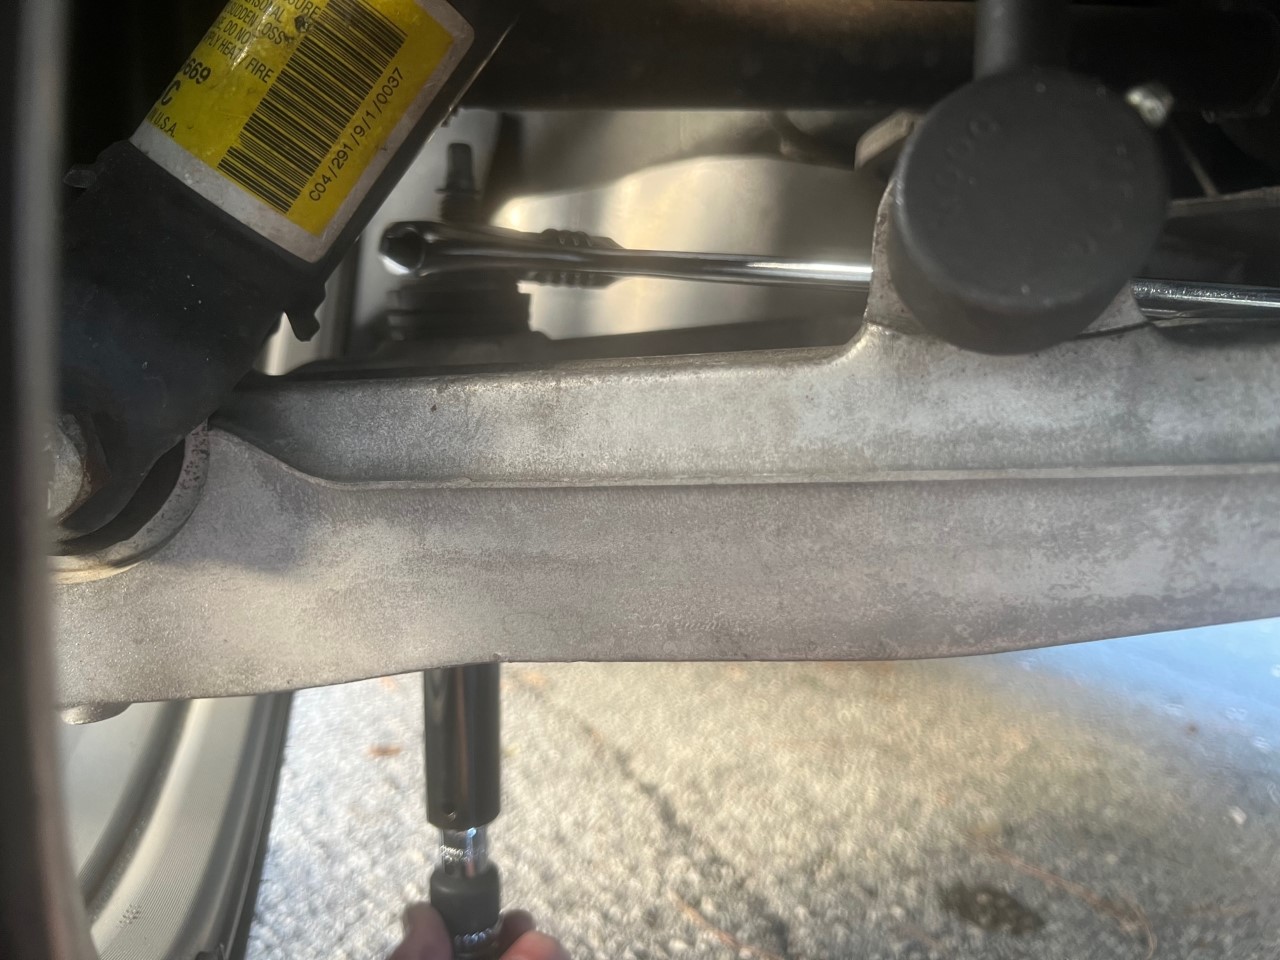
The Corvette has unique transverse leaf springs, which go from side to side, enabling us weekend wrenchers to do this fun project fairly easily.
This first picture shows the crescent wrench perched nicely on the top nut. When you turn the lower 18mm bolt end (lefty loosey) with your ratcheting wrench, the top crescent wrench will lodge lightly towards the suspension, making the top tool a hands-free experience. This comes in handy as you really need both for turning and securing the bottom.
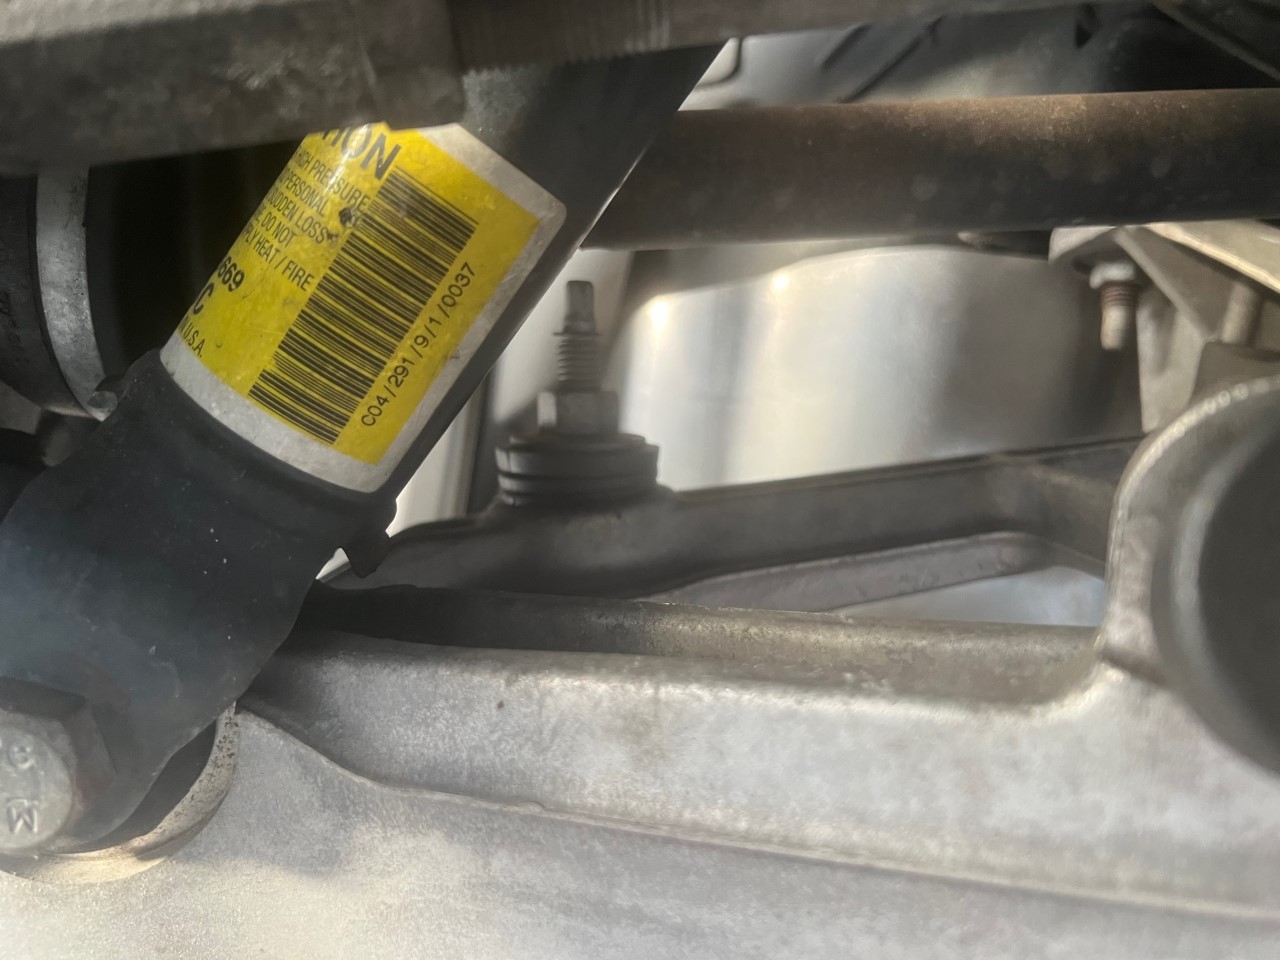
This is what to lower part of the bolt looks like.
Here you will see how many threads are showing on the top of the stock bolt, and then the transverse leaf spring.
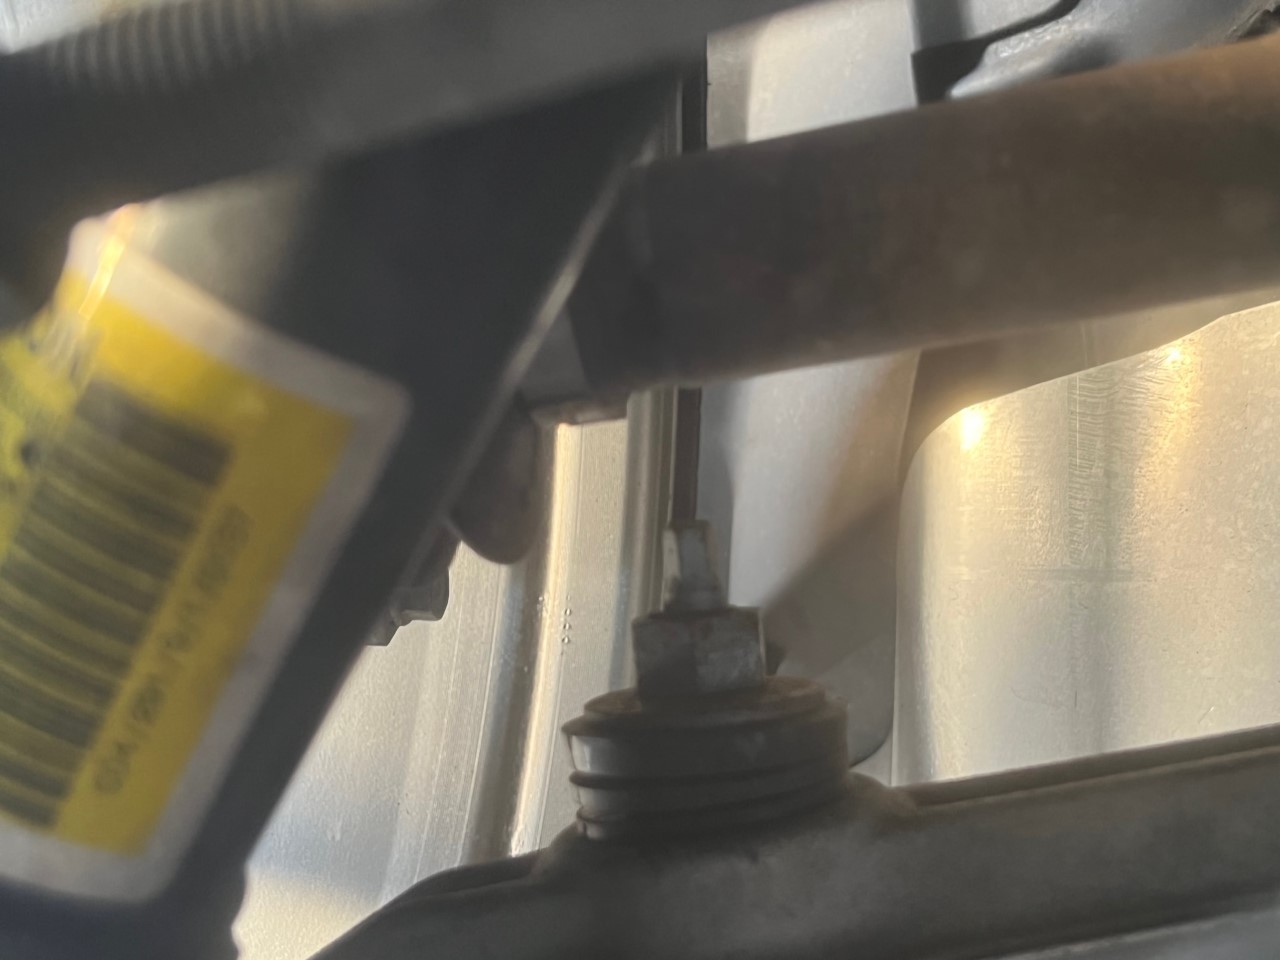
5) Turn the bolt until you see no threads remaining.
It will be a good number of swings on your wrench and make sure to keep an eye on the top of the bolt, so you don’t pop off that retaining clip. As you get close, you will want to take the large crescent wrench off to check for perfection. Here is what this looks like. Rinse and repeat for the other side and you are done. Raise the jack back up, remove your jack stands, and lower the rear onto the ramps.
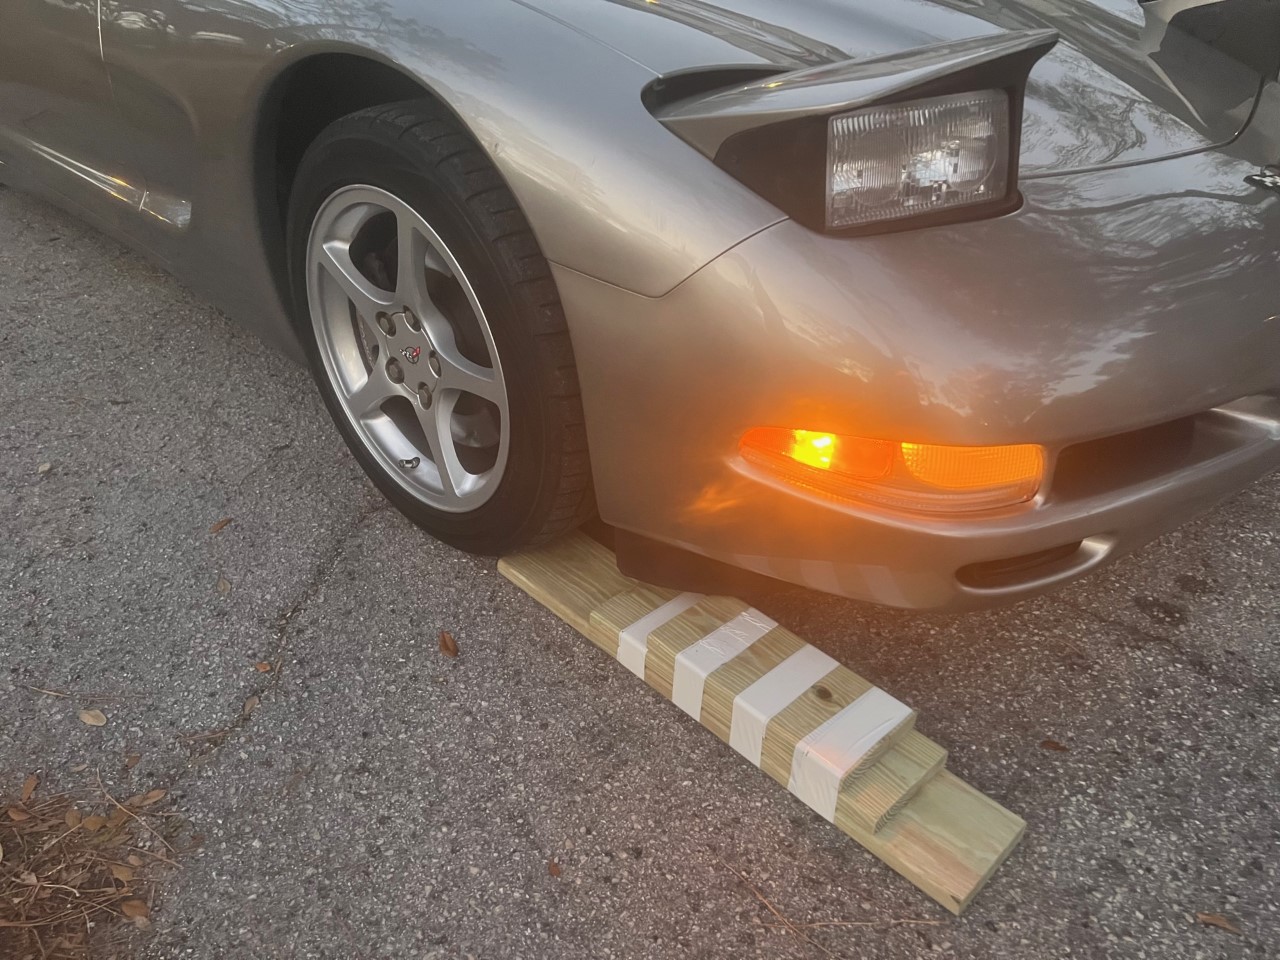
6) Stage ramps and pull vehicle on top.
You’ll notice here how I positioned each layer of my custom ramps. This is important not only for a smoother transition to each level but also so you can drive up on them without dramatically hitting your spoiler. IMPORTANT: before you lift the front break the wheel lugs and loosen them.
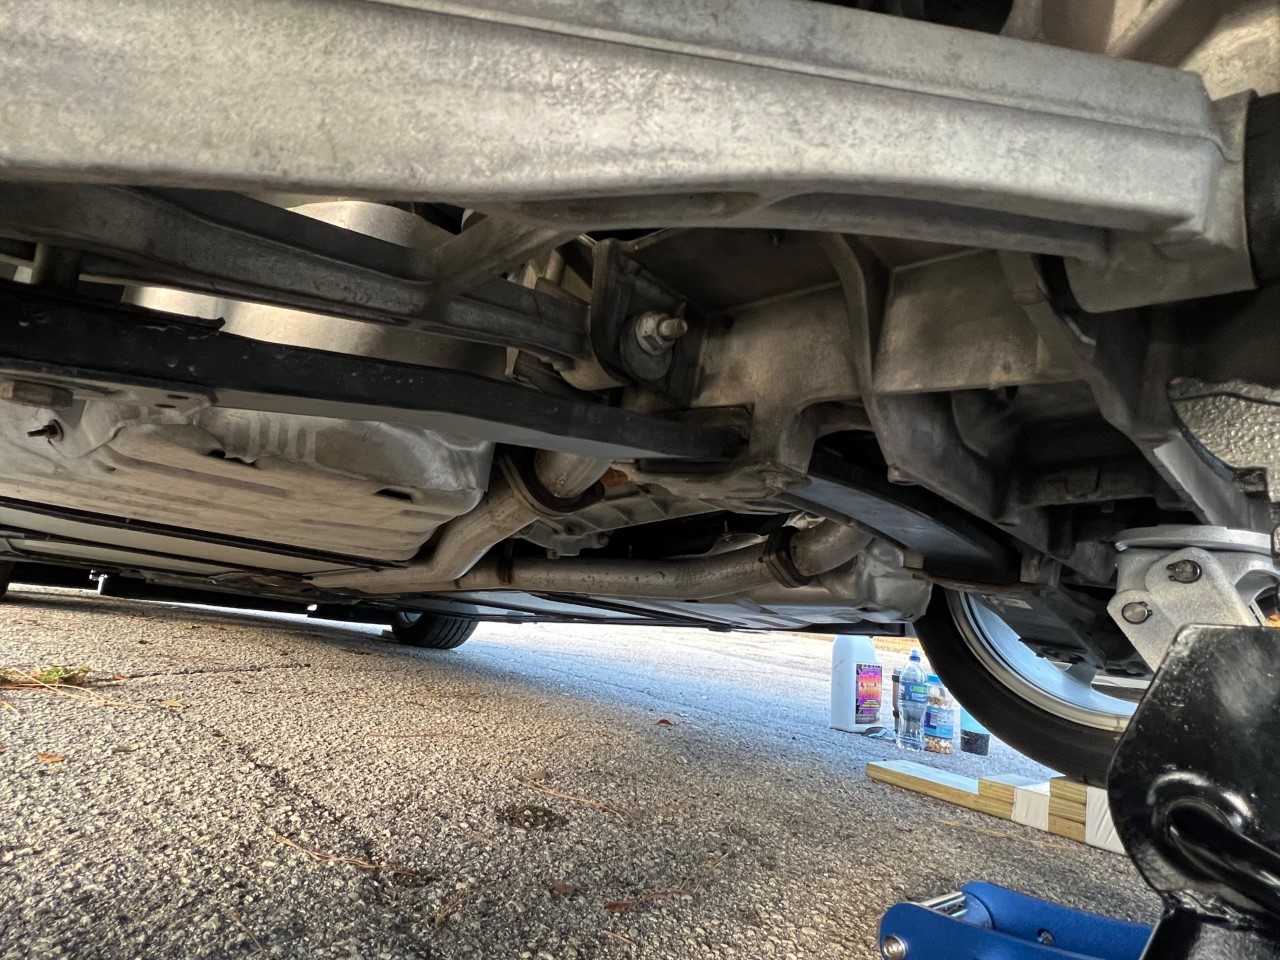
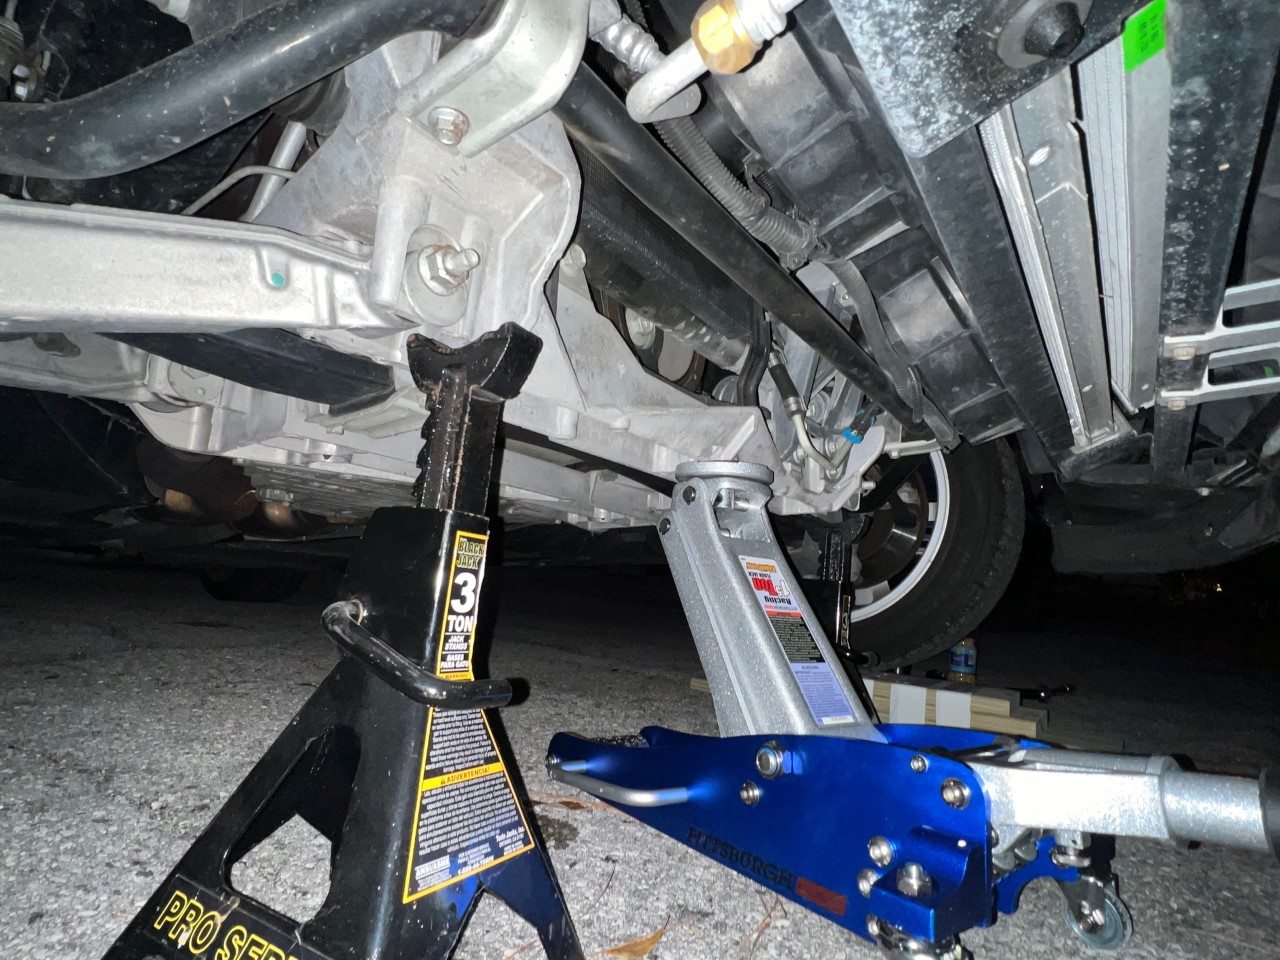
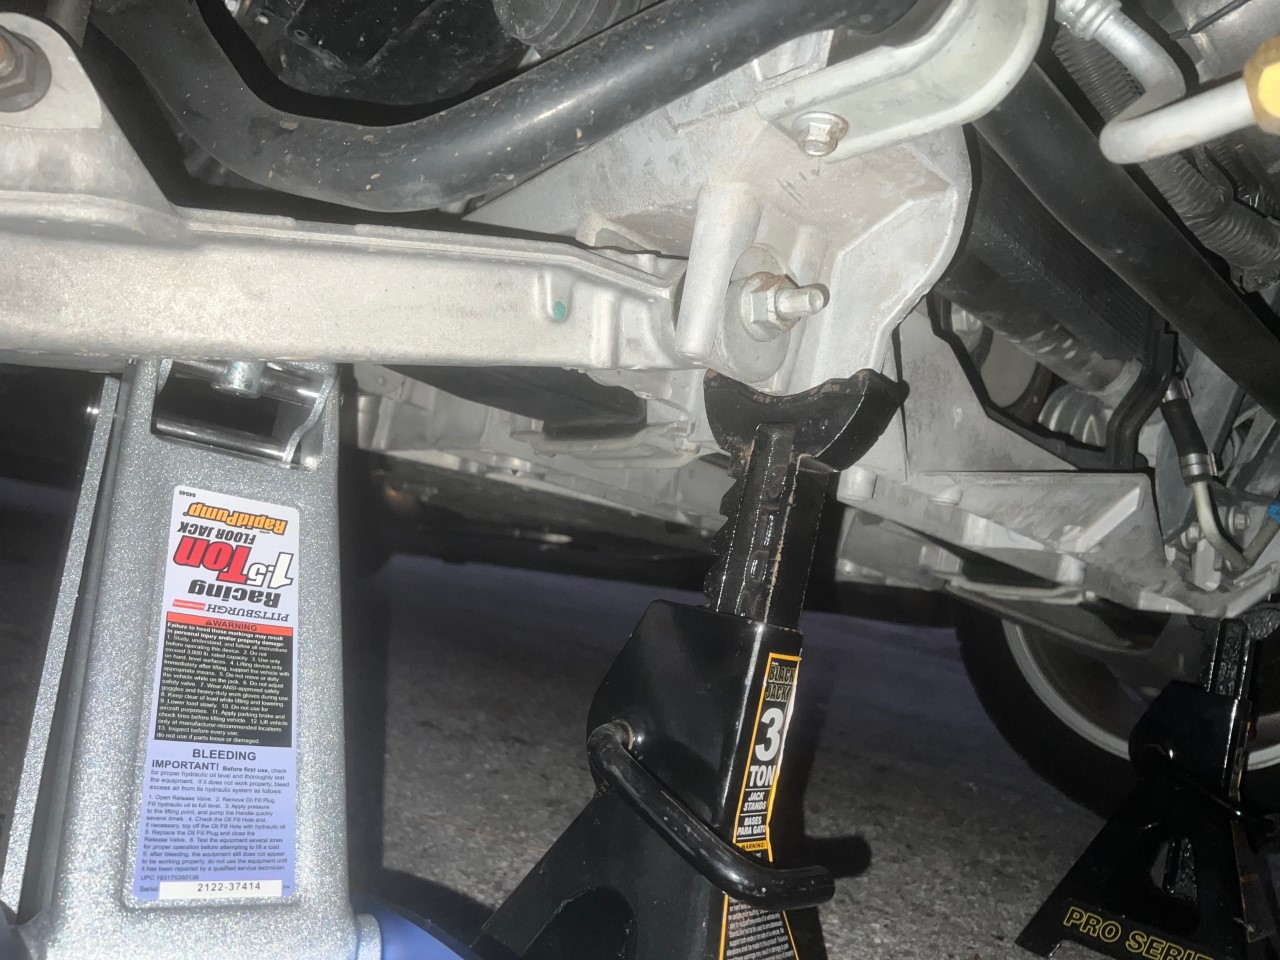
7) Place a jack center frame and secure the jack stands.
Just like with the rear, there are great spots for the jack pad and little cubbies in the frame for your stands. Unlike the rear, you are going to use your jack to help release a little bit of pressure off the end of the transverse leaf spring (2nd picture). Please be careful and apply just a bit of pressure.
8) Remove the front wheels and use your 10mm wrench on top of the bolt.
I forget if it’s lefty loosey but push and ratchet the wrench away from your body. The first picture shows how it left the factory with your wrench perched on top of the bolt. The wheels take 19mm in size.
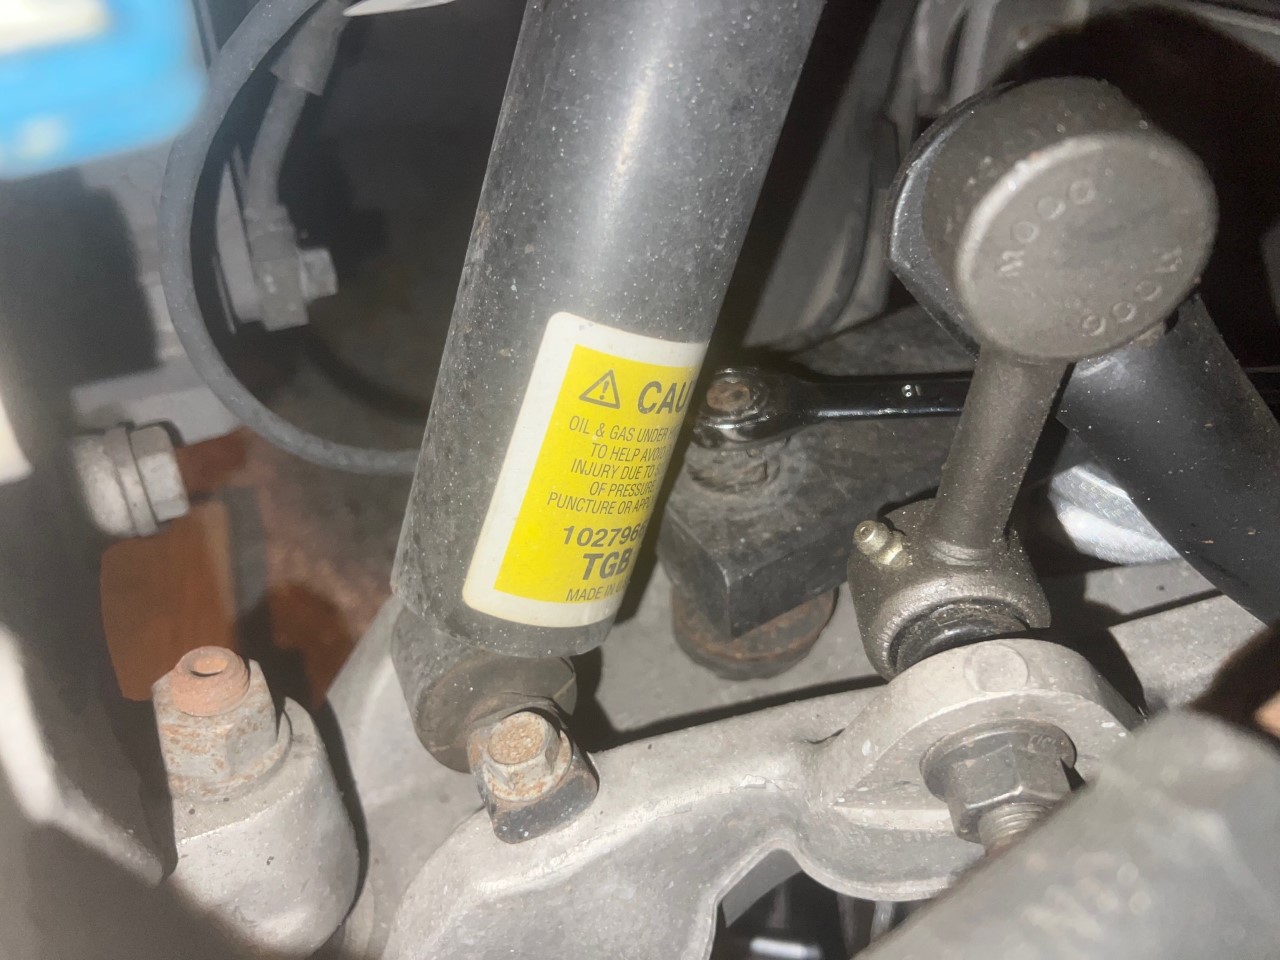 You will want to turn this 10mm bolt until you cannot move it, and you can make it as snug as your body allows. The physics behind this is you are moving the leaf spring closer to the bottom of the lower A-frame. The only thing between the leaf spring and frame after fully turning the bolt is that black bushing.
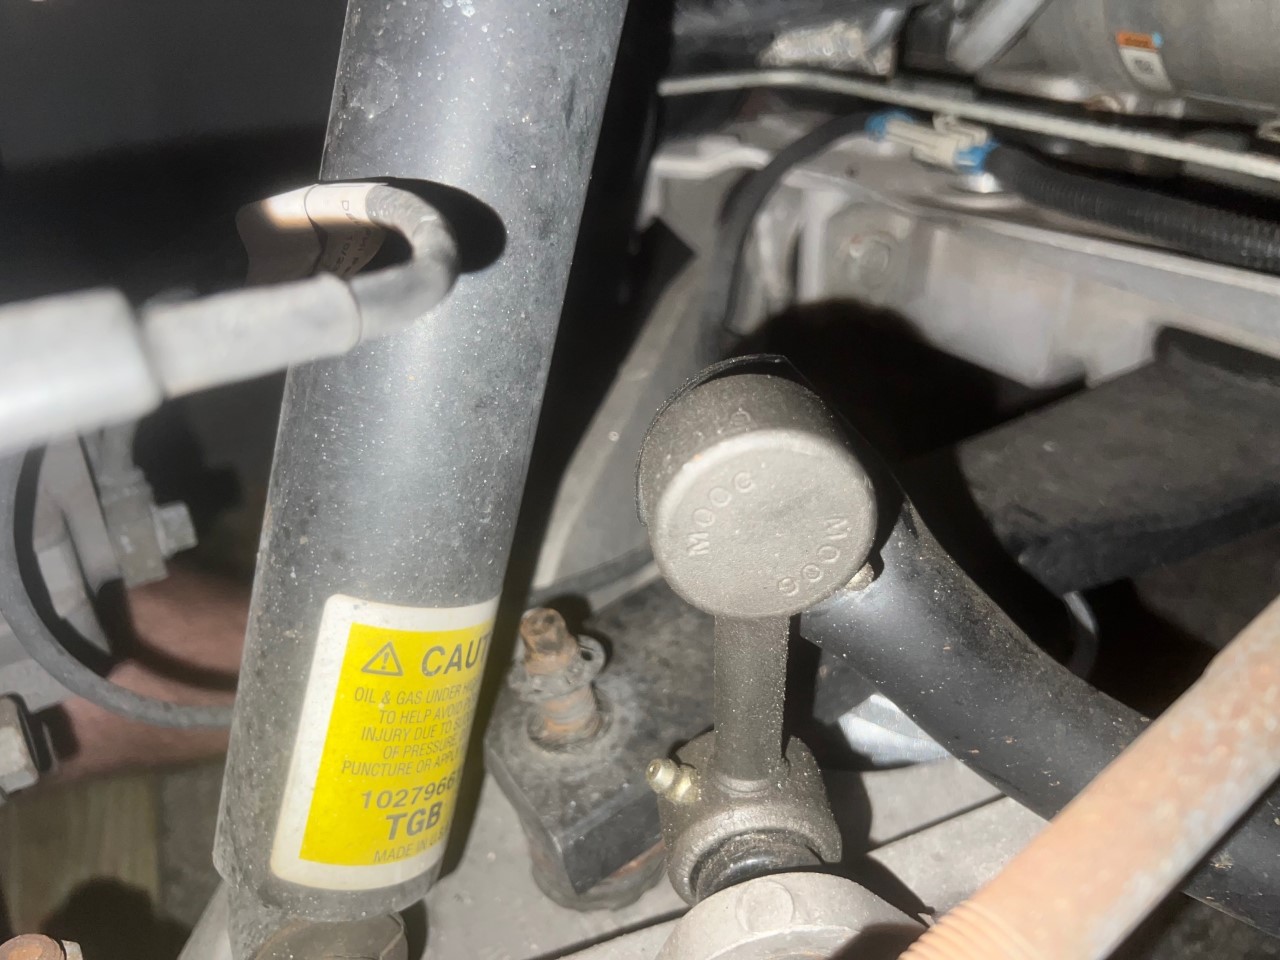
This is what the bolt should look like when you are done. Ironically you wanted to see zero threads in the rear, but more in the front.
YOU ARE DONE!
Now safely jack it back up, remove the jack stands, and lower it on your ramps. You will want to drive your Corvette to let it settle, and most prefer to do an alignment. After lowering well over 10 Corvettes in my lifetime I have found, after blowing off the alignment, sometimes it just is not necessary. Some diehards will disagree vehemently with me on this, and that’s fine.
I hope you have enjoyed the tutorial, and will enjoy your new stance. And as always, SAVE the Wave! Douglas B.
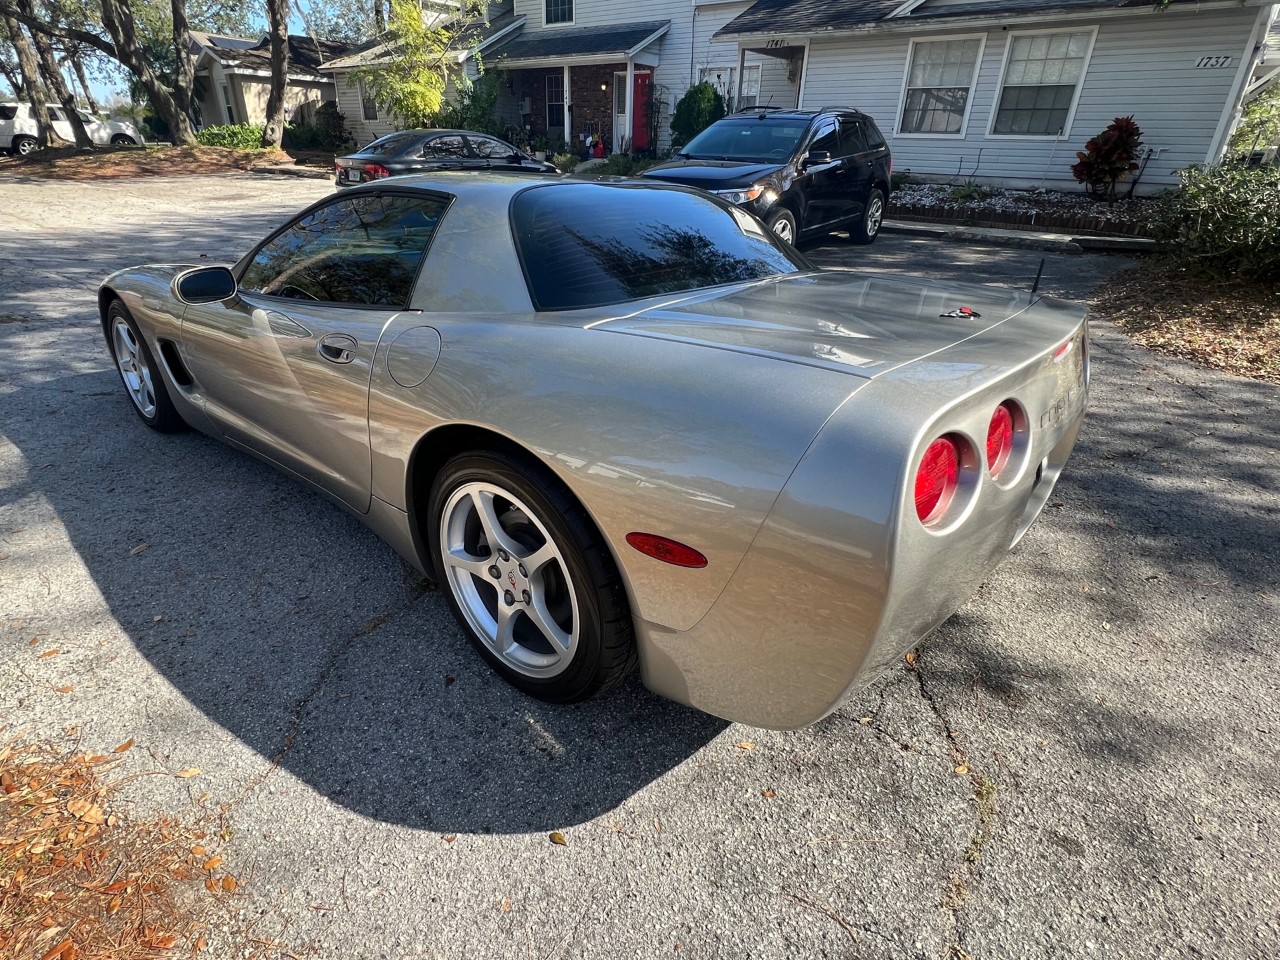
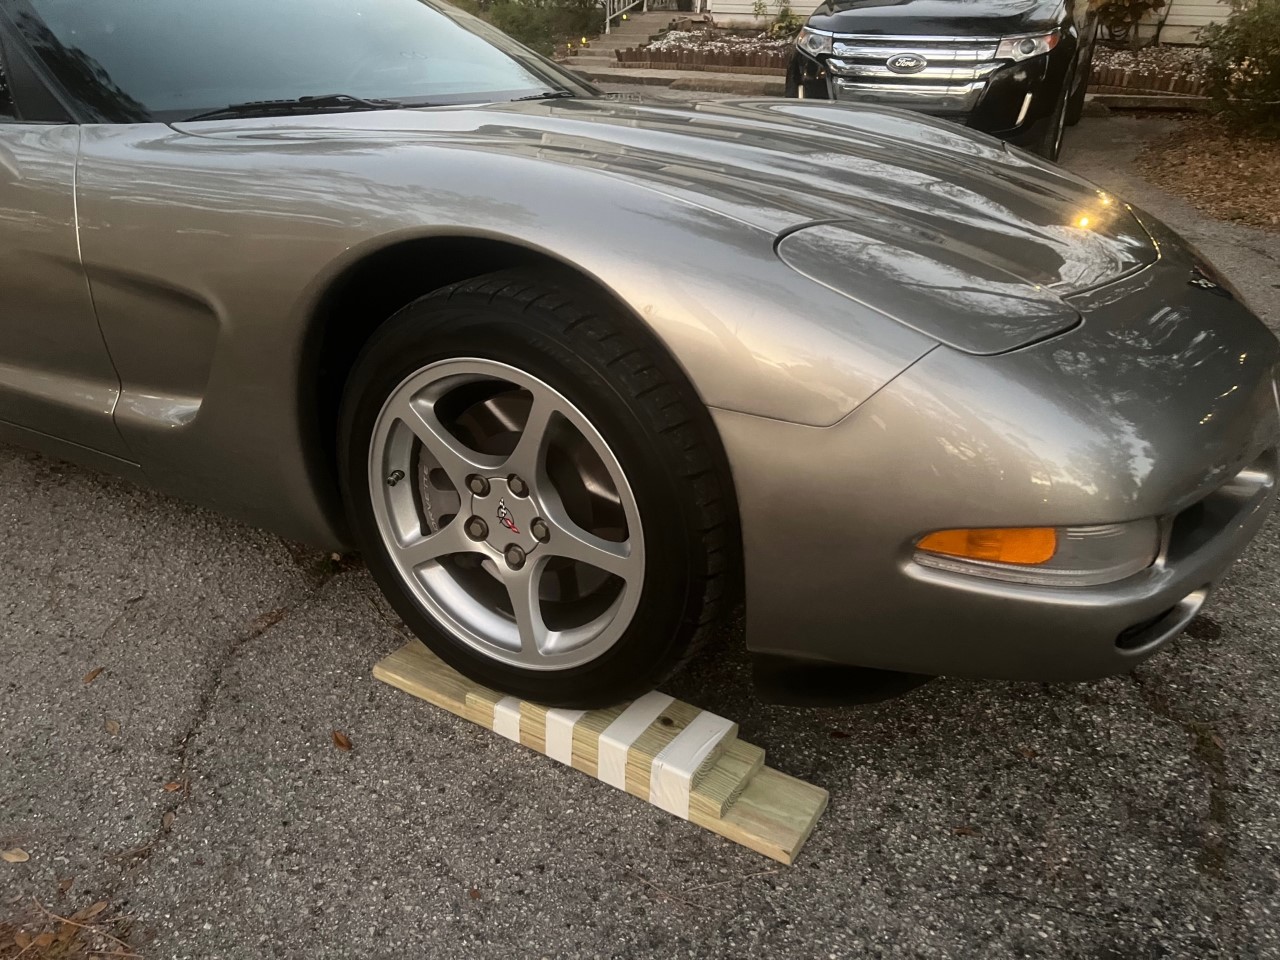
I’ll leave you with the before and after. I went from 4 fingers loose to 3 tight, about one inch all the way around. There is a way to go about another inch lower, so feel free to reach out to me if you’d like to undertake that adventure!
Before.
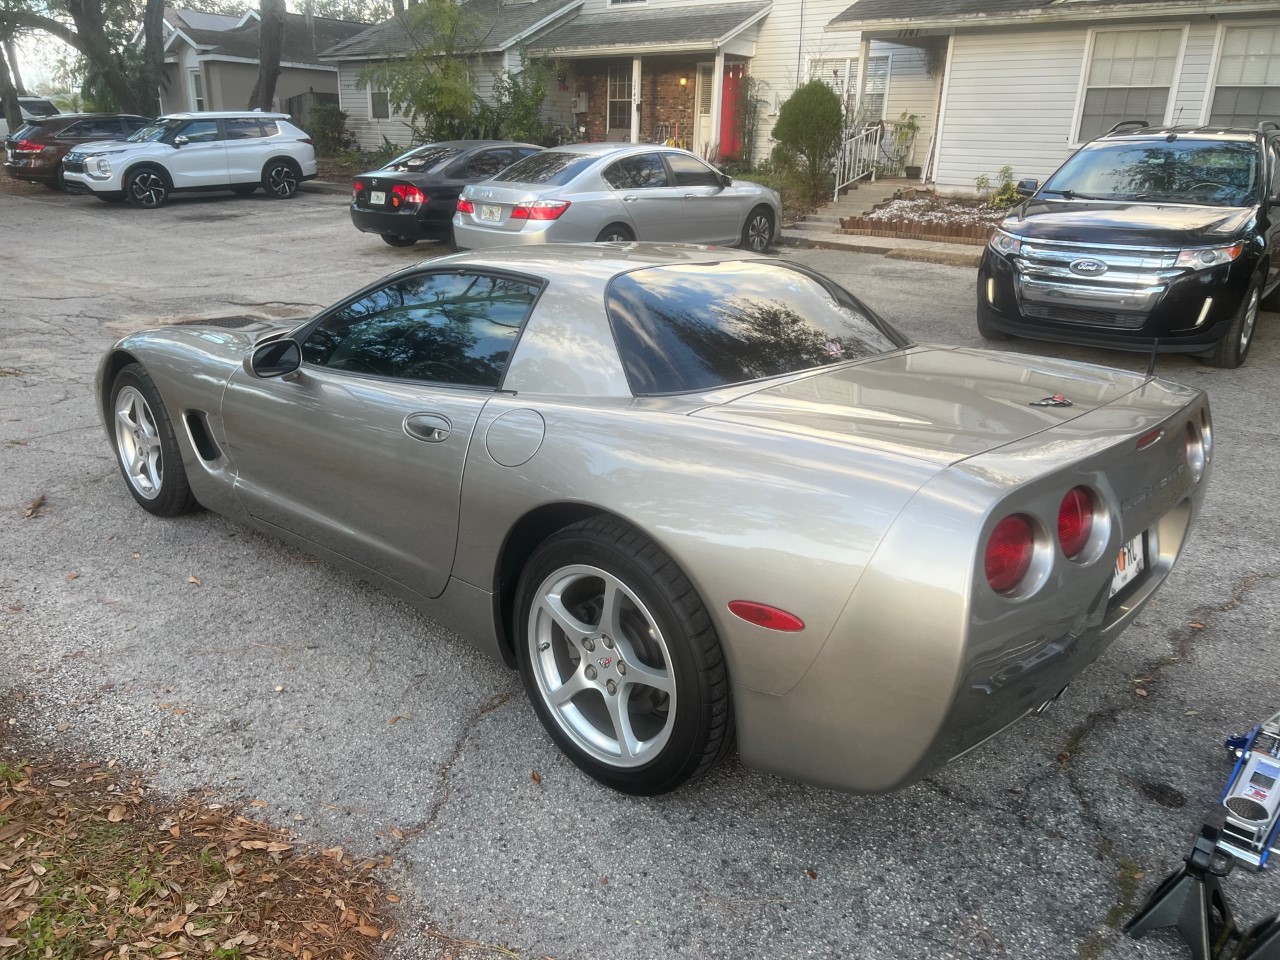

After.